 Welcome at my tenth V8-update! :)
Time flies: the previous update dated April 2017, almost a year and a half ago. Of course I’ve been busy — I always am — you’ll see that in this report.
On March 31, 2017 I visited Technica, Nijmegens world famous electronics store. For more than thirty years I’ve scored everything involving lights and circuits there.
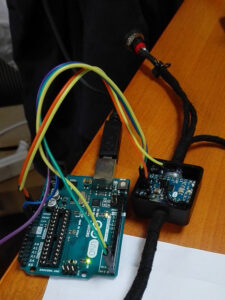
 Technica is owned by Marc van Blijderveen, an enthusiastic and highly skilled electronics expert. I talked to him about developing a warning system for my water-methanol injection: because the liquid is in the closed swingarm, I can not check its level. And too low a level is not desirable (read: dangerous) because if the engine expects water-methanol and it doesn’t get it injected, the engine can be badly damaged in a matter of seconds.
… Marc improved the software a bit and the test was successful.
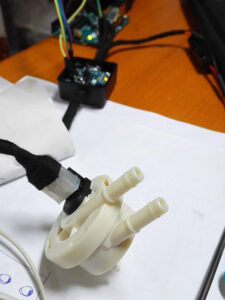
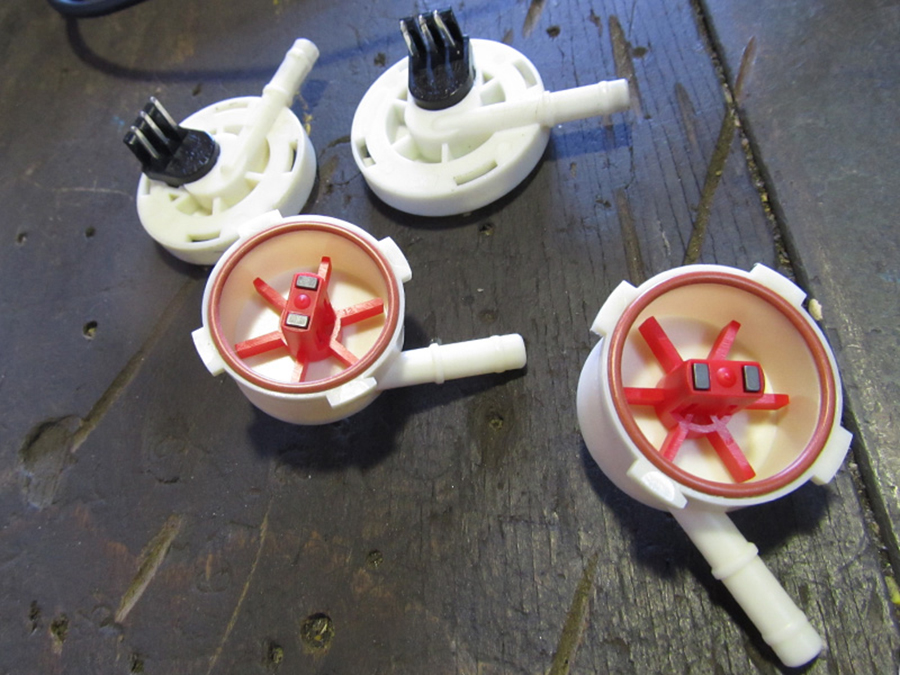
The system now works as follows: the two flow sensors count the pulses and thus the amount of water-methanol leaving the swingarm. Once 80% of the total volume has been counted, the Arduino gives a signal to the engine management that the liquid level is low. At that moment, testing (or riding) must stop and the system must be refilled.
The first test day was scheduled for 18 September 2017. The first test with the new engine, a new engine management, new wiring, a new intake manifold, new ignition coils, an improved water methanol system, a different rear tire, more sensors and much more new and improved stuff. Well, see update 9.
However, it would not be a very successful day: only one of the four lambda probes worked and, certainly so impeding …
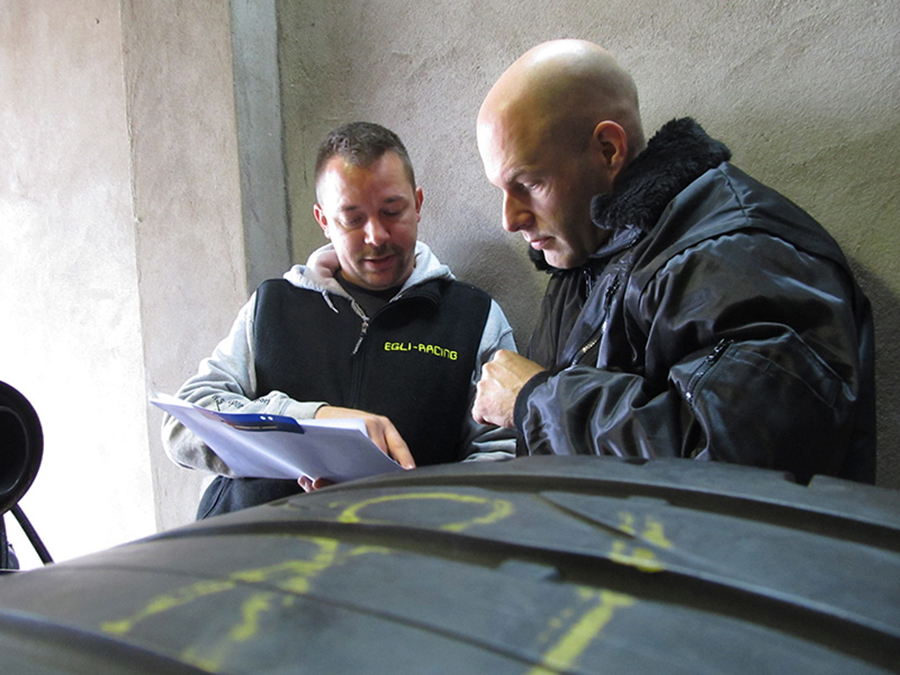
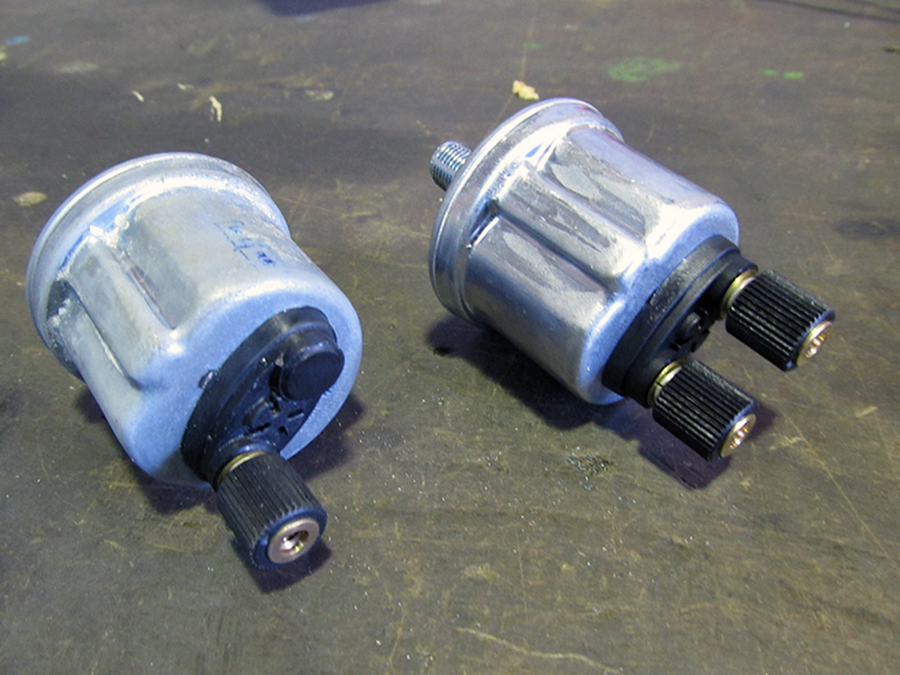
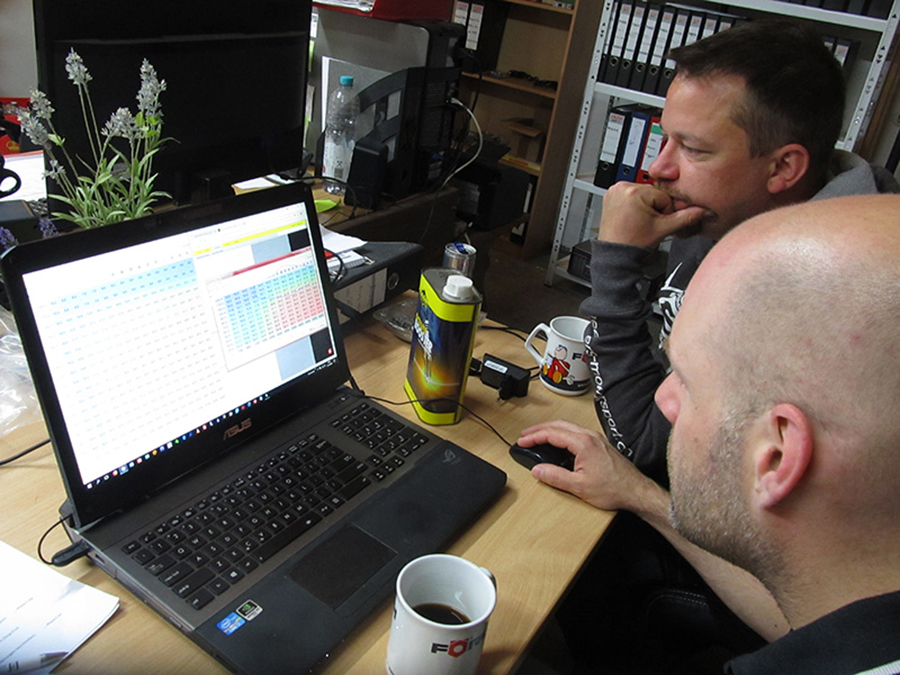
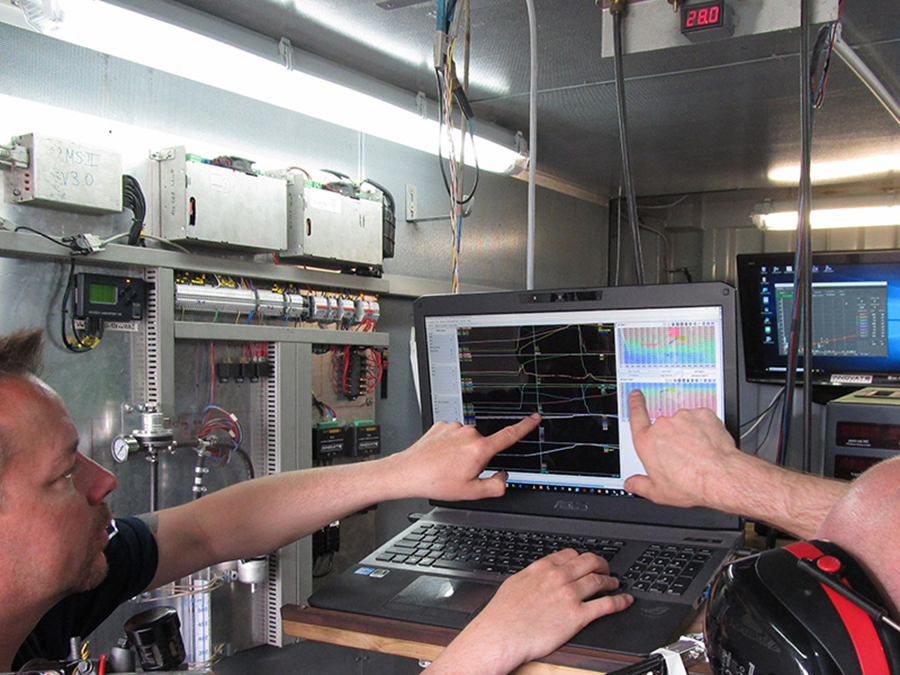
October 19, 2017: test day! Determining TDC (Top Dead Center) took quite some time but most of the time we were configuring the new oil pressure sensor (r). We measured the various values with a multimeter while a compressor and pressure gauge were connected. Then in Excel, Niels made a spreadsheet with 1,024 values that we uploaded in the engine management system. And gone was another day.
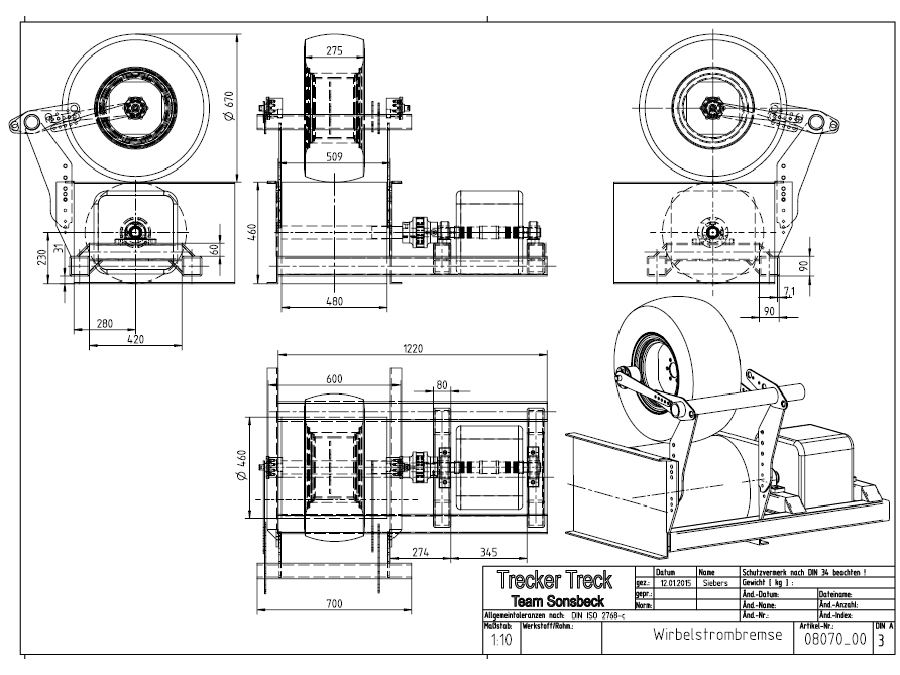
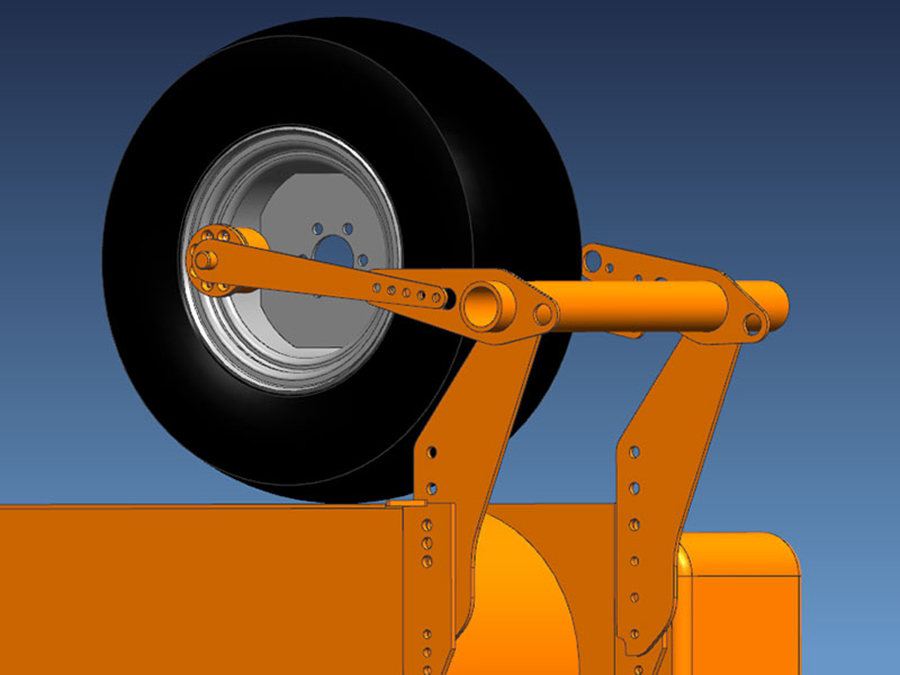
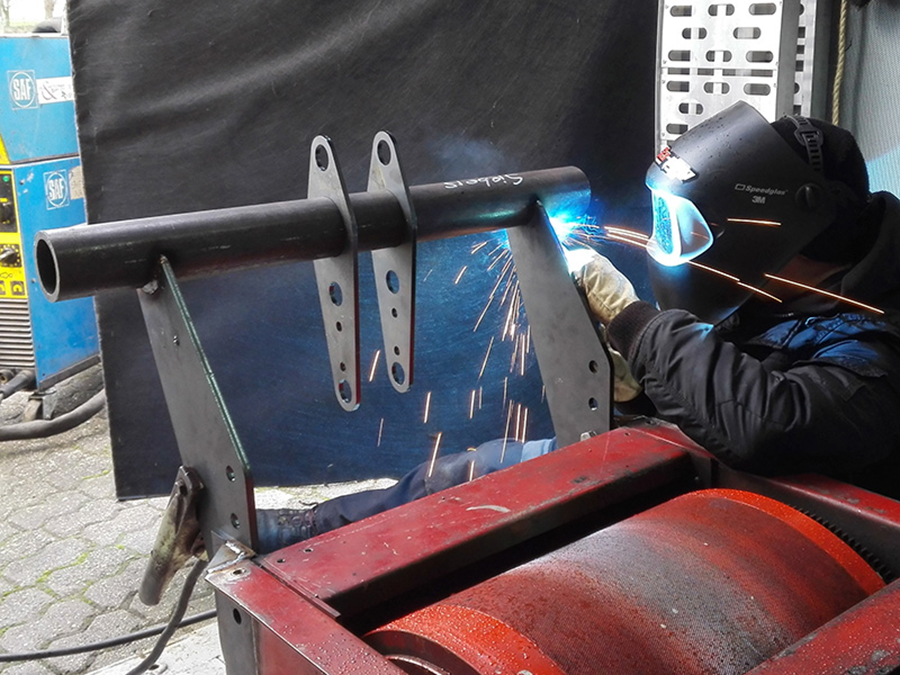
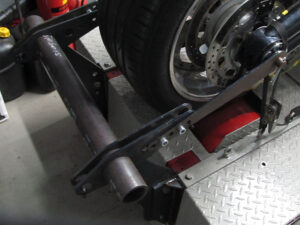
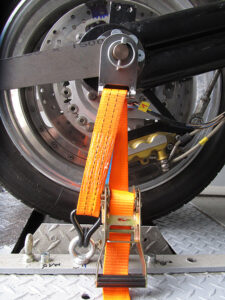
He drew the construction that must prevent the bike from shooting forward during testing and blasting straight through the rear wall of the test room. Such a situation might occur if the front fork breaks due to the forward force of the engine: the rear wheel then moves from the drum on to the static part of the bench, with disastrous consequences.
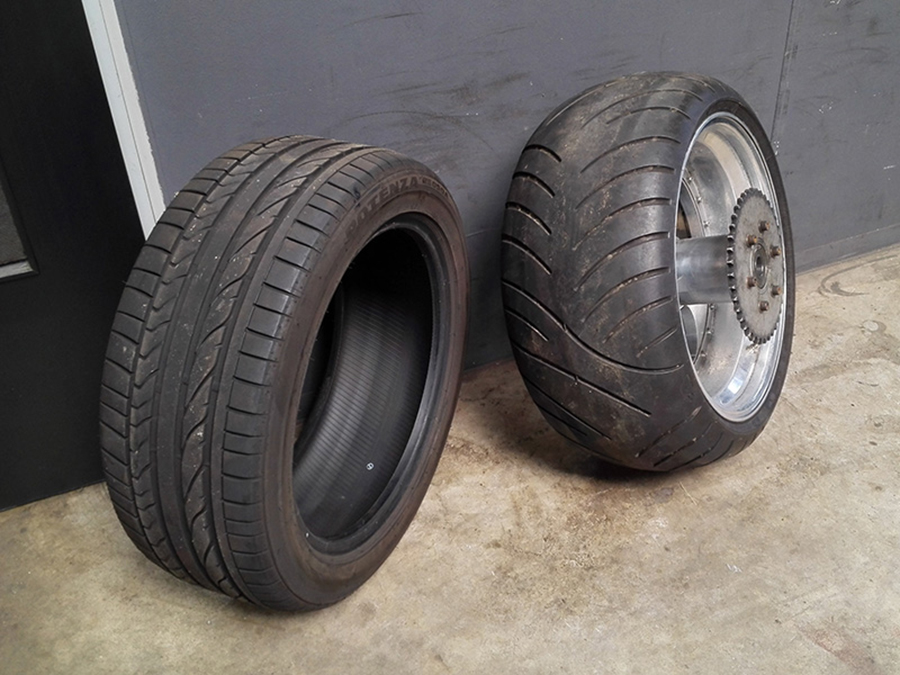
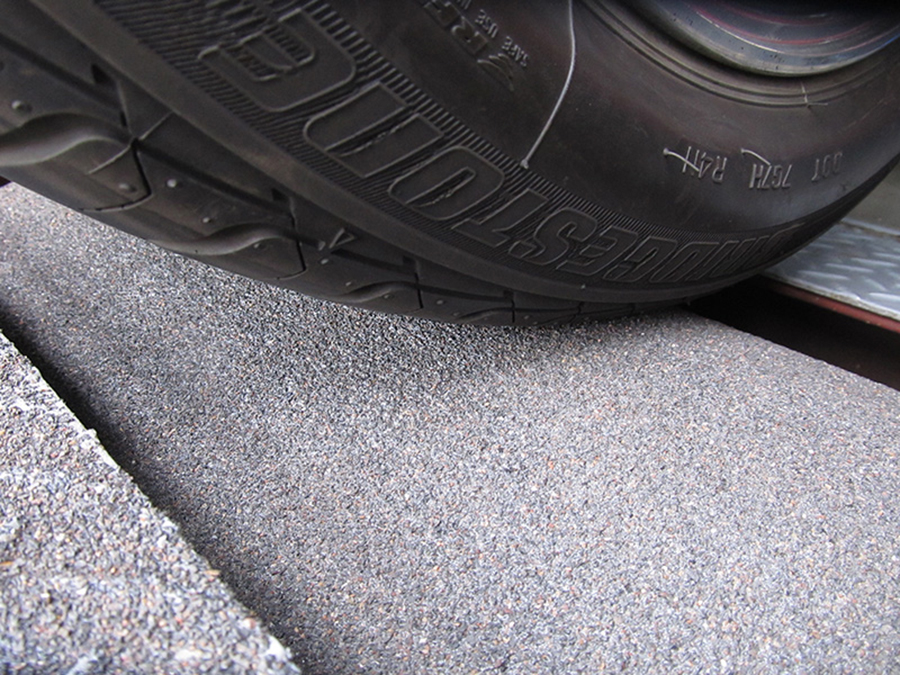
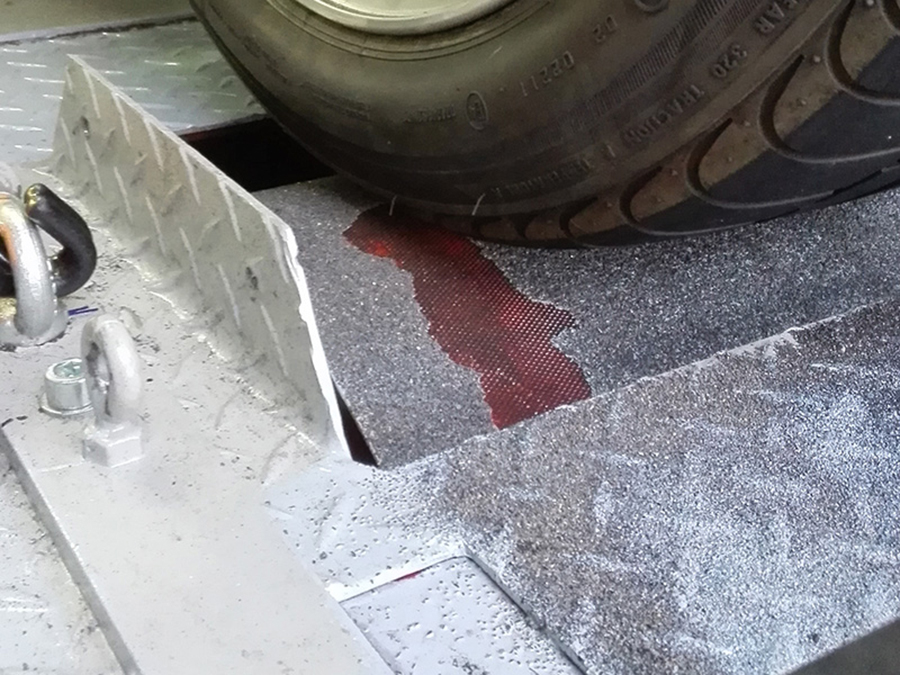
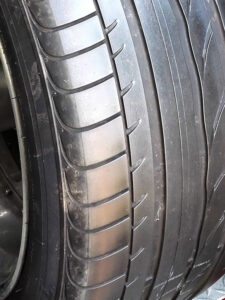 Zoals gezegd: de motor kon niet meer naar voren maar blijkbaar nog wel naar boven: zie het glimmende oppervlakte van de band. De motor accelereerde zo snel dat de band te weinig grip had op de rol van de testbank. Daardoor maten we slechts 250pk aan het achterwiel. Ook de hoge temperatuur van de band bevestigde ons vermoeden. Werk aan de winkel.
 As said: the engine could not move forward but apparently still upwards: see the shiny surface of the tire. The engine accelerated so fast that the tire did not have enough grip on the test bench’s drum. As a result, we only measured 250hp at the rear wheel. The high temperature of the tire also confirmed our suspicion. There’s work to be done.
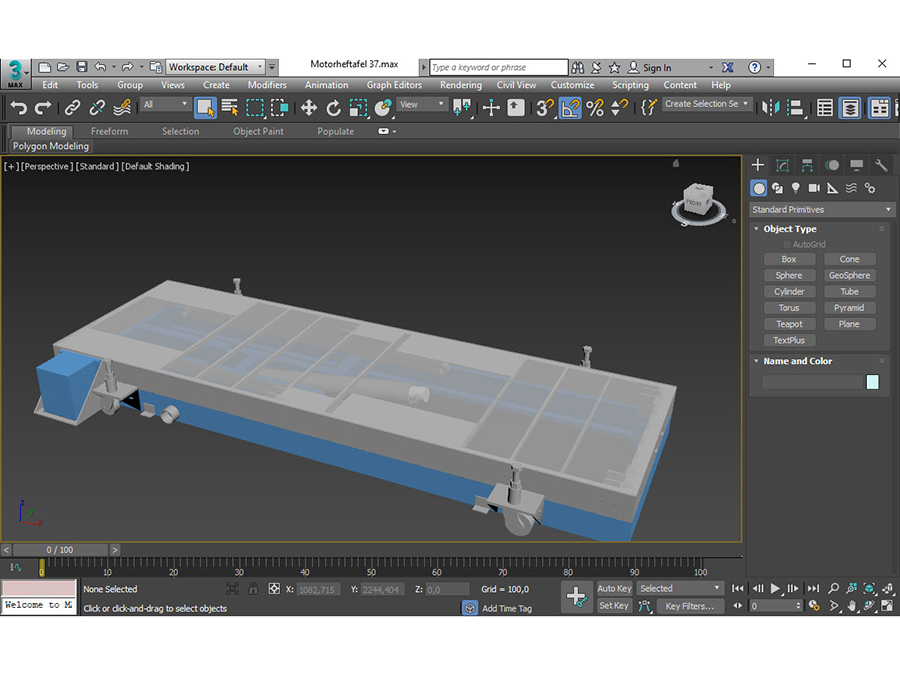
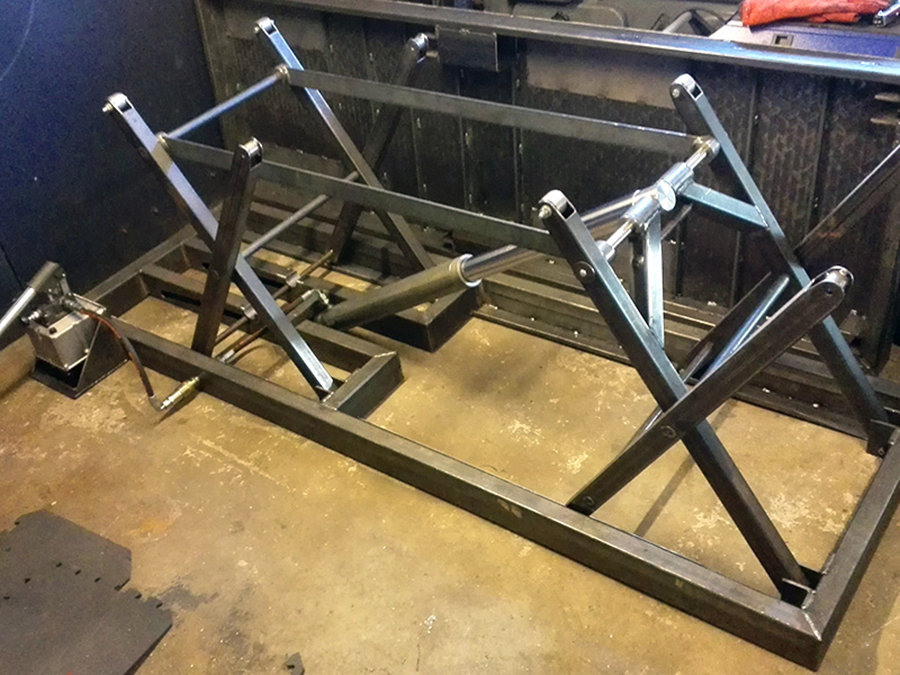
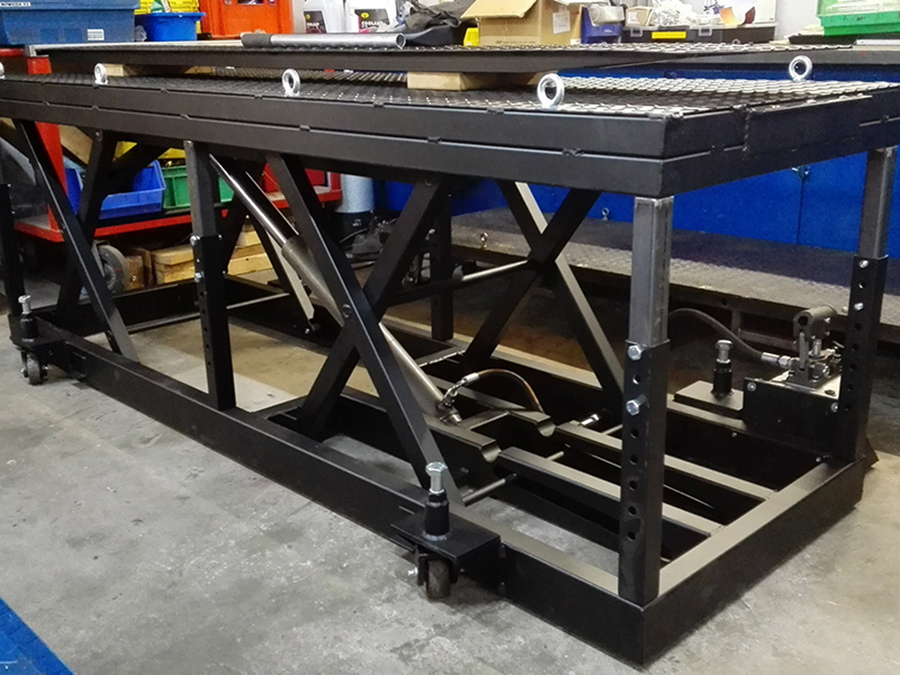
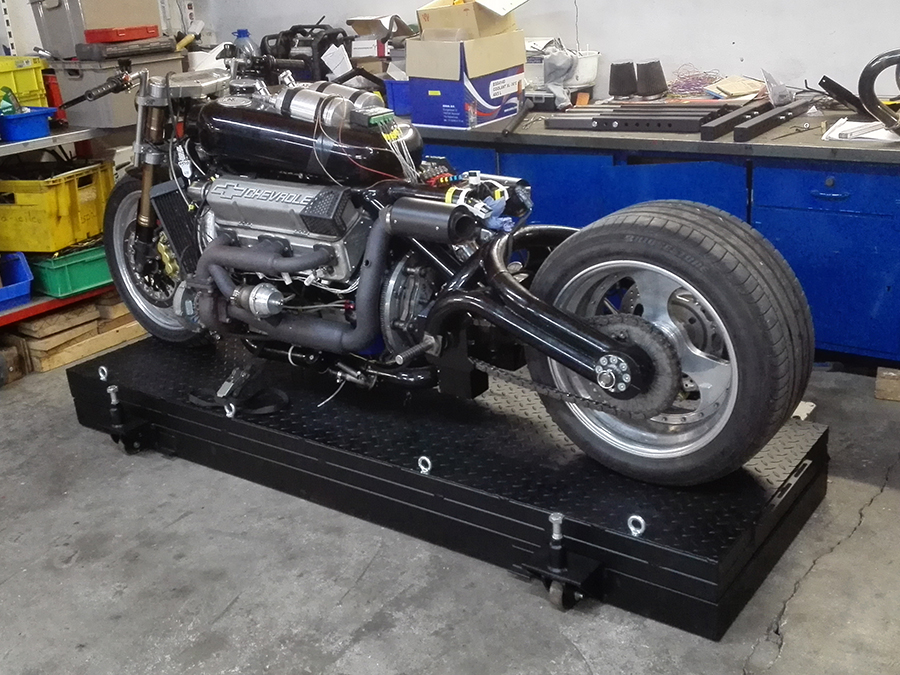
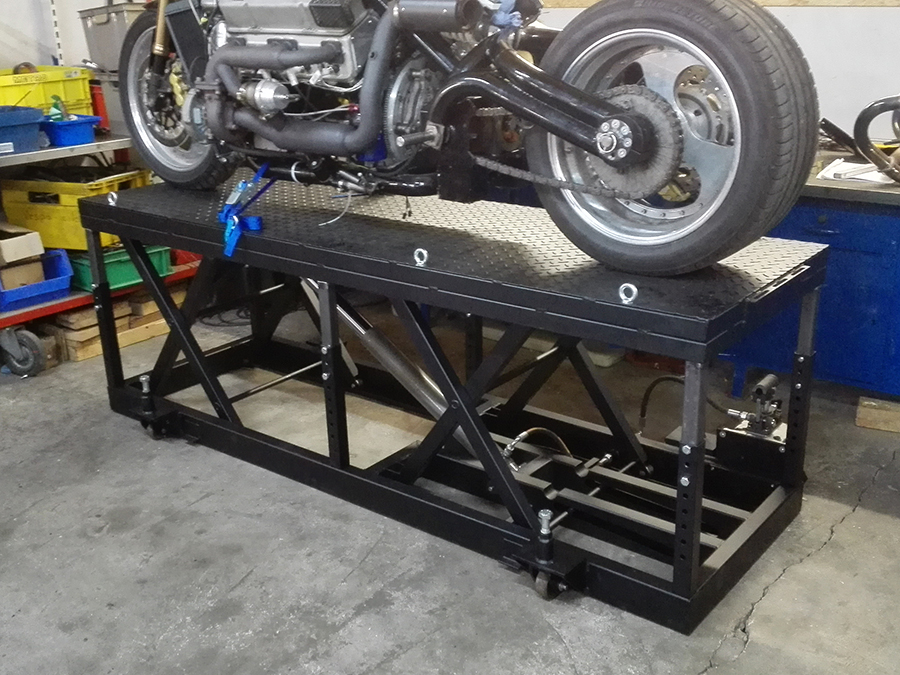
Als intermezzo heb ik in de wintermaanden een hydraulische hefbrug gebouwd. Ik besloot er zelf een te bouwen omdat een fatsoenlijke hefbrug die zware motoren als de mijne (530+ kg) kan tillen rond de 2.000 Euro kost. Voor dat geld bouw ik er zelf een. En dat is natuurlijk ook veel leuker.
Dus concepten bekeken op internet, en uiteindelijk zelf een brug met dubbele schaar ontworpen.
For the first test I used curbs and concrete tiles, to see the power of the lift. That went smoothly. See video.
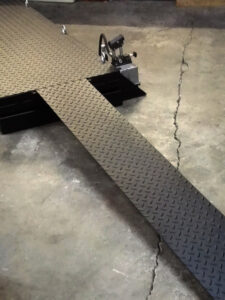
Here you can also see the roller system: first I lift the system with a crowbar, and then I turn a bolt to lower the swivel wheel.
I then had all parts sandblasted and powder coated at Teuwsen in Kranenburg. Great job for a good price.
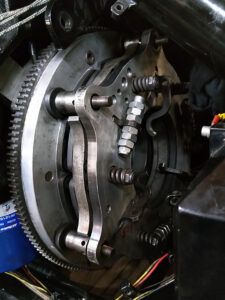
In the meantime I started with updating the clutch. The so-called ‘clutch buttons’ were worn out. The six centrifugal arms press these steel cylinders to engage the clutch.
I lathed the buttons of steel grade C45, which is very tough, and hardened them with fire and oil. In the end I refrained from hardening them because it makes the steel too brittle.
Test set-up, with clutch springs.
 … and writing down. And then draw. And then fabricate. And then assemble. And then test. And then be satisfied. Or not being satisfied and improve. And test. Trial and error to the bitter end. It’s the story of this project.
First steps: install, test and adjust the clutch and the transmission. Then continue tuning for more horsepower and torque.
In short: to continue … go here.
