 Time for an update, almost a year after the previous one. Because a lot has happened, so much that it won’t fit in a single post; this one consists of two parts, with no fewer than 206 photos with captions. Good luck! ;)
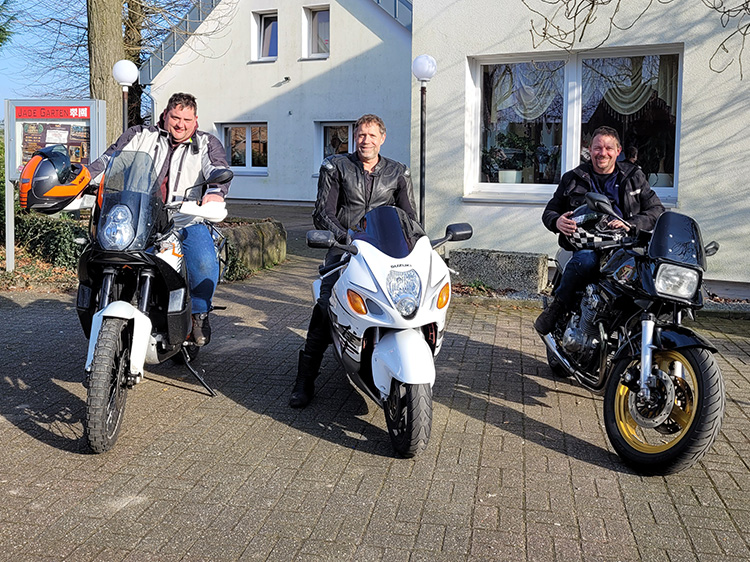
On March 9, 2025 the road salt had been washed away, so it was time for a test ride, together with my friends Peter and Micky. And after that there’s always some big or small reason to do a bit of tinkering.
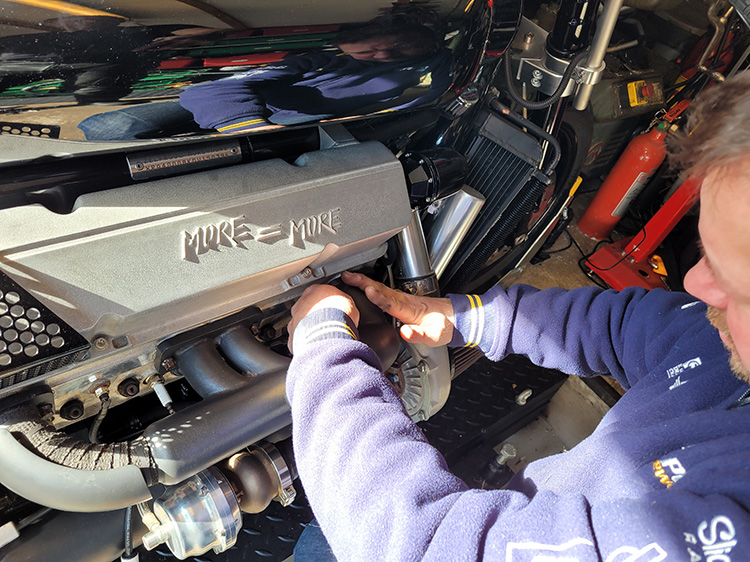
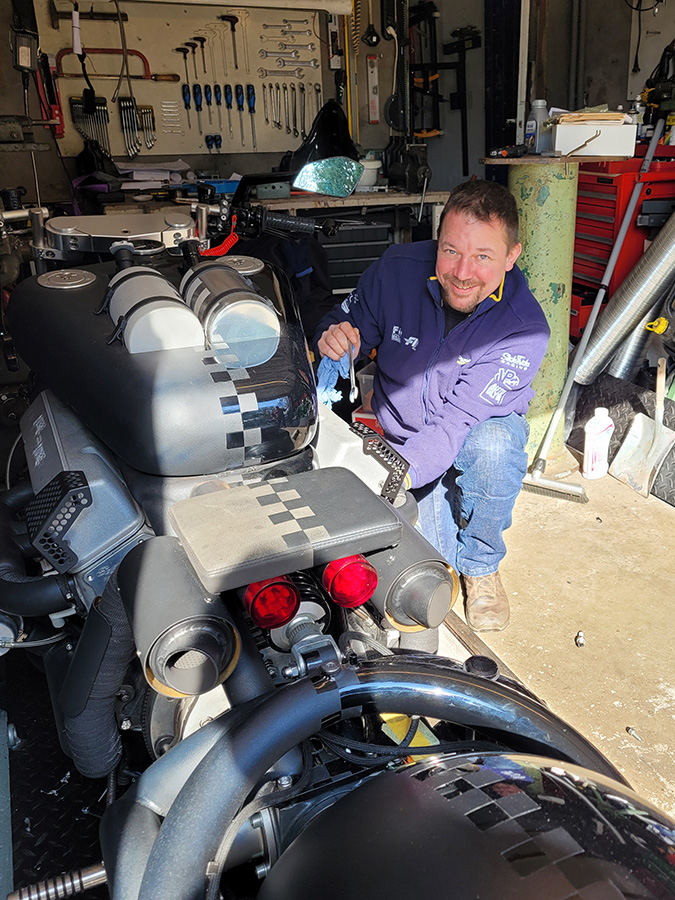
Because after the winter break the V8 was running on six of its eight cylinders, an electrical problem that couldn’t be fixed right away.
And the weather was far too nice to spend it on tinkering. We did a sporty ride through Germany.
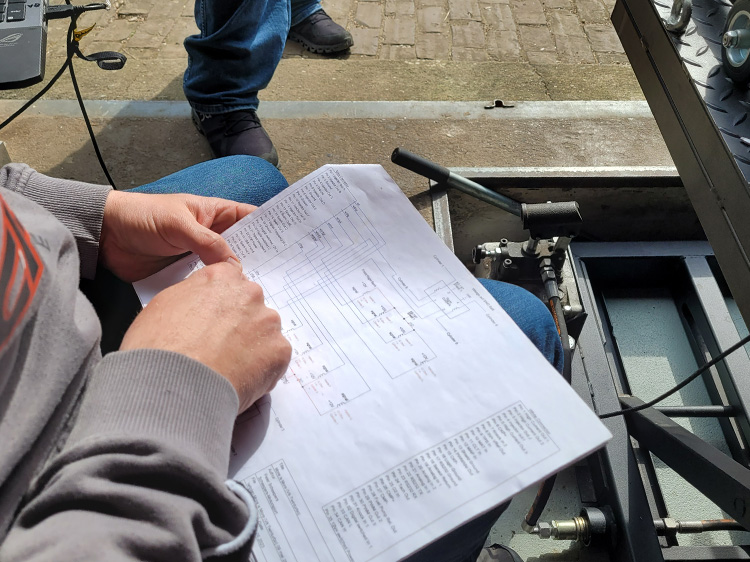
A week later Micky and Peter were back. We pulled out the wiring diagram and concluded there must be a broken wire at an ignition-coil connector.
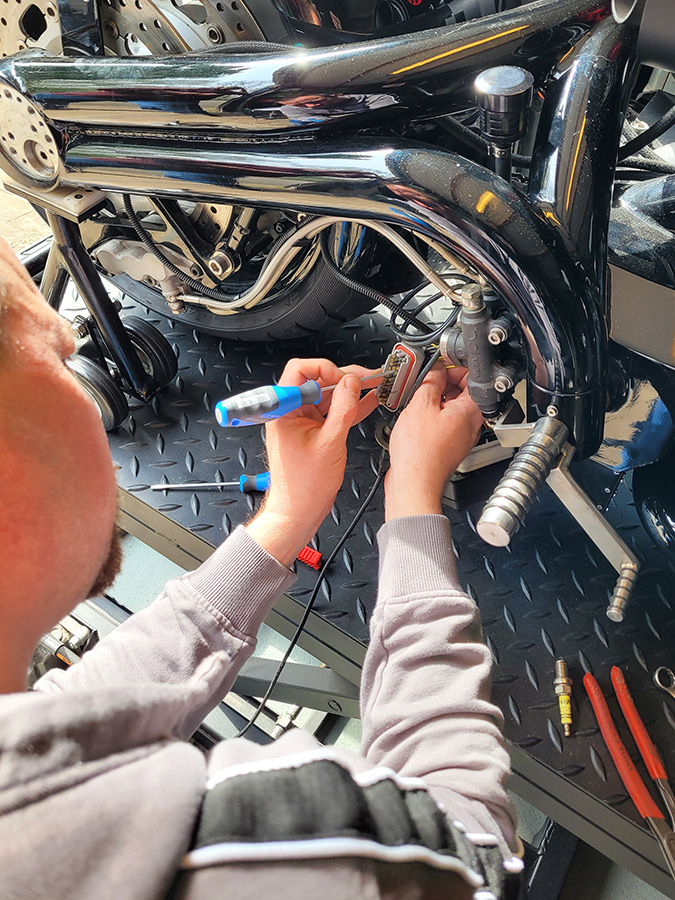 The engine management was checked …
 … and Peter fitted a new AMP connector. Fixed.
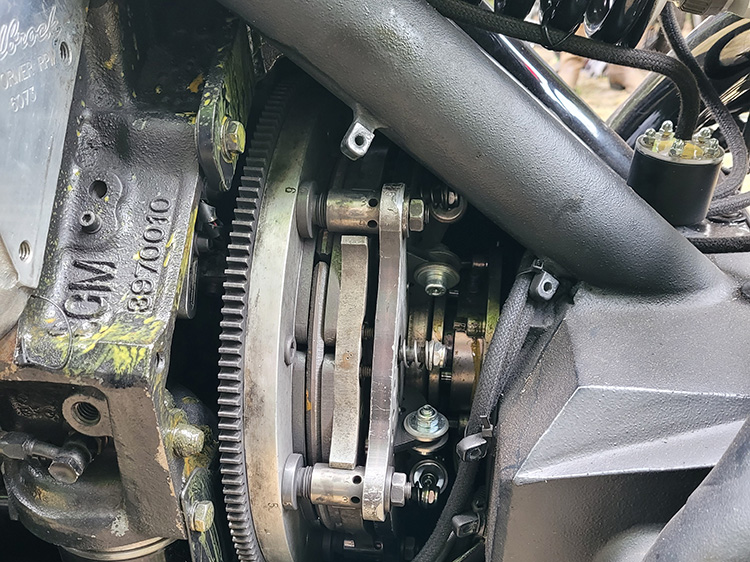
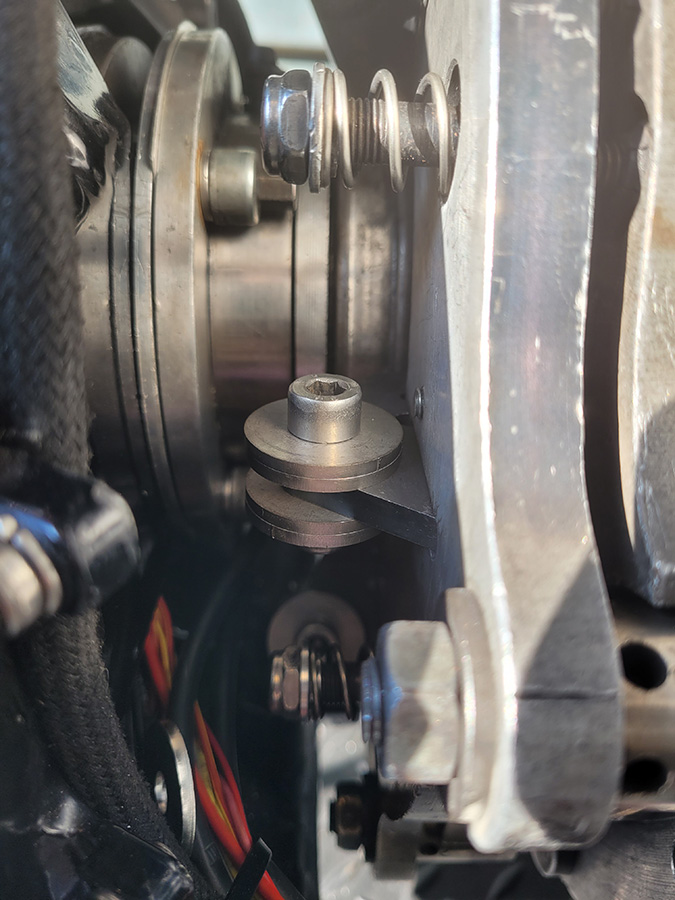 During the ride it turned out again that the clutch was slipping. And I didn’t want to add even more centrifugal weights, that couldn’t be the right direction: it would only bend the clutch and thus provide grip at the edge of the friction plate.
 So I asked tractor-pull veteran Josef Siebers to take another look with me. With the drawings at hand …
 … we concluded the six centrifugal fingers didn’t have enough space to fully extend, so I removed the shim plates behind the clutch pressure unit.
 The first test run, on the lift, looked promising. But only a road test would really tell.
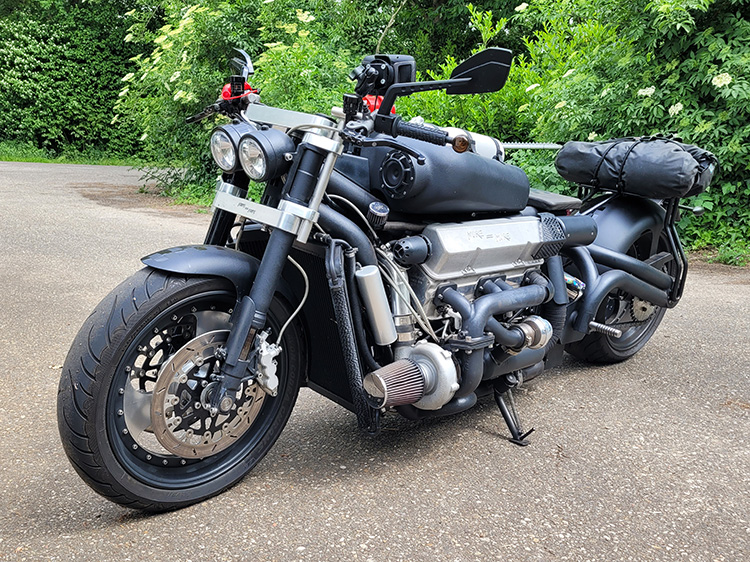
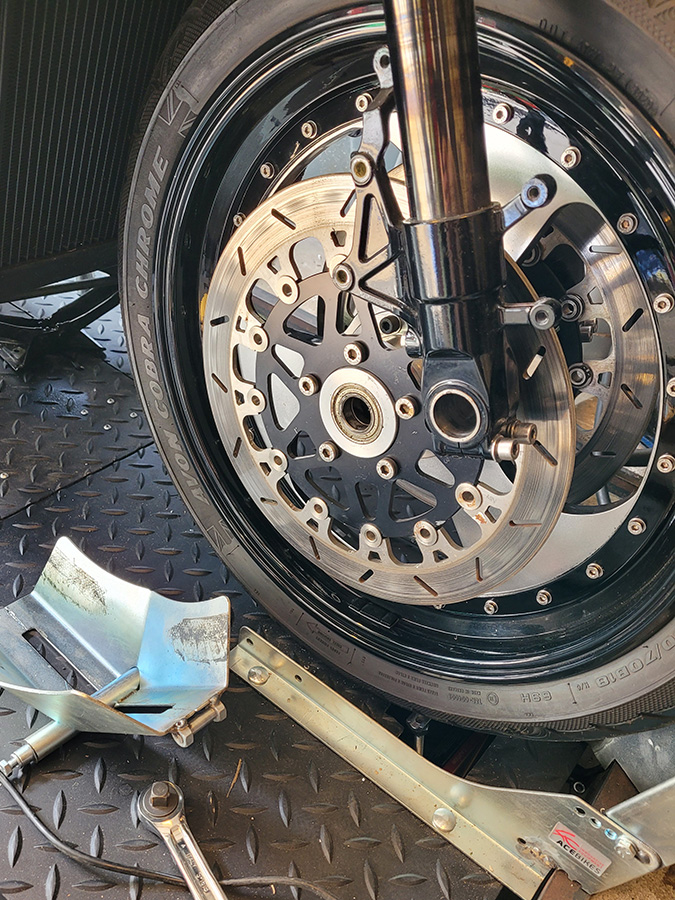 And then there was the instability at higher speeds: the handlebars wobbled, as if the front wheel was buckled. So that wheel had to come out.
 But nothing was wrong with it: no knock, and well balanced. So: keep looking.
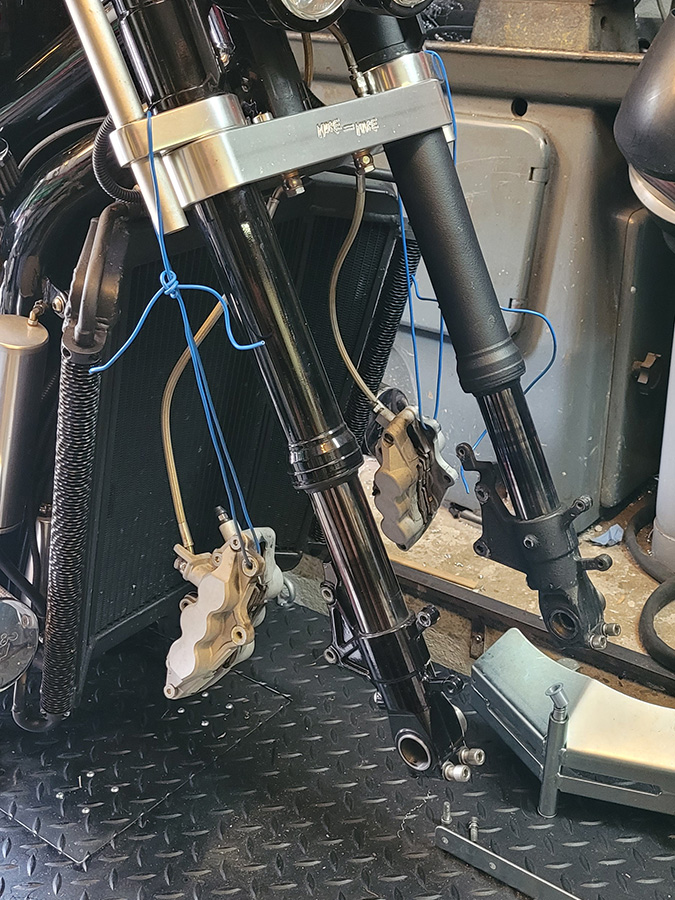 Then it might have been the steering head bearings. So …
 … I took out the front fork out.
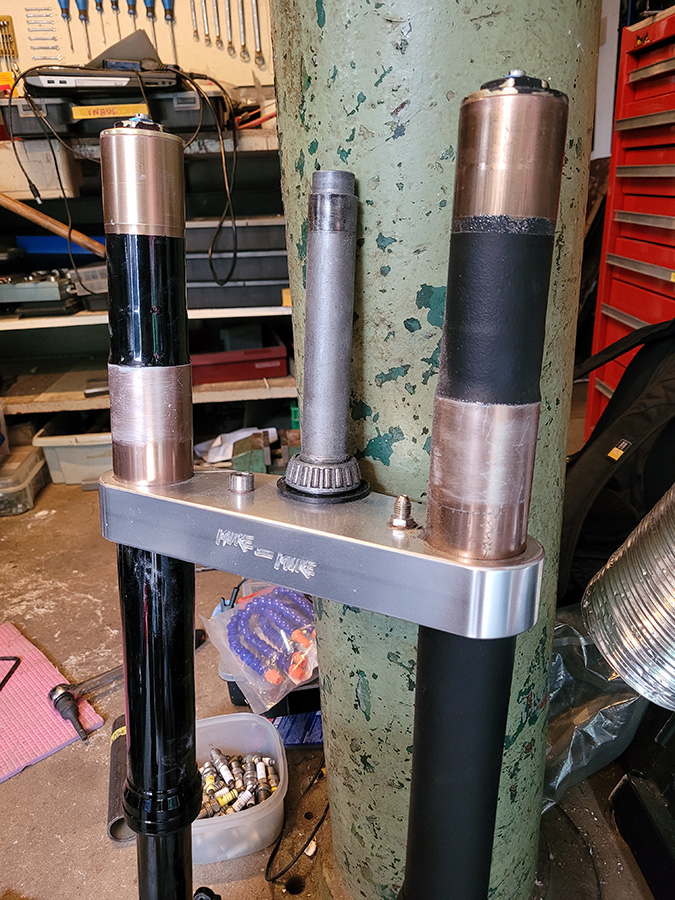 To remove the upper triple tree, I had to sand the paint off the fork legs. The triple trees clamp onto the bare part of the fork, not onto paint. Not great, so a solution was needed there too.
 But first: the steering head.
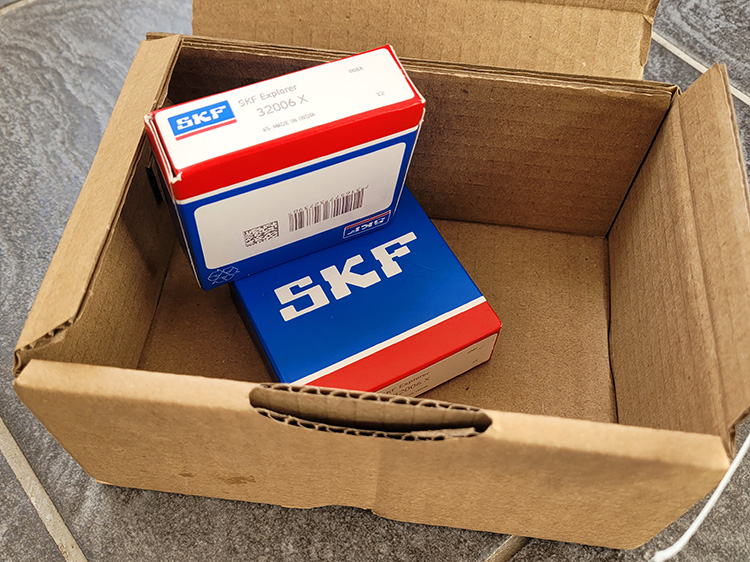
Put in fresh bearings, SKF of course.
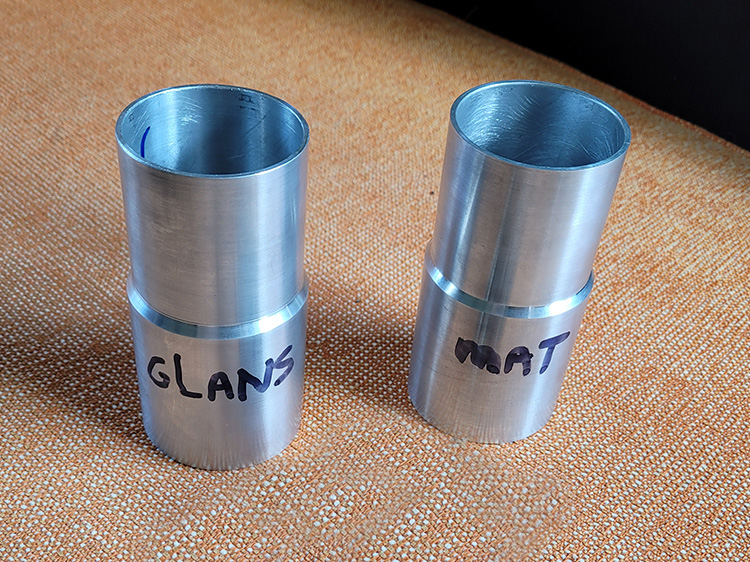
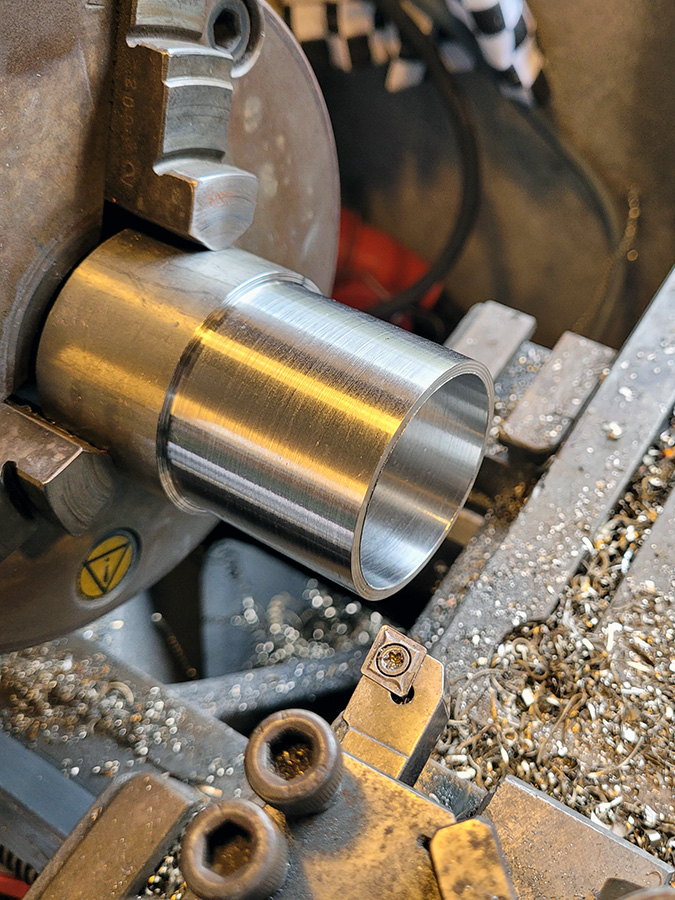
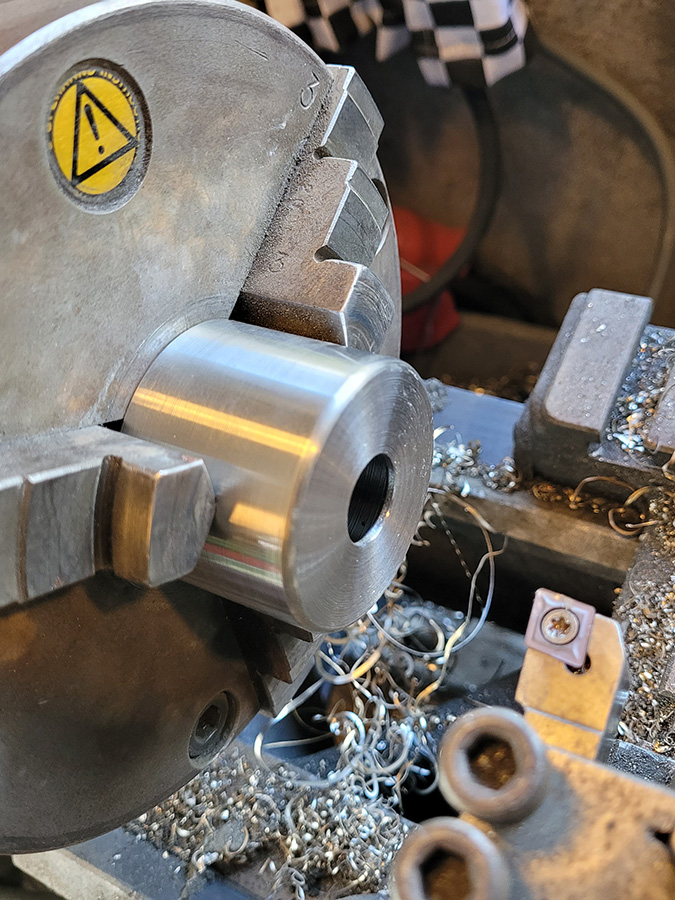
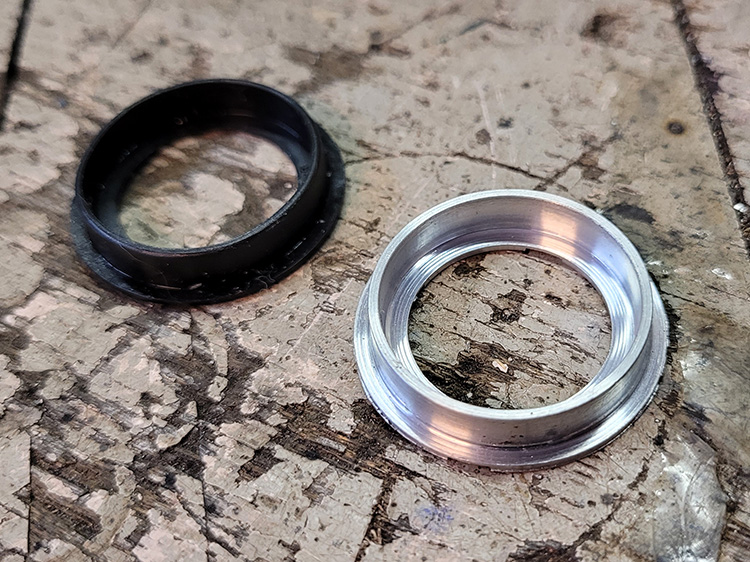
Joe Hillers lathed two aluminum fork sleeves: he has a bigger lathe and longer boring bars to machine the insides. With the markings ‘gloss’ and ‘matte’ because …
… they were shipped together with the fork legs to KustomBart in Friesland, for a glossy and a matte coat respectively.
 As always: perfect.
 So the fork legs remain partly unpainted, and both sleeves slide over those sections, fitting exactly inside the headlight bracket.
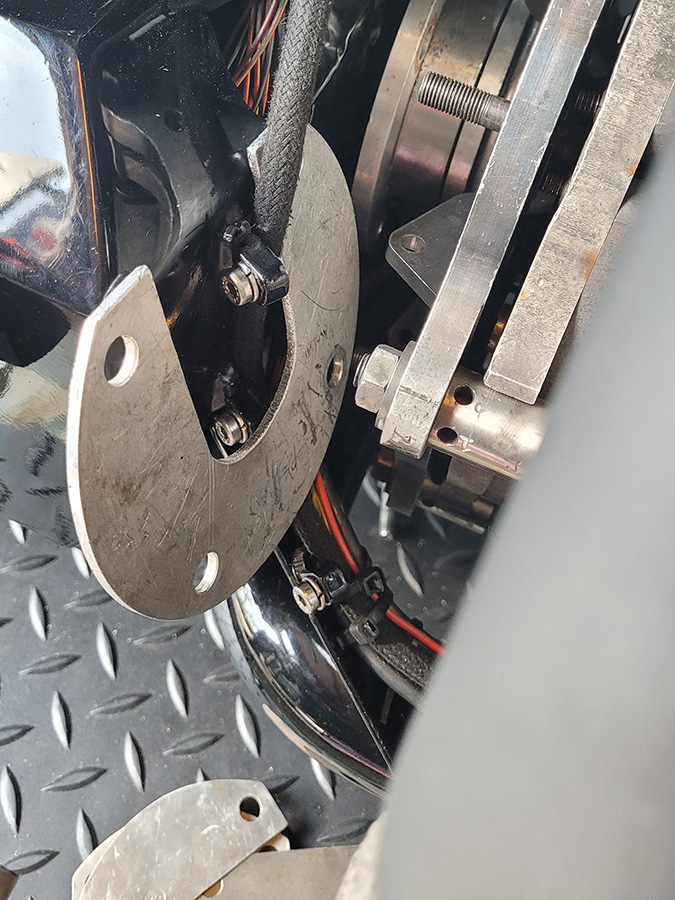
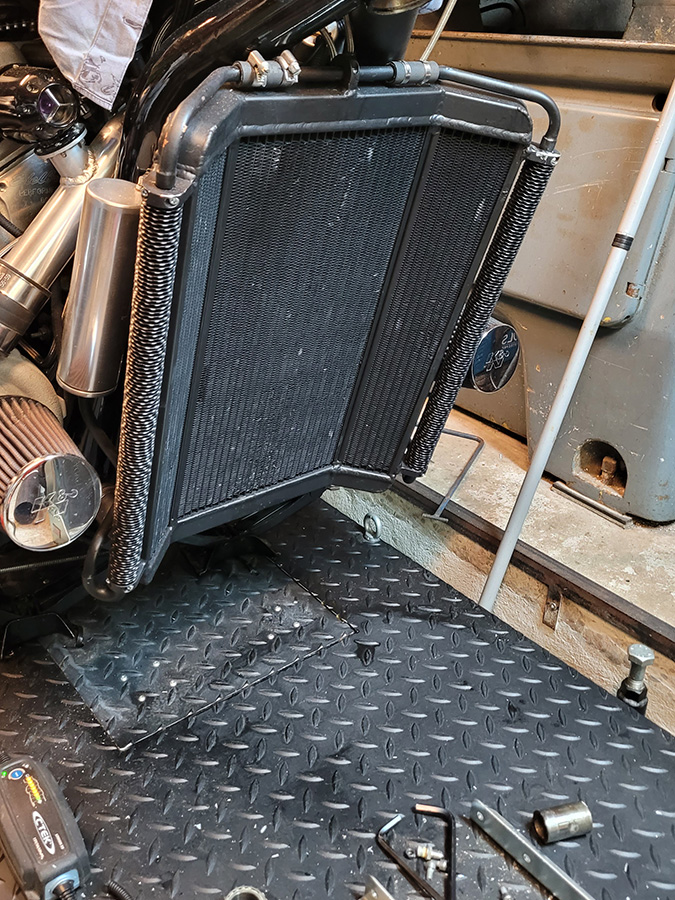
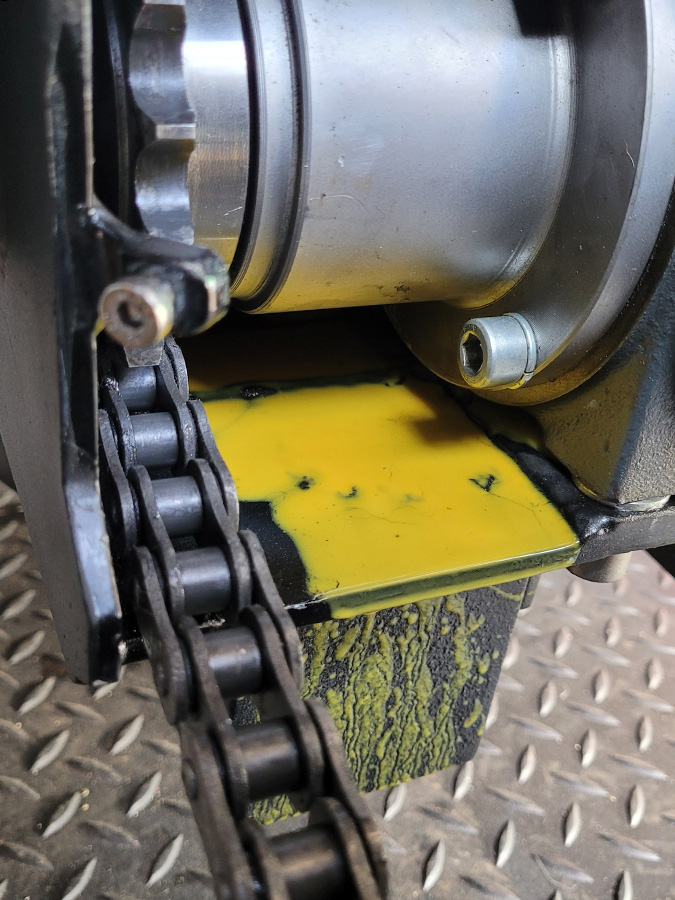 Oh yes, there was something else: on longer rides the gearbox oil in the bevel drive gets warm and thin, and unfortunately it still splatters out of the pressure relief valve …
 … despite the determined attempts by Jurriën van de Geer and me to fix this issue; see the previous post. But oil near the rear wheel: preferably not.
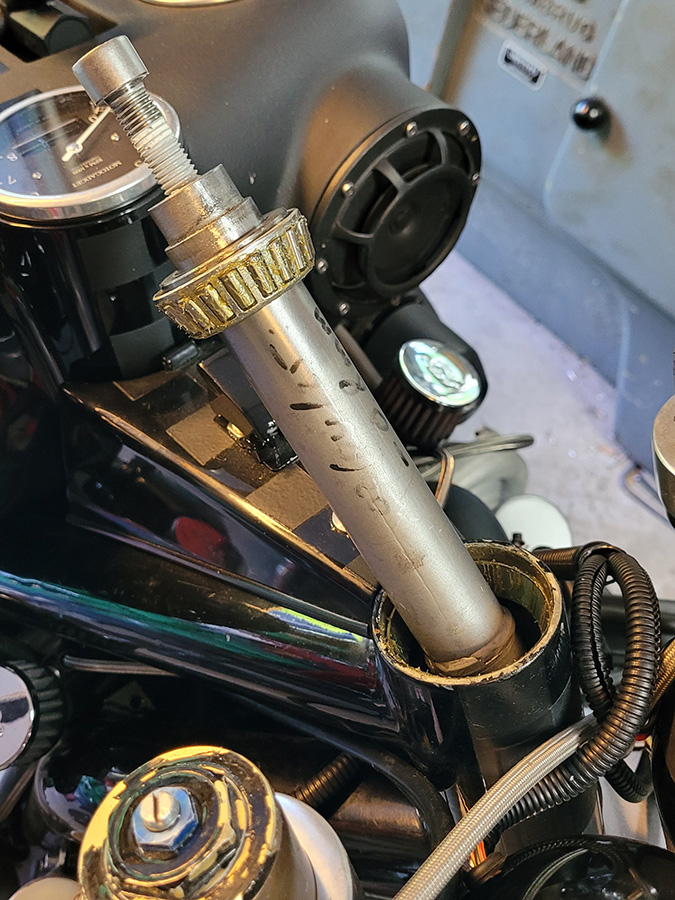
 I decided to replace the pressure relief valve with a bolt and instead make an overflow reservoir. A first experiment with a stainless tube and cap failed: couldn’t get it properly leak-tight, and no viewing window to check the level.
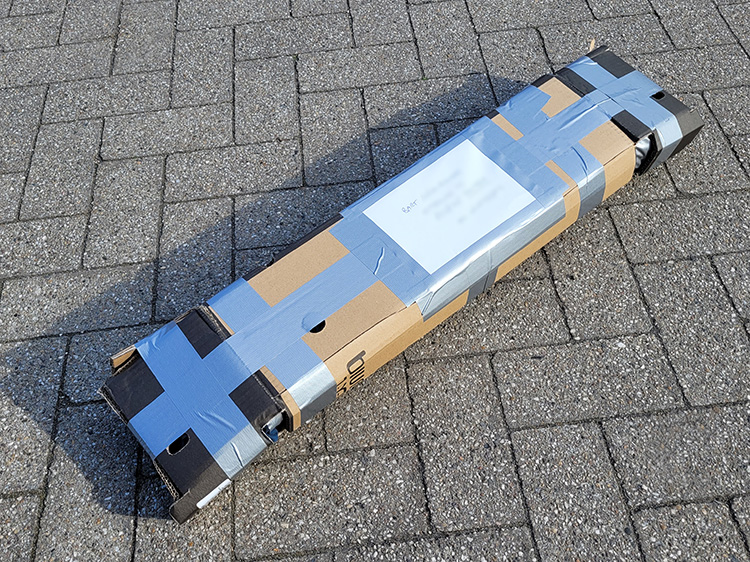
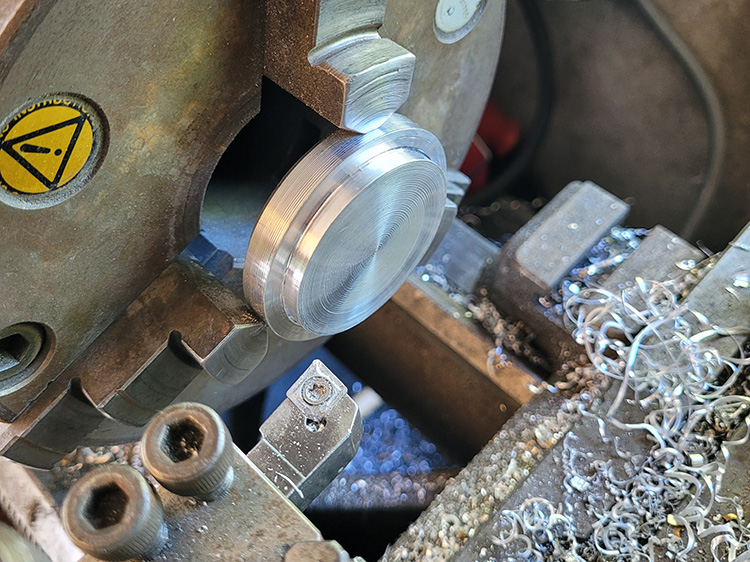
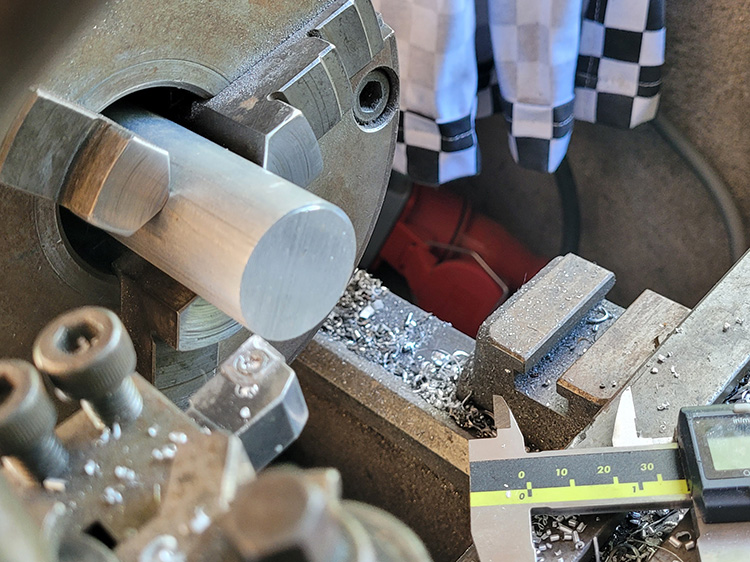
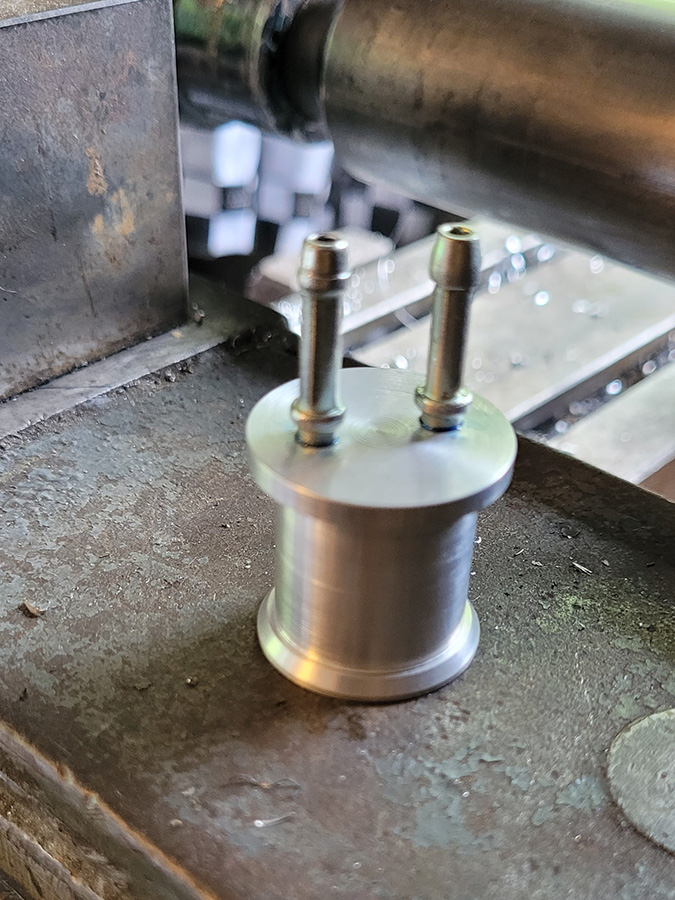
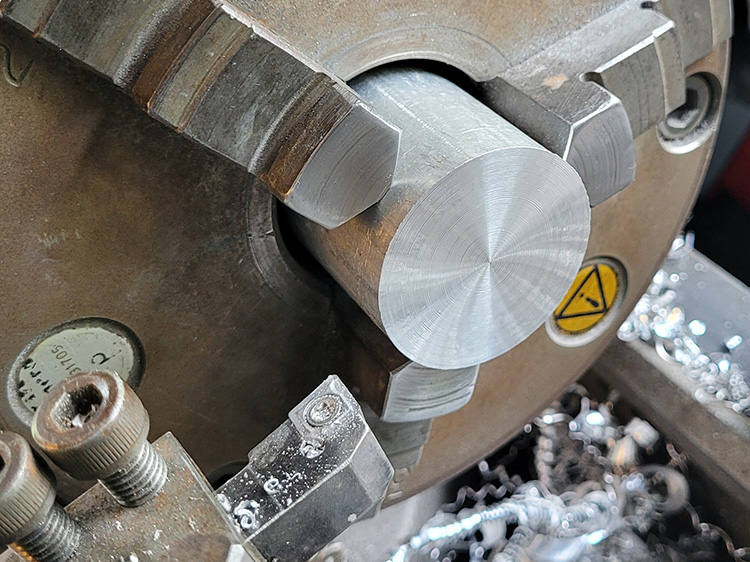
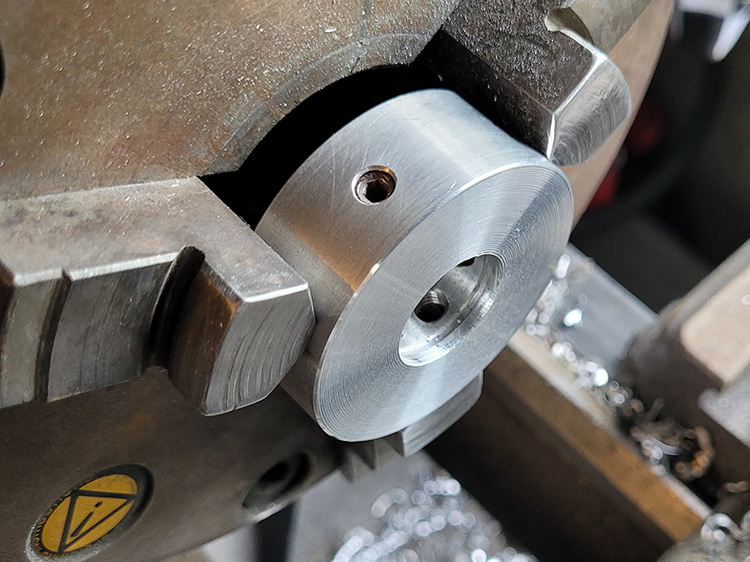
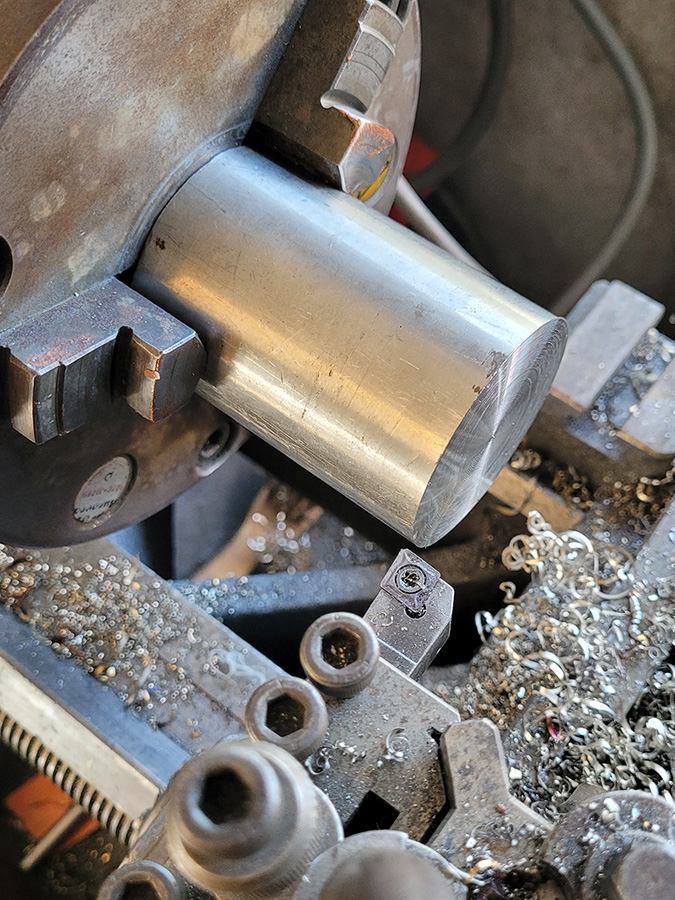 So then I’d make it myself, from a solid stainless-steel bar.
 Lathing and boring …
 … and finishing the bottom neatly, with a hole for the connection rod to the bevel drive.
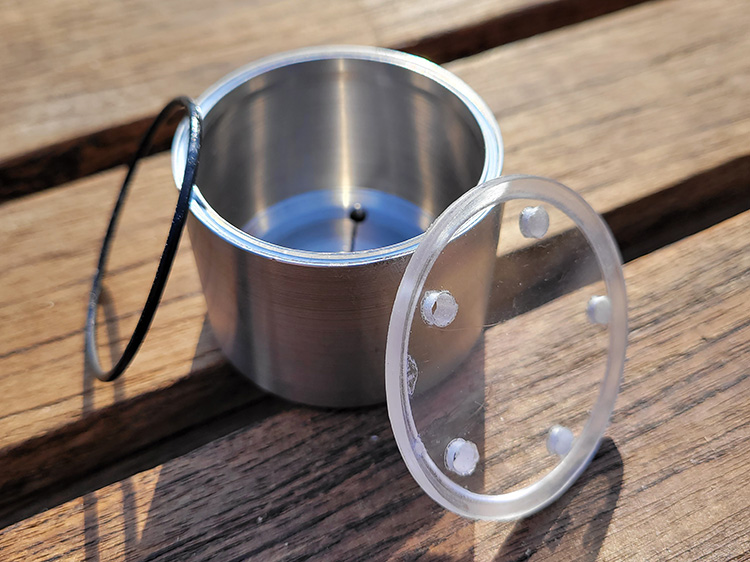
A groove in the top edge, a rubber ring, and a perspex lid. Love this kind of precision work.
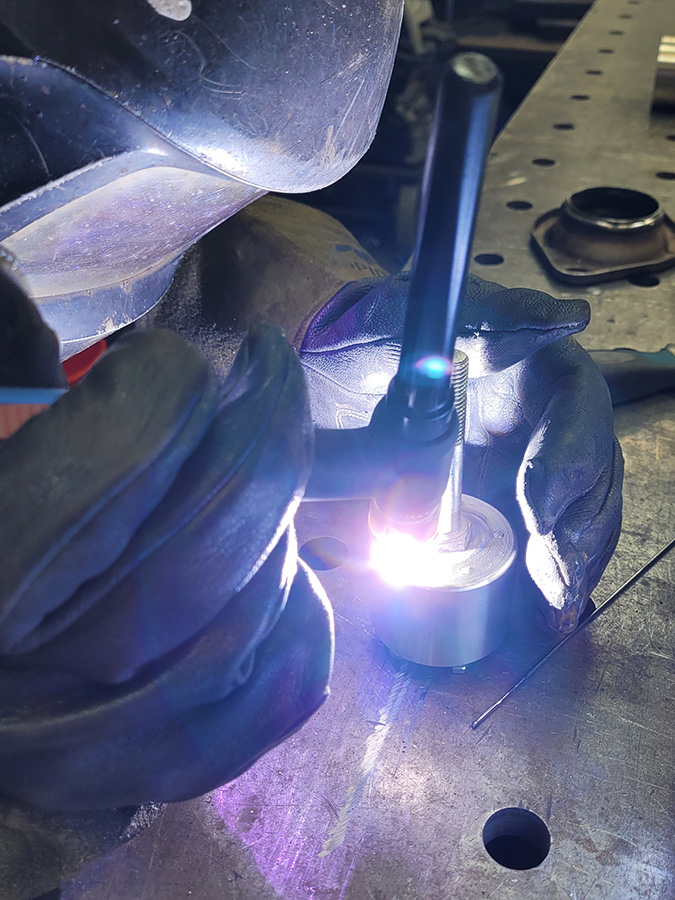 TIG-welding the little studs that hold down the lid.
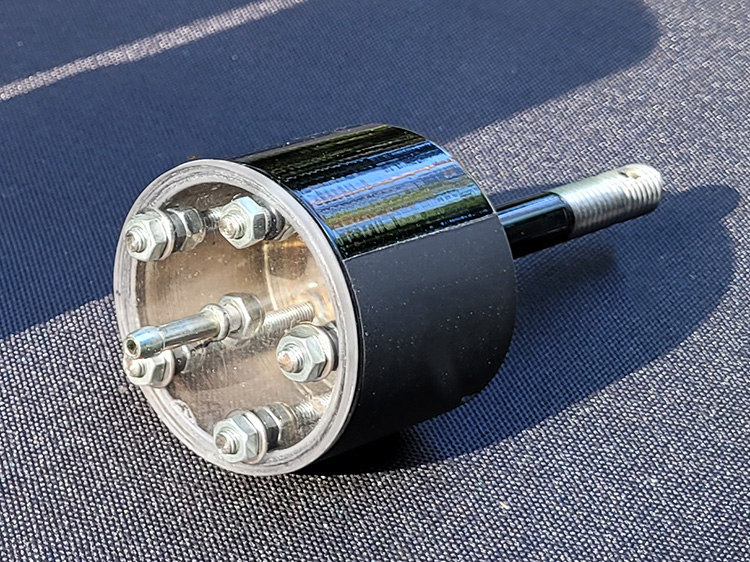
Et voilà!
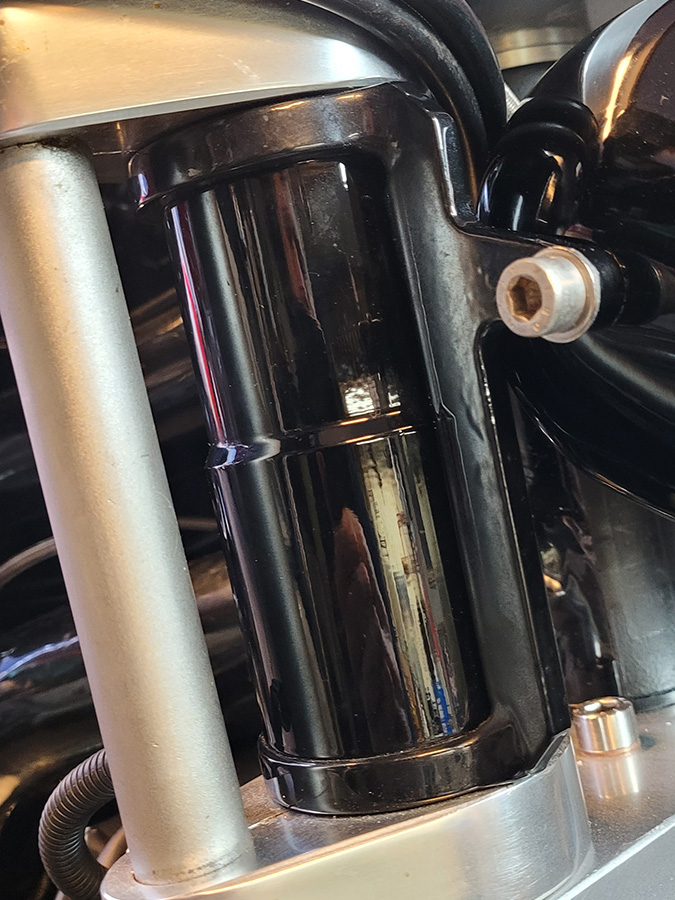
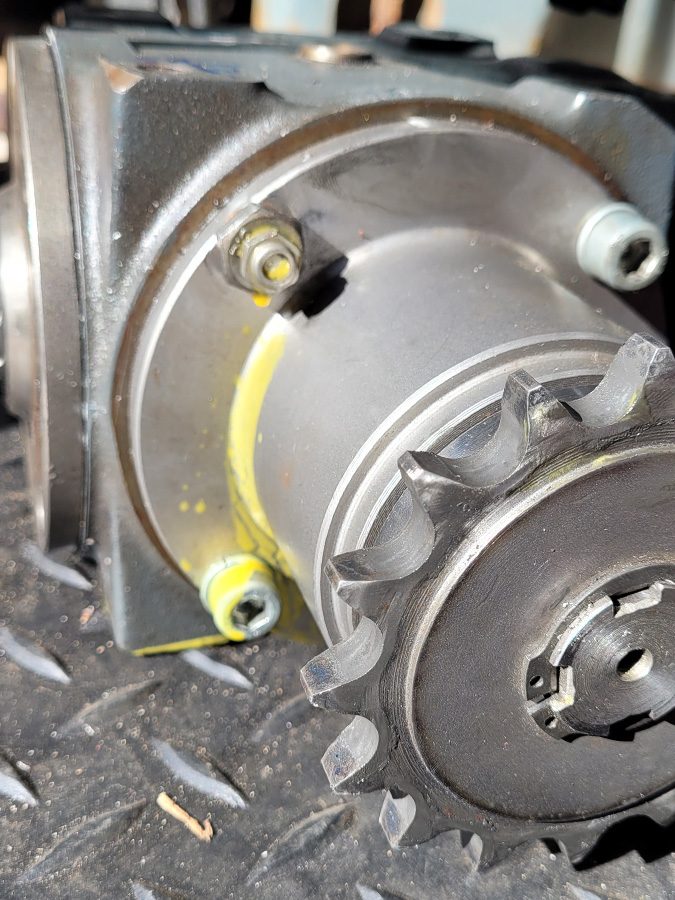
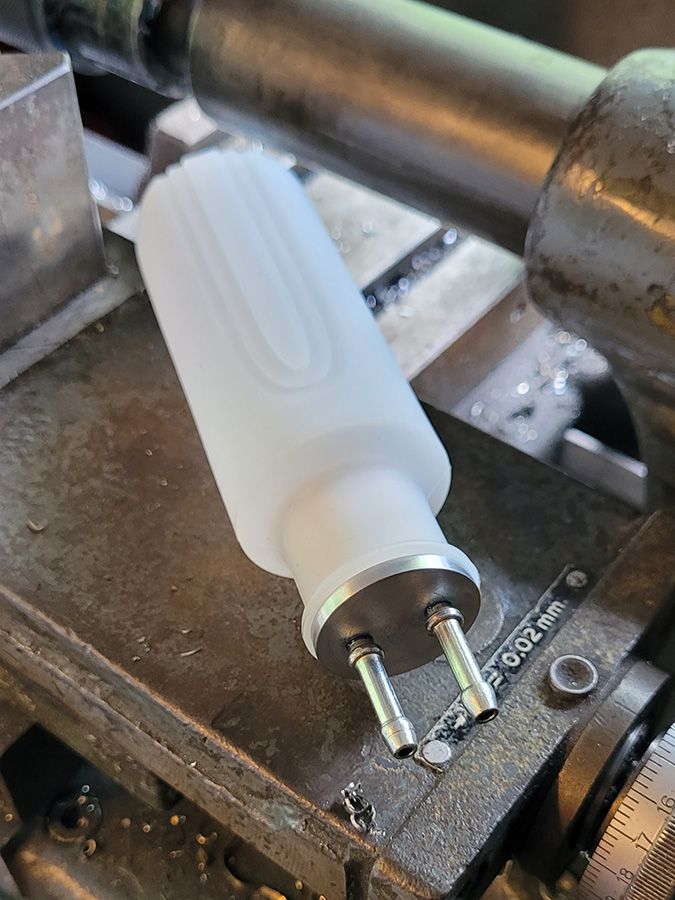
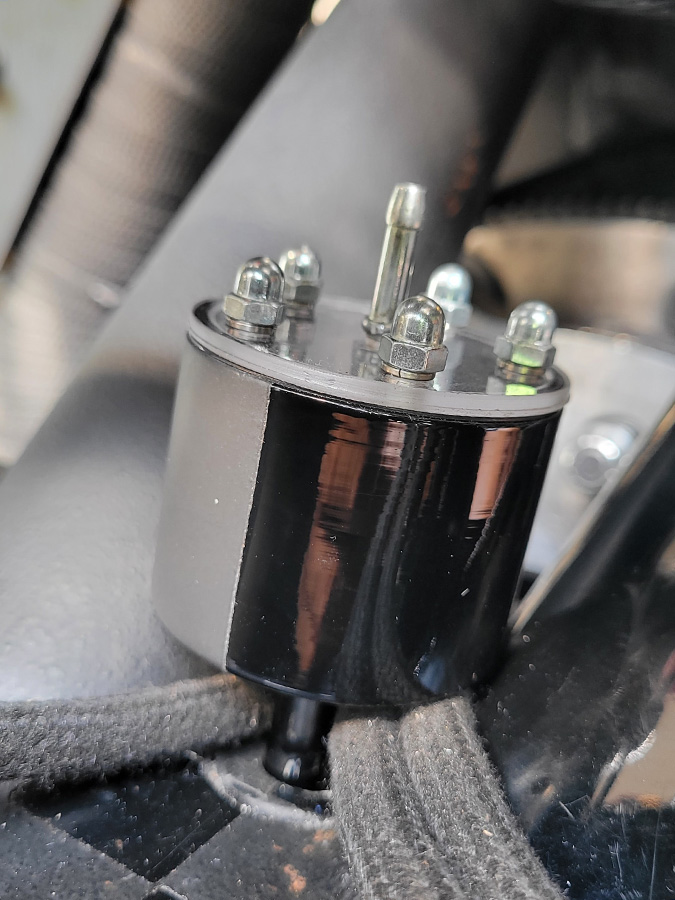 The reservoir fits perfectly into the top of the bevel drive.
 And a test ride proved it: great system, and after a ride the fluid flows back into the bevel drive
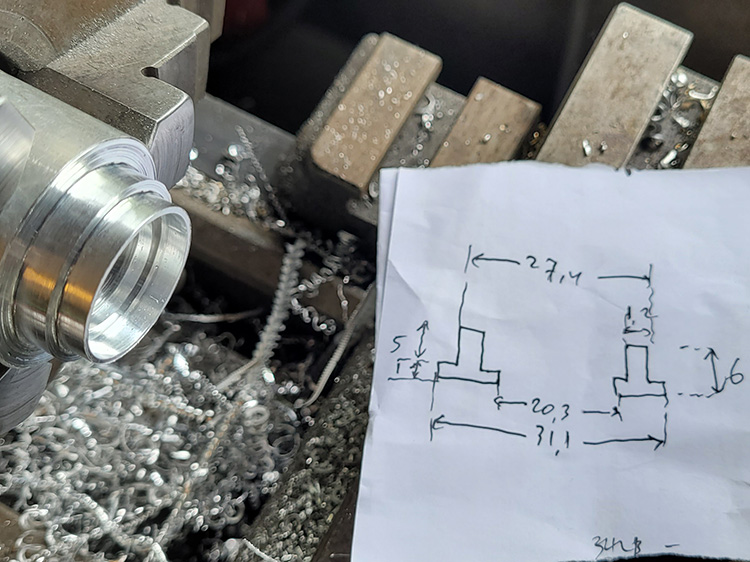
Lathed two new caps for the upper triple tree …

… and spray painted them. Because looks matter too. ;)
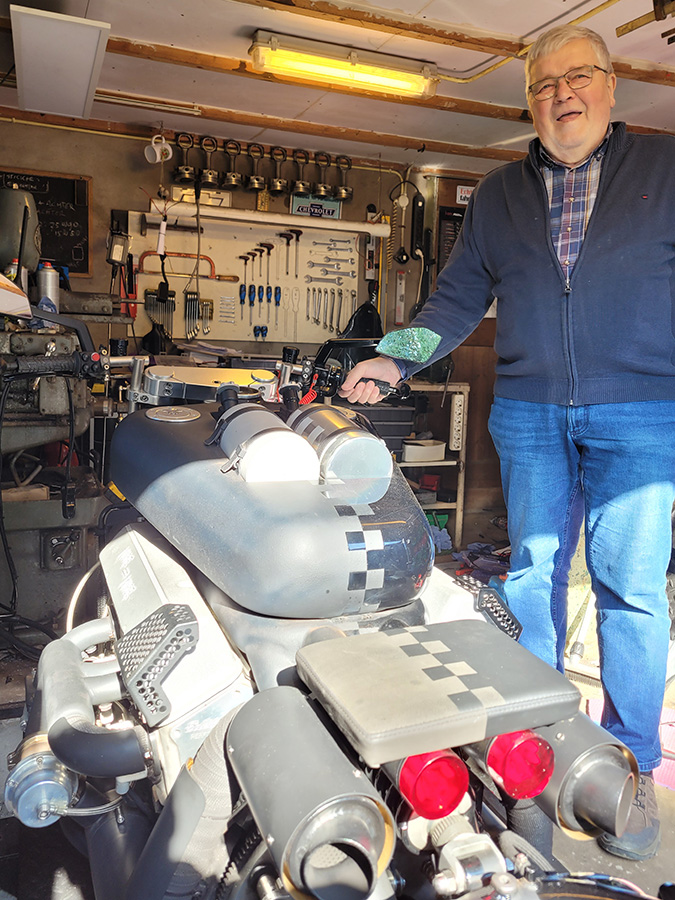
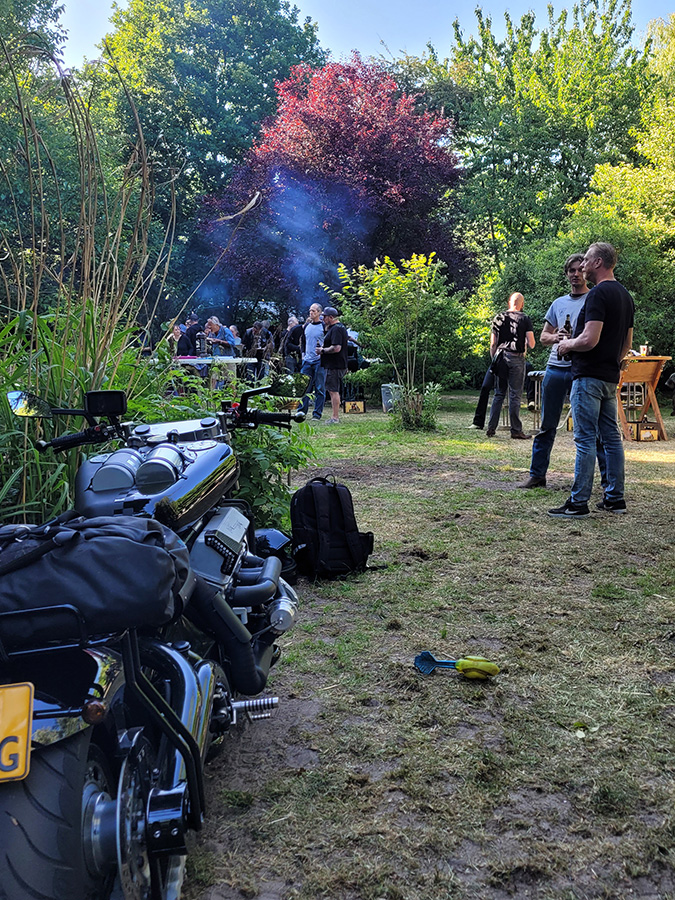
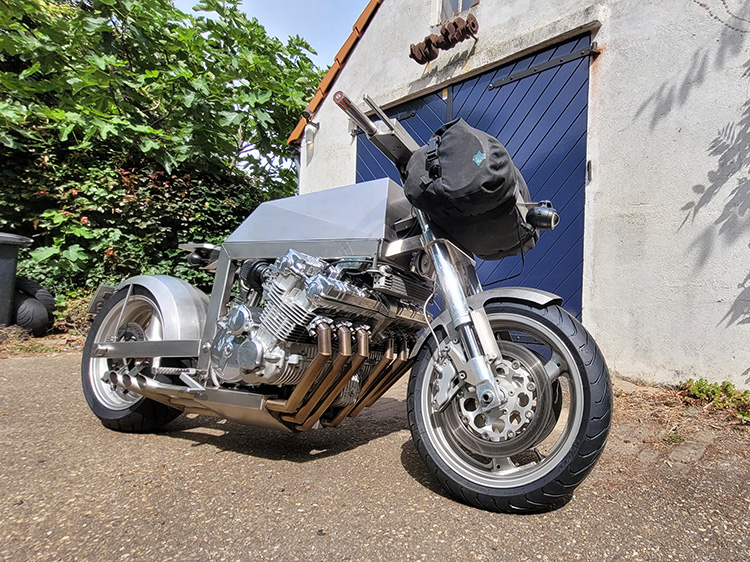
 Mid-May 2025 I dared it: the first bike meet with the V8.
GMP stands for Garage Maniacs Party.
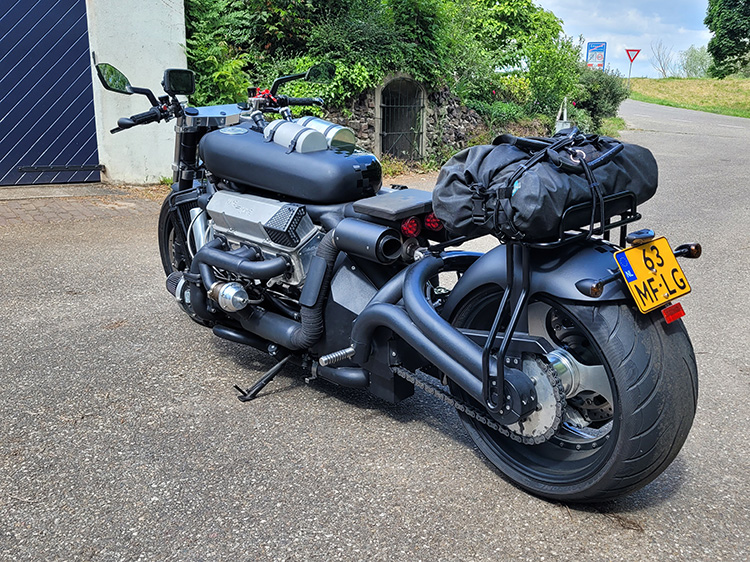
Mounted the luggage rack …
… satnav on the handle bars, and off to Brabant.
 The ride went great: the clutch had good grip (finally!) but the nervousness in the handlebars at higher speeds still wasn’t solved.
It was quite exiting the first time I rode across bumpy grass: including rider (me), maneuvering 650 kilos is seriously hard work.
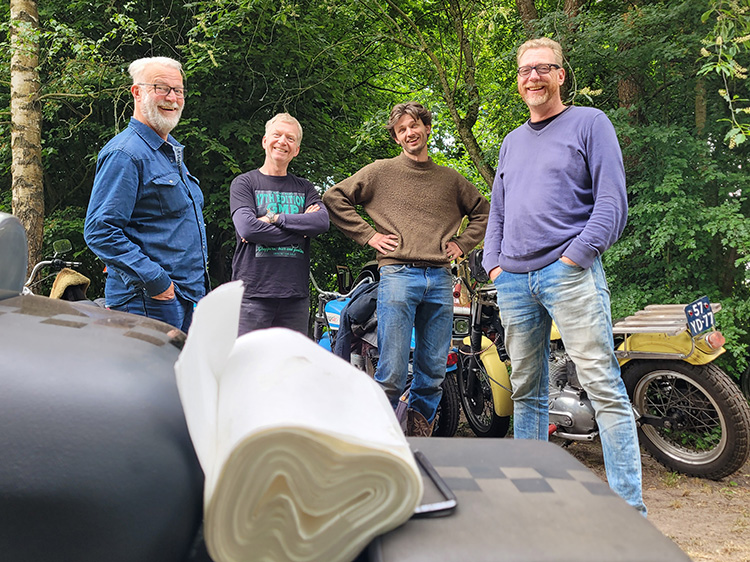
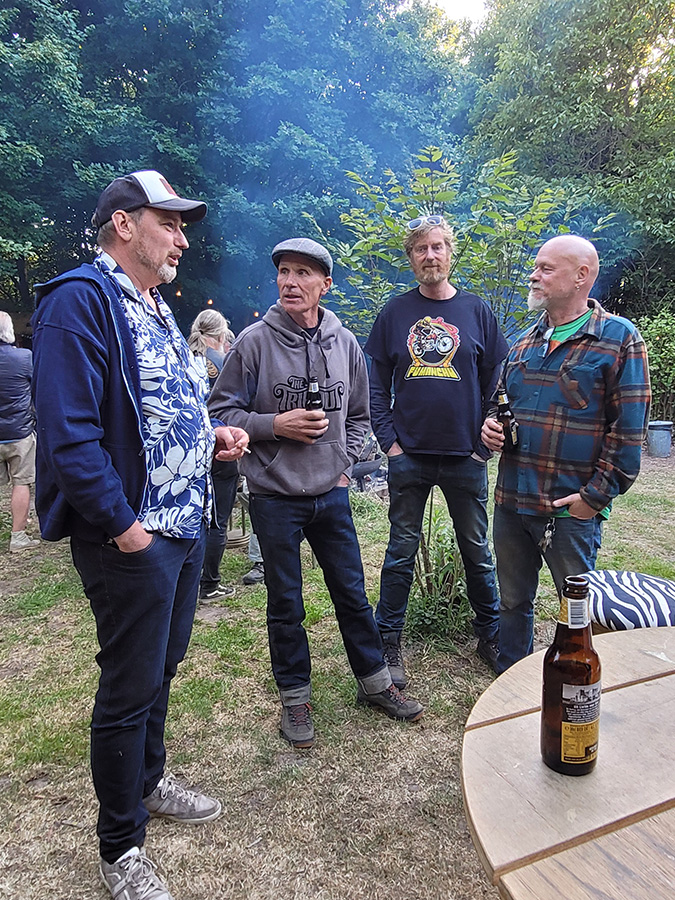 As the flyer already said: ‘Invitation only’, a private party. KustomBart (left) smuggled me in.
 A familiar sight: a bit of tapping, a bit of pressing, a bit of squeezing. But all done thoughtfully.
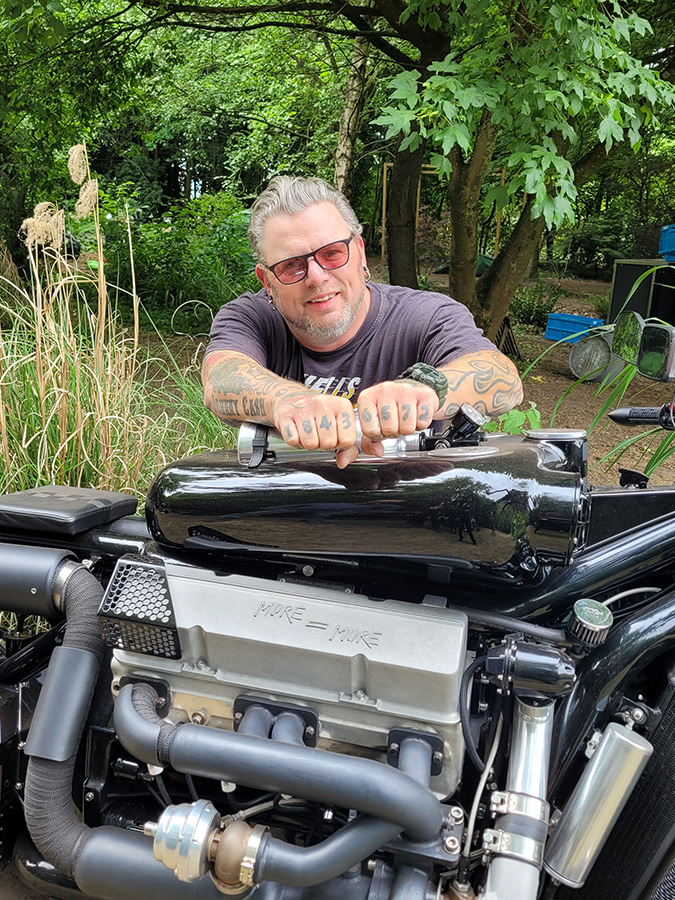 I met Wilco, a true hardcore V8 fan. He has the firing order of a V8 engine tattooed on his fingers, say no more.

I met two fellow BigTwin bikeshow jurors there, Mark and Aad, with whom I judged last year. Like me, true Garage Maniacs.
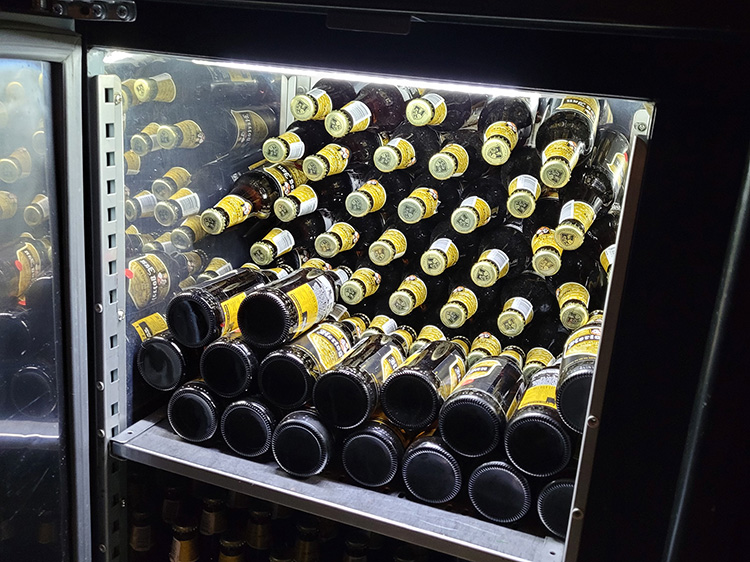
The party was very well organized, everything heart and liver could wish for was plenty at hand.
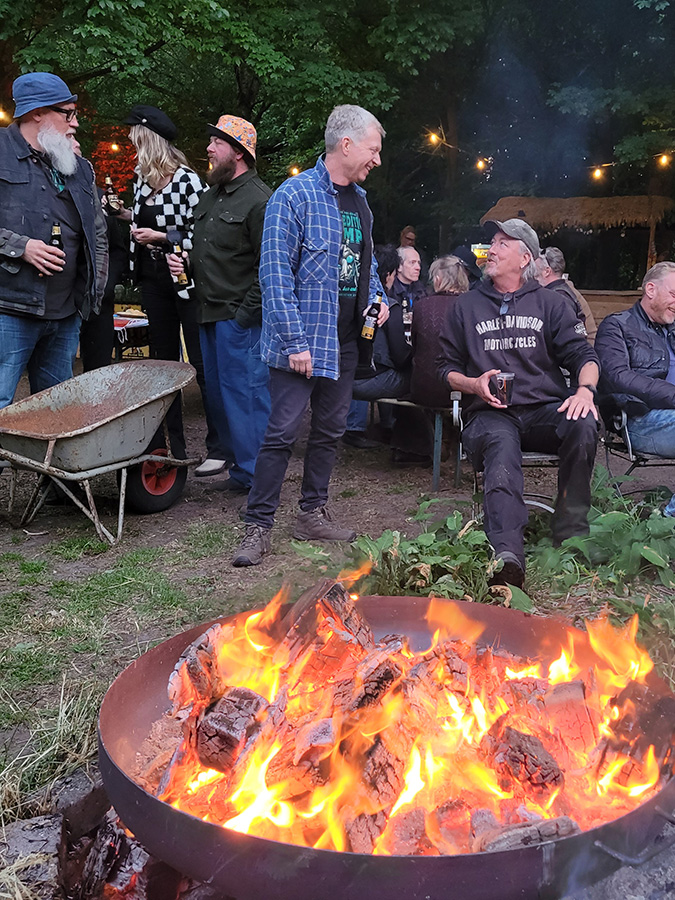 The bikers present were mainly Harley chopper fans in seventies style. People in their fifties, sixties, seventies, and by now I fit right in.
Nice vibe, partly because it was ‘Invitation only’. That prevents hassle with unwanted groups.
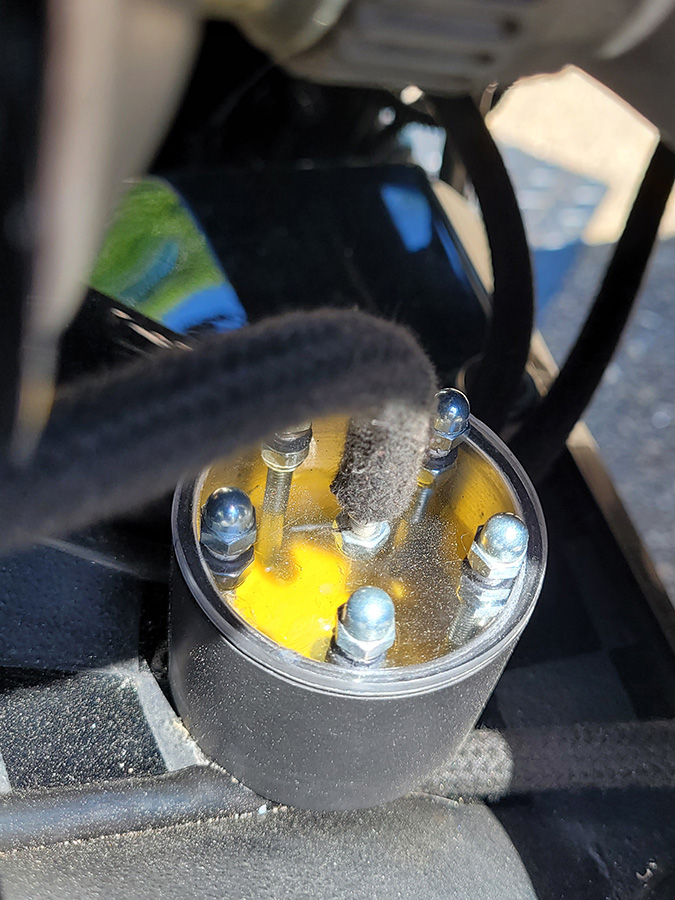
On the way to the meeting I’d already seen the reservoir was too small for a long ride: the little hose on top was meant for venting but dumped excess oil in a spot where I’d rather not have it. So on Sunday morning the clutch covers came off …
… time to clean! That drew quite a crowd. Third from the left you see Bram, an active young bike builder, hope for the future of motorcycle building.
Fortunately no gearbox oil had ended up on the clutch plates. I routed the breather hose into an empty Fristi carton: problem solved, temporarily, at least.
 On the way back the engine faltered, seemed like it might even stall; not something you want on the highway. I found a quiet spot and concluded the sidestand switch was unstable.
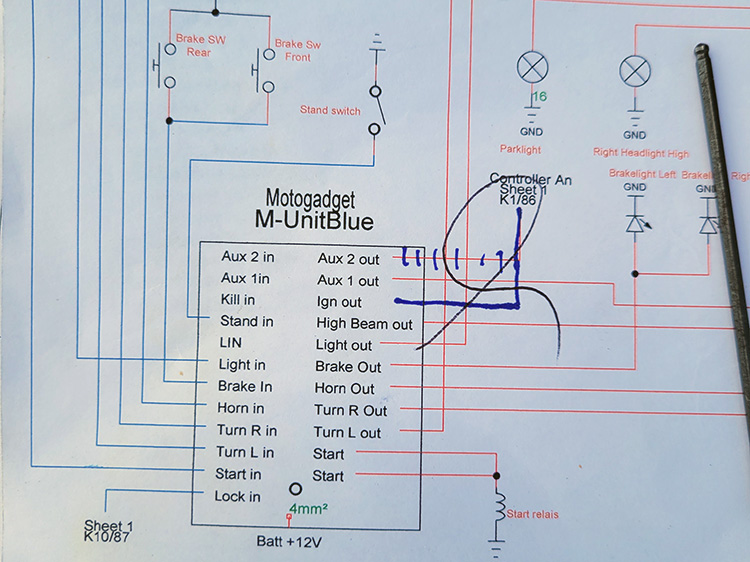
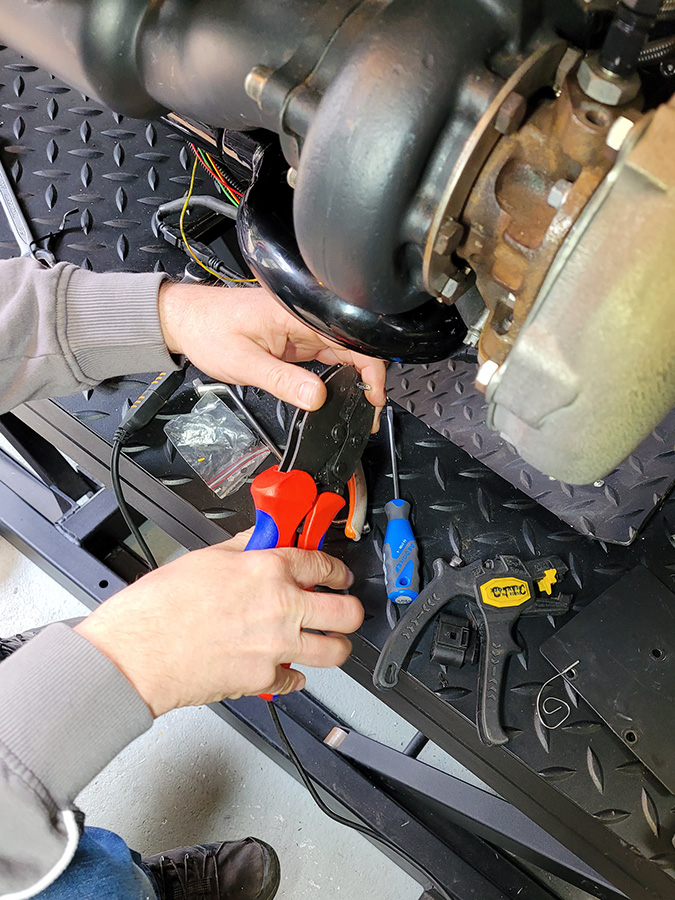
Studied the wiring diagram …
 … and disconnected the sidestand input from the m-Unit. Fixed.
Afterwards I found out I could also have solved it in the m-Unit app, via one of its advanced settings. The wire is back in place now and the switch has been repaired. Check.
The long ride provided me lots of useful info. The datalogging showed my new oil-cooling system worked very well: even in city traffic the oil temperature stayed fully within acceptable range, rising and falling along with the coolant temperature.
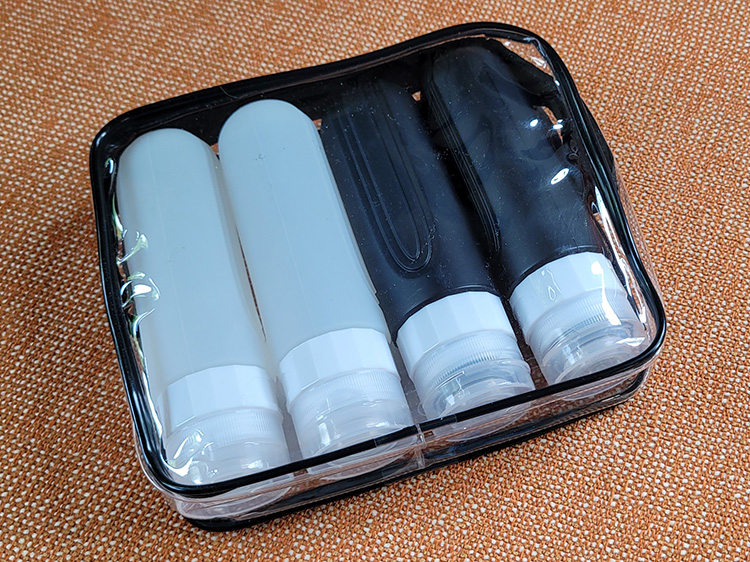
Back home I looked for a second reservoir and found one: silicone bottles.
Lathed a new cap …
 … with a hose inlet and a vent.
 Works great. And because it’s transparent, I can clearly see how full it gets.
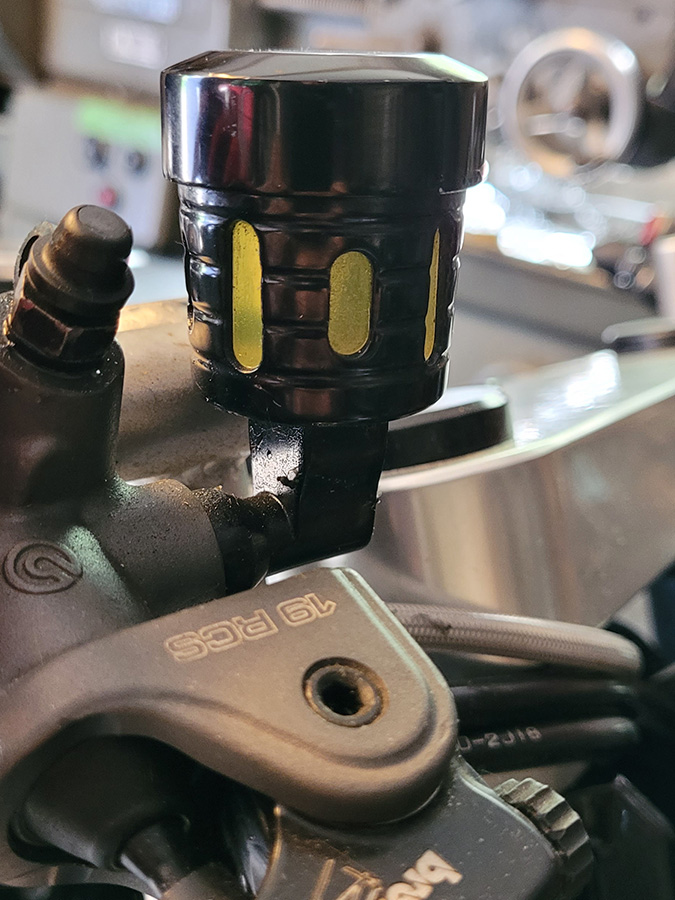
 Speaking of leaks: the brake-fluid reservoir on the handlebar leaked; with a UV lamp you can see that very clearly (though that drop speaks for itself ;)). The plastic lid under the cap turned out to be broken. Unfortunately I couldn’t find a replacement online, so yeah …
… so: clamp up another chunk of aluminum …
… and machine it out to the exact dimensions of the original.
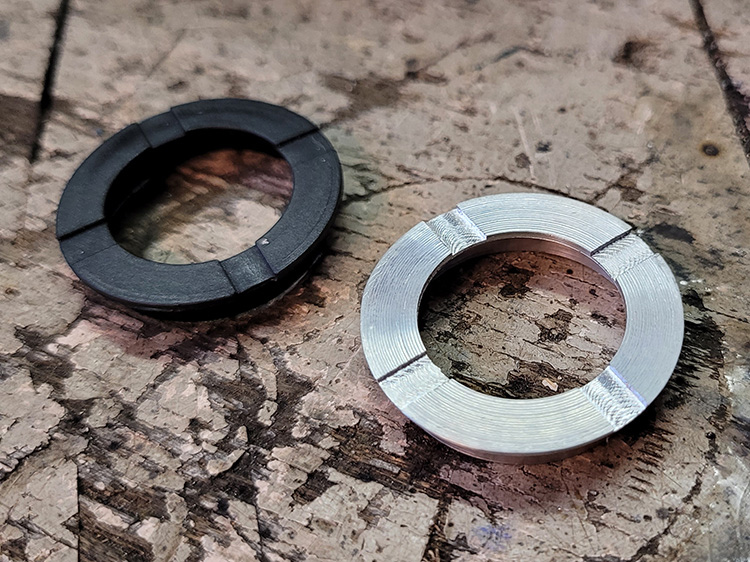
The top …
… and the bottom. Not bad, if I say so myself.
 And sealed it is!
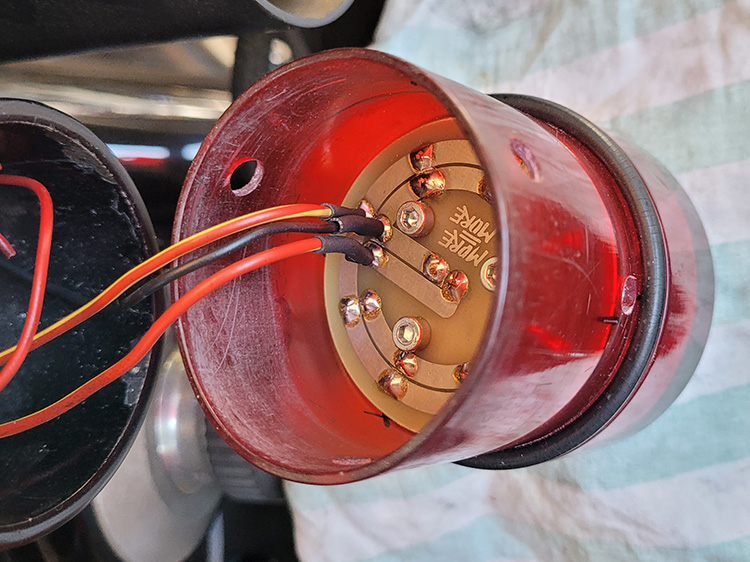
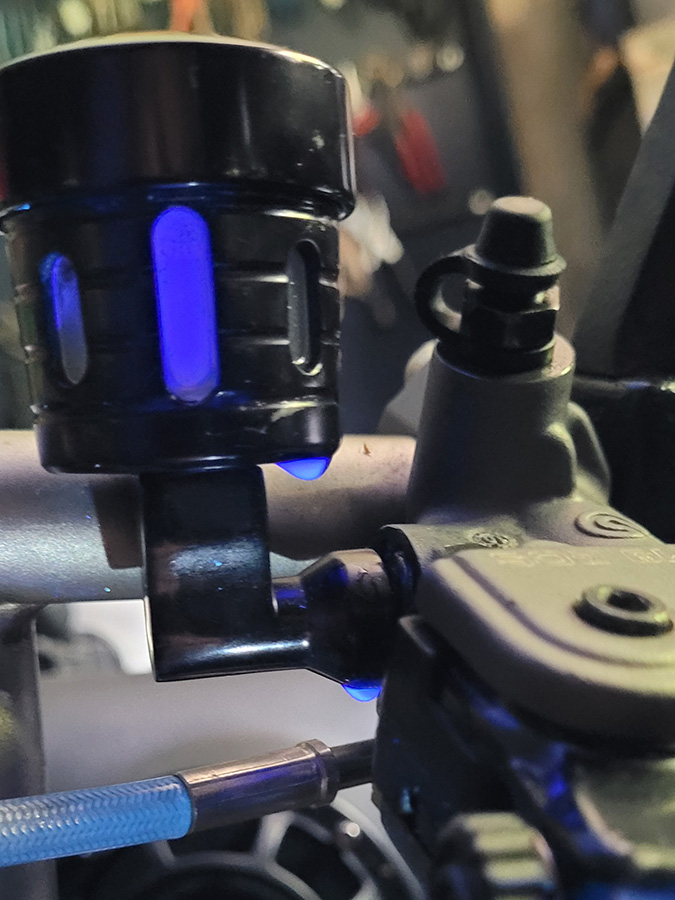
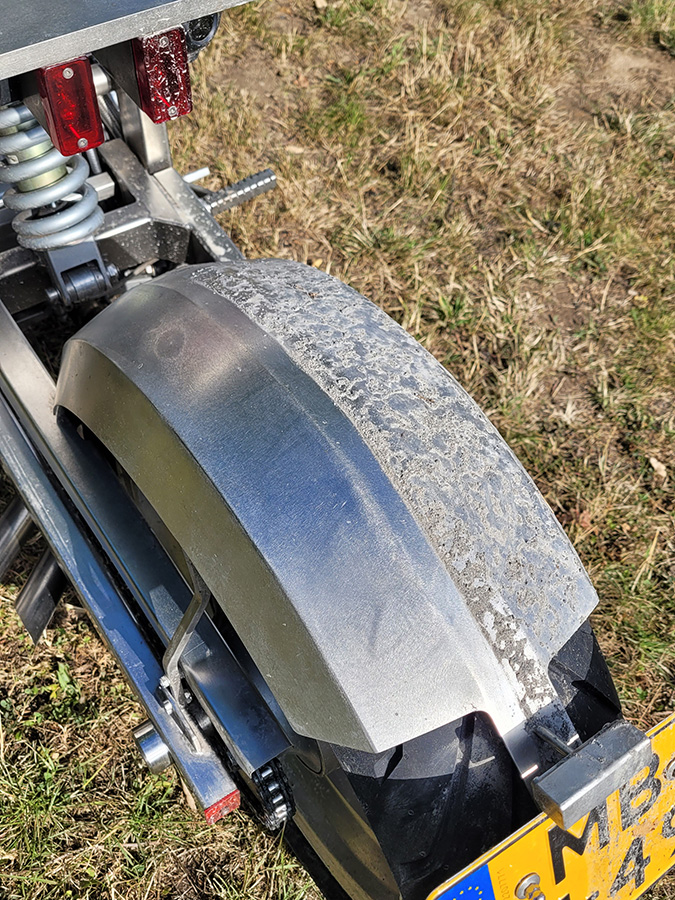
Had I already told you about the rear lights? No? Well, they were getting dimmer and dimmer. No good, because not safe.
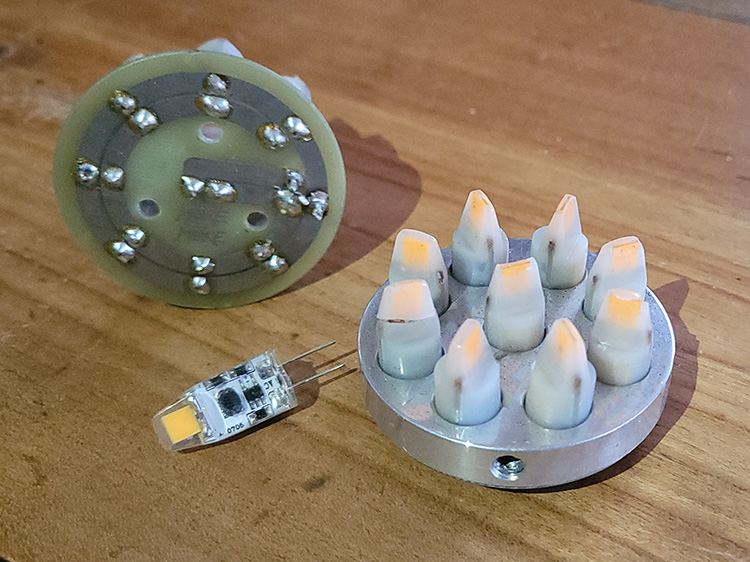
My nice tail-light setup (center LED) and brake light (eight LEDs around it) turned out to have a weak link: apparently these COB LEDs can’t handle vibration, even though they’re casted in a silicone housing and are supposed to last 30,000 hours. Still, over time they turn white and then fail; on the left you see a new, still transparent LED. Unfortunately I couldn’t find this type of LED anywhere for automotive use.
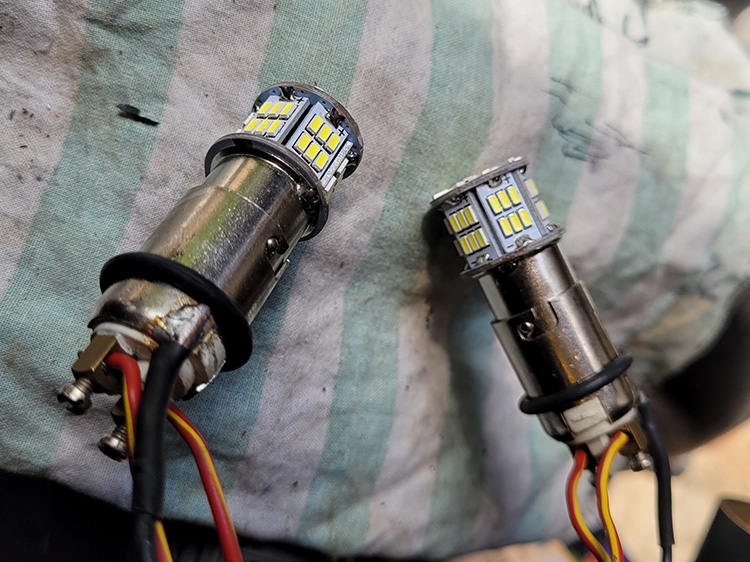
As an alternative I found these, but the light was awful and they were also hard to control with the m-Unit.
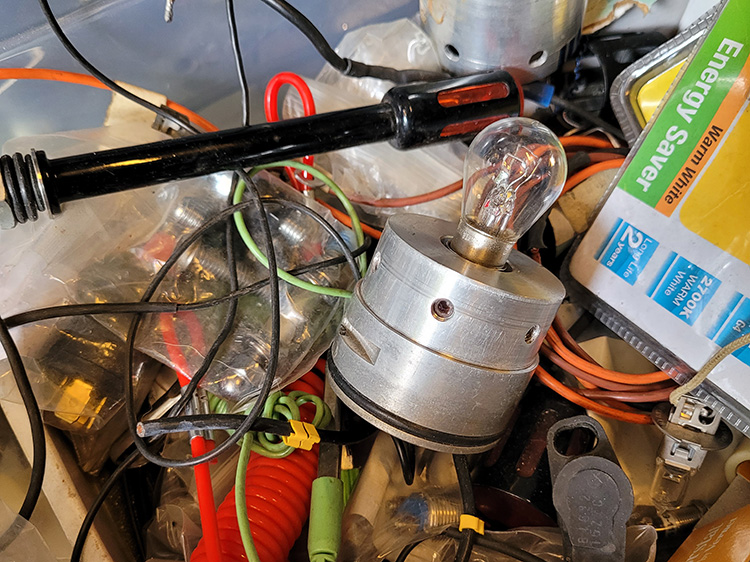
So I rummaged in the old box called ‘Offerings to the God of Speed’; every bike builder has such a crate. I dug up the two old-school 5W/21W duplex bulbs from under the dust.
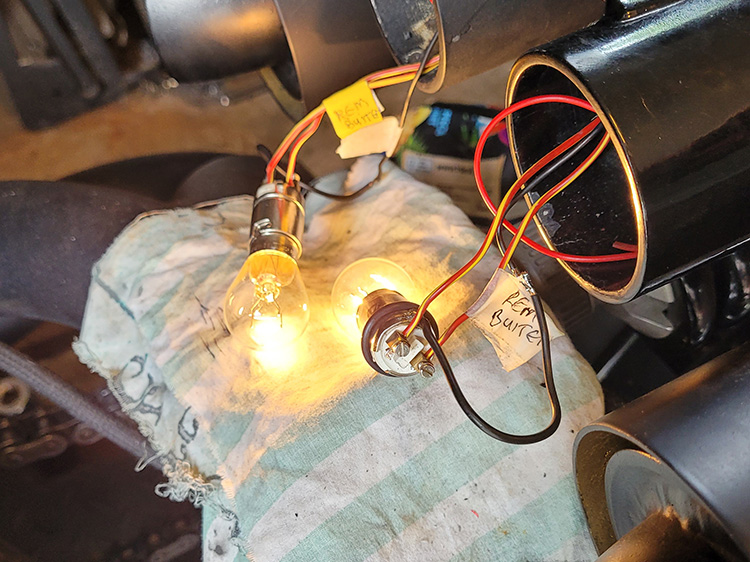
Yep, they do the job. Not as fancy, but robust and reliable.
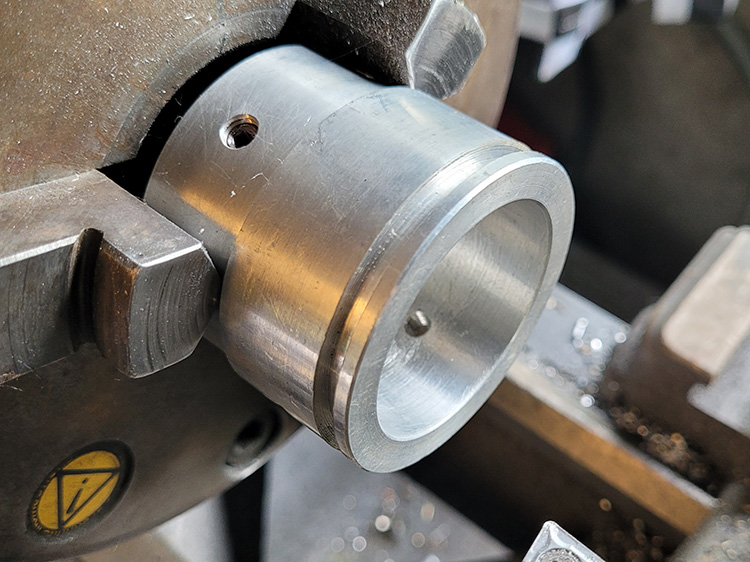
The old bracket went into the lathe …
… and were drastically shortened.
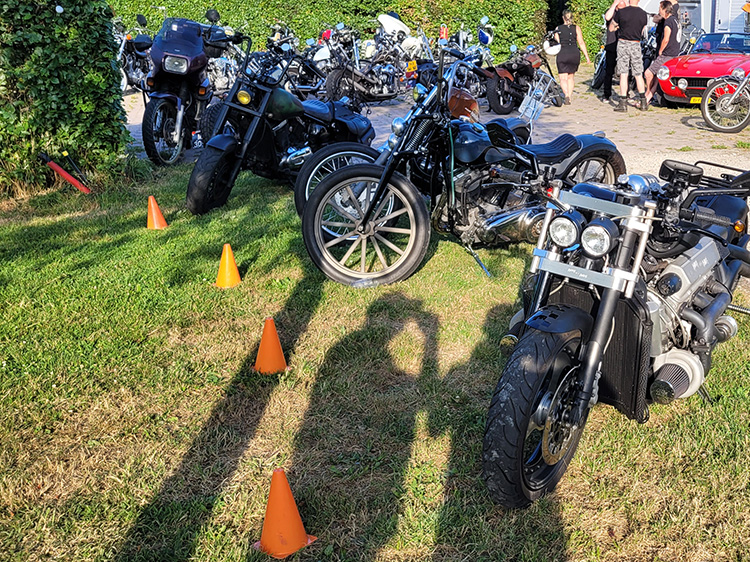
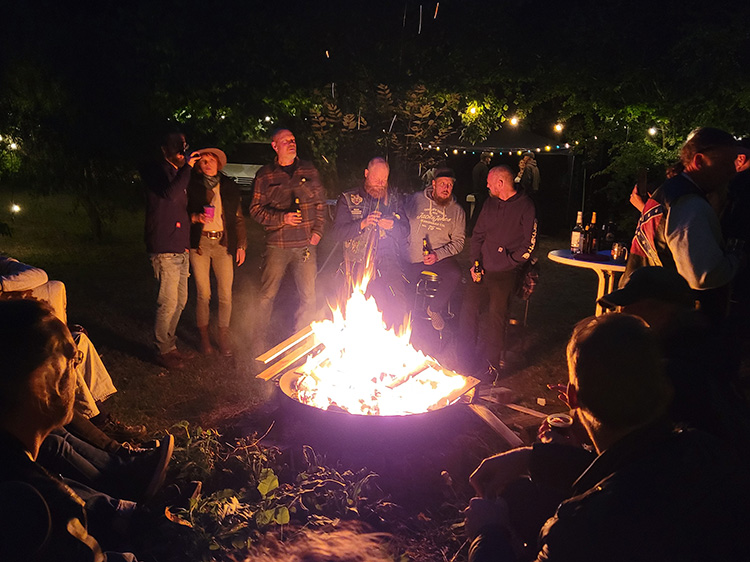
End of June it was time for a second meet: Chopping Woods in Schijndel. Again a great atmosphere and everything well organized.
 DJ Loveboat (what a name! :)) had what you’d call an ‘eclectic taste’: he played absolutely everything, right up to hard hardcore, and it all worked surprisingly well.
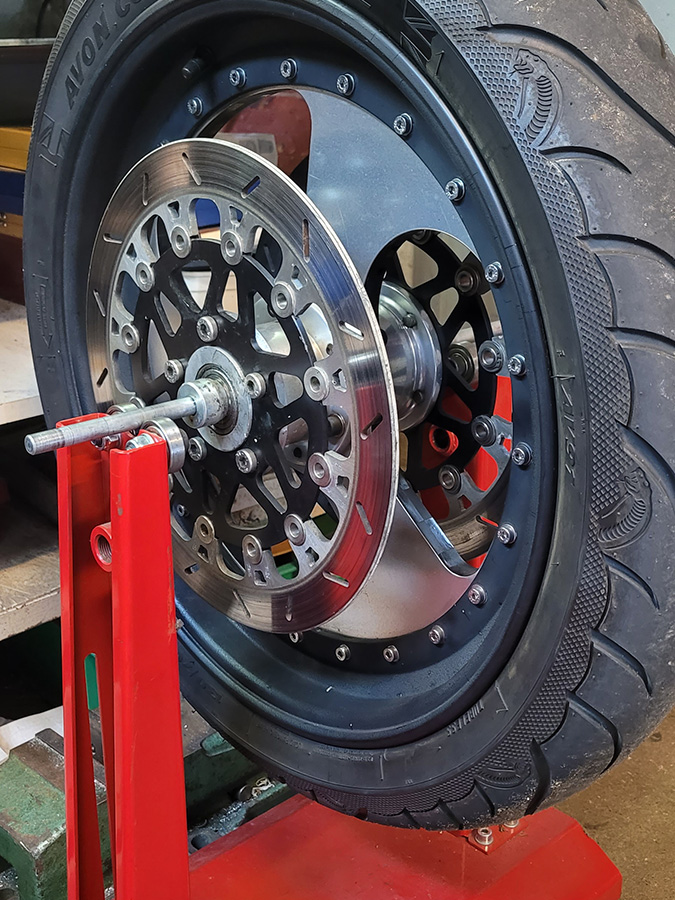
The ride was trouble-free, everything worked like a charm, except for the handlebars wobble I’d already written about. So not the front wheel, not the steering head, what then? Did I need a steering damper? Research with experts (Willy Naves, Mile Pajic and Ad Donkers) turned out the trail on my front wheel is so large that a damper wouldn’t help. So I had to look at the rear of the bike: swingarm, or …
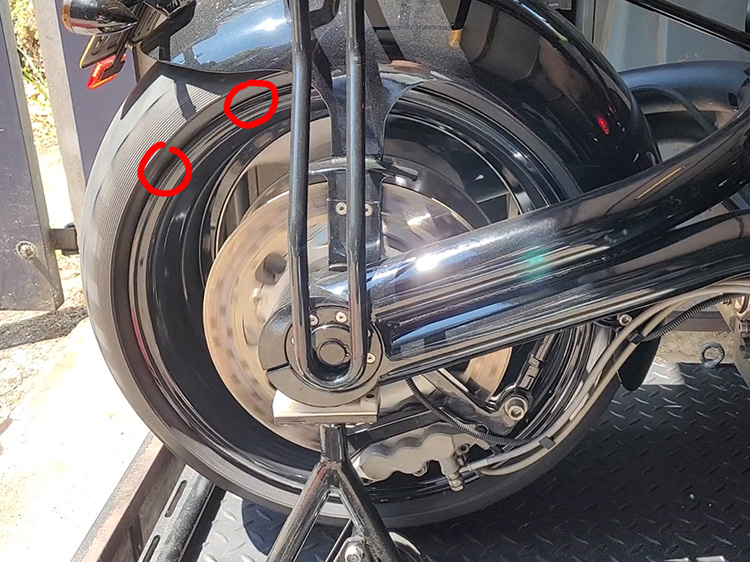
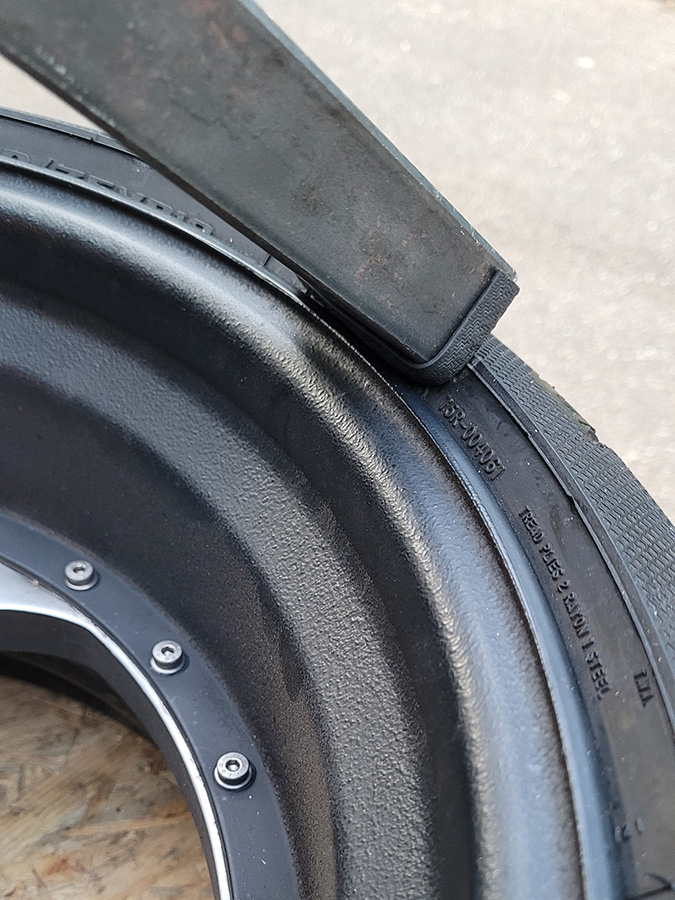
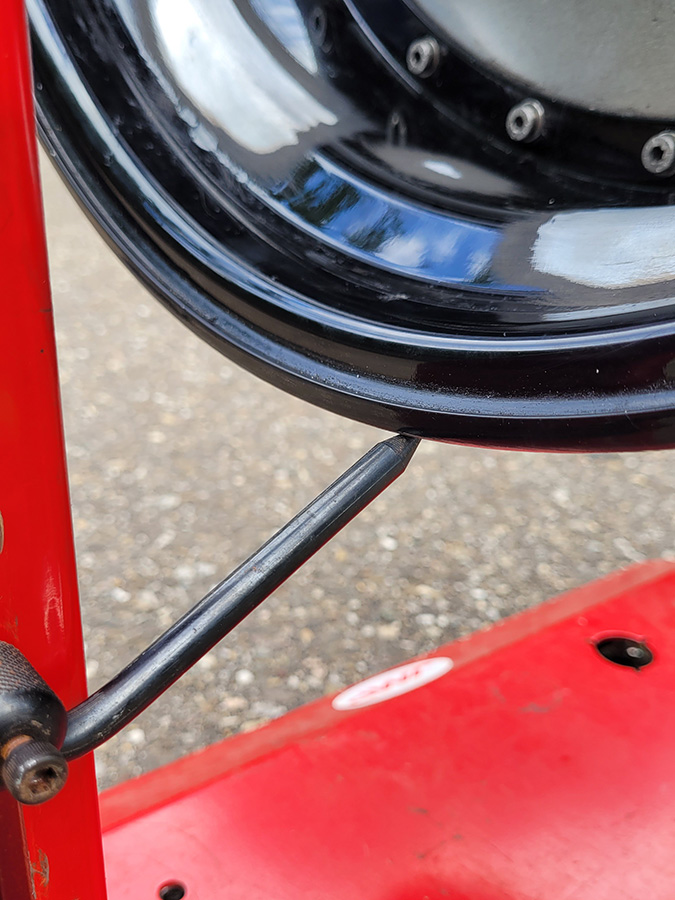
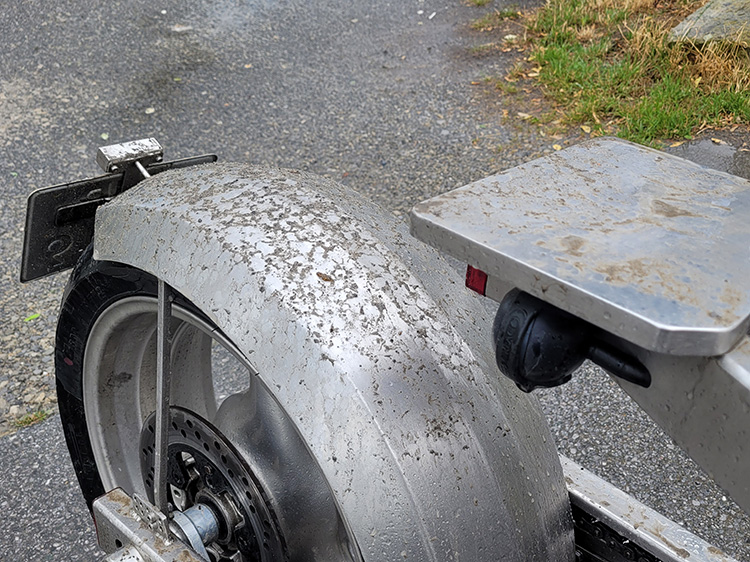
… the rear tire? Video showed the tire didn’t seat perfectly all around the rim, making the rear wheel “egg-shaped”, which I mainly felt up front (in the bars).
You can see it at the red dots if you look closely: left side fitting correctly, right side not.
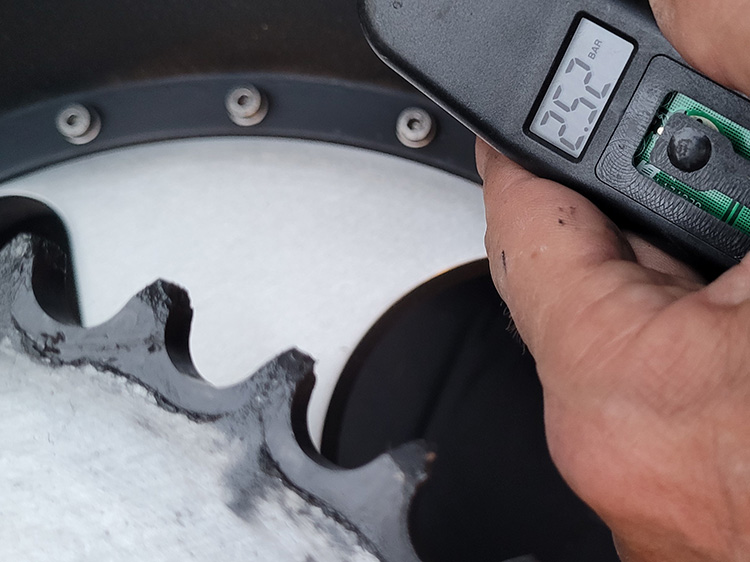
Normal rear tire pressure is between 2.5 (36 psi) and 2.8 bar (40 psi).
I hoped it would be easy to make the tire ‘pop’ into place by lowering the pressure. Spoiler alert: it wasn’t.
 During a (careful…) ride outside I lowered the pressure to 1 bar (14.5 psi) …
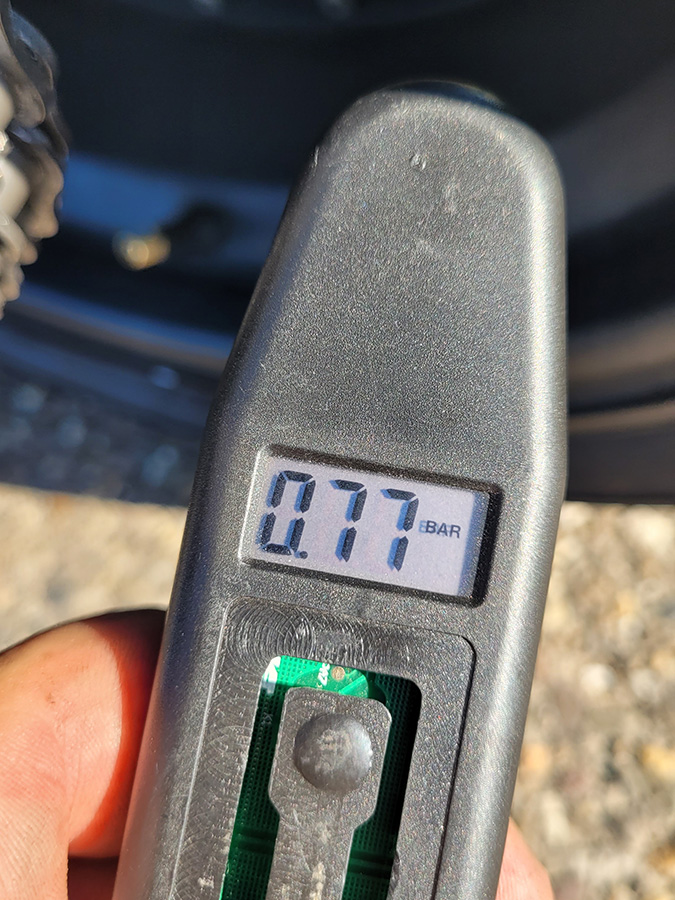 … and later even down to 0.75 bar (11 psi). Hoping the softer tire would jump into place while riding. Which it didn’t.
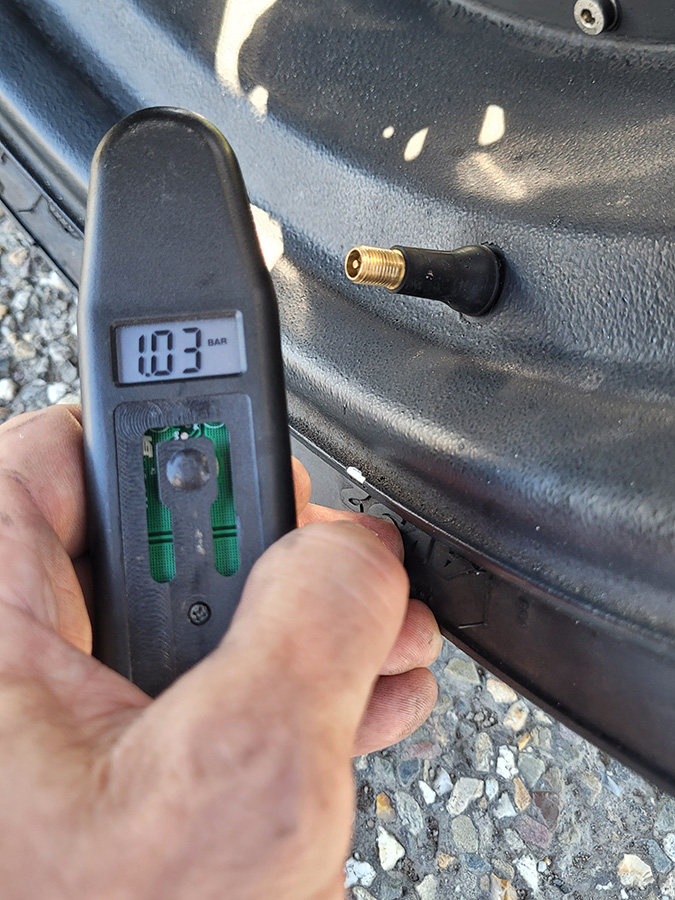
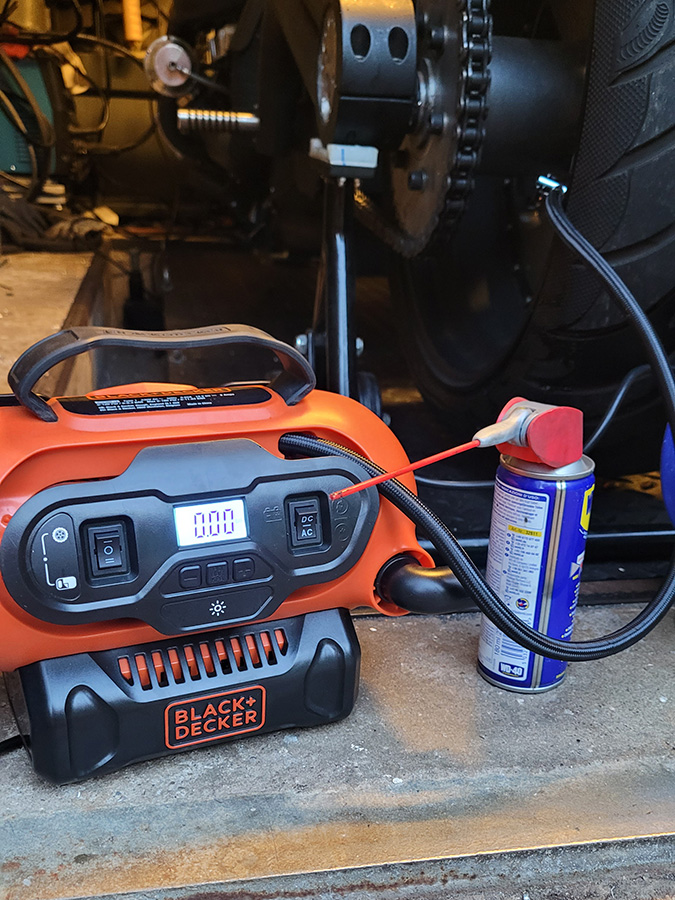 Opposite route: I sprayed the rim flange thoroughly with WD-40 and increased the pressure.
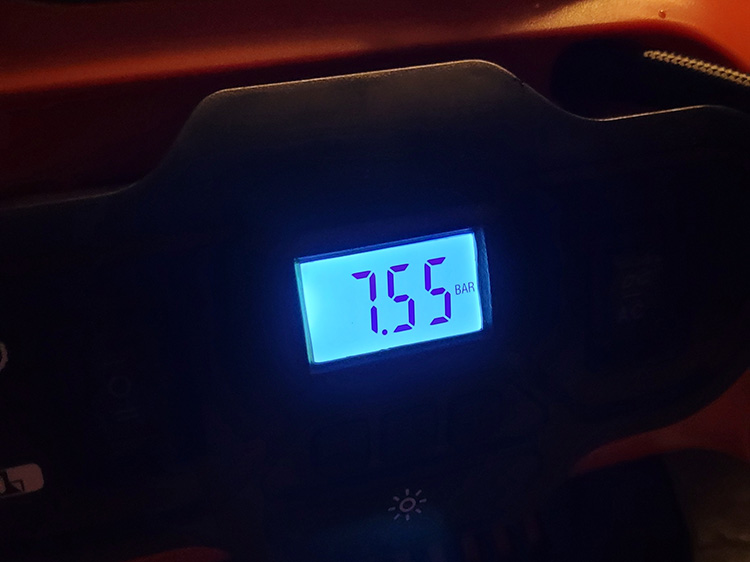
These are values you’d rather not see. But on internet forums I’d read that increasing pressure sometimes has the desired effect. Not here..
 I found it a bit … nerve-racking, that kind of pressure.
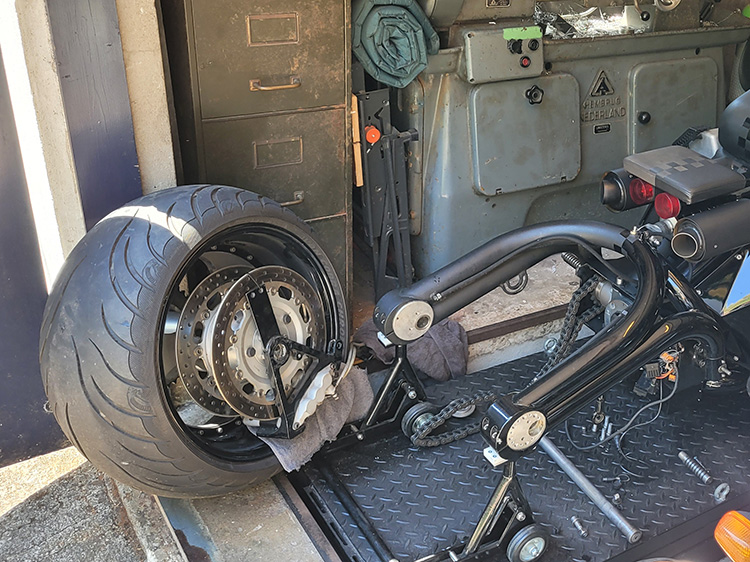
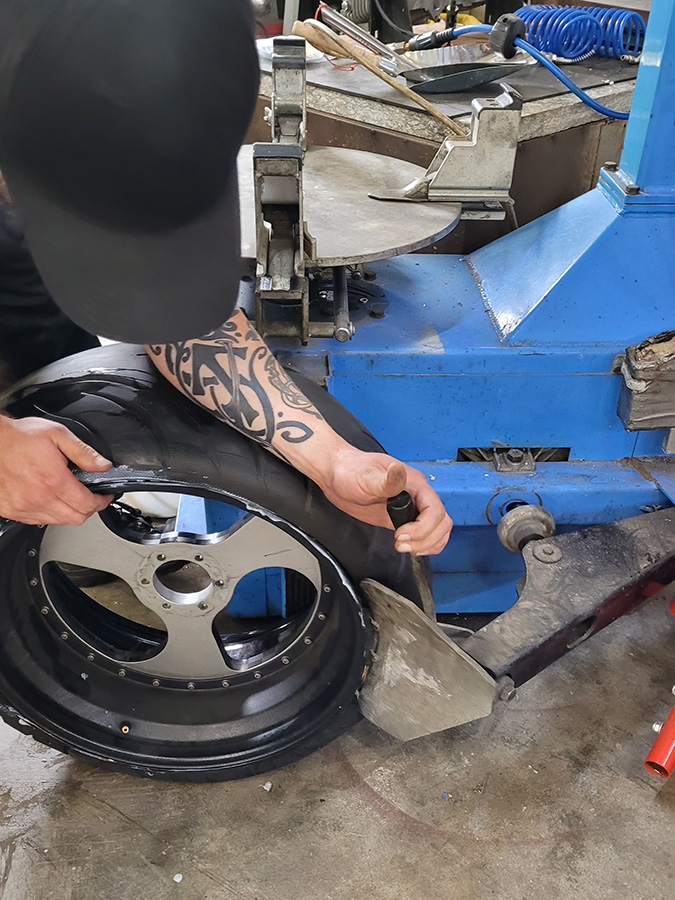
So the wheel had to come out again …
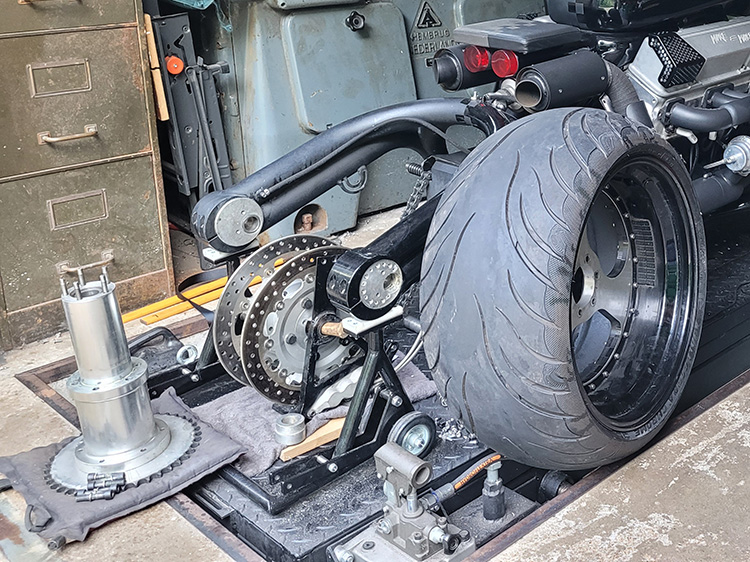
… and I dismantled the entire inside as well.
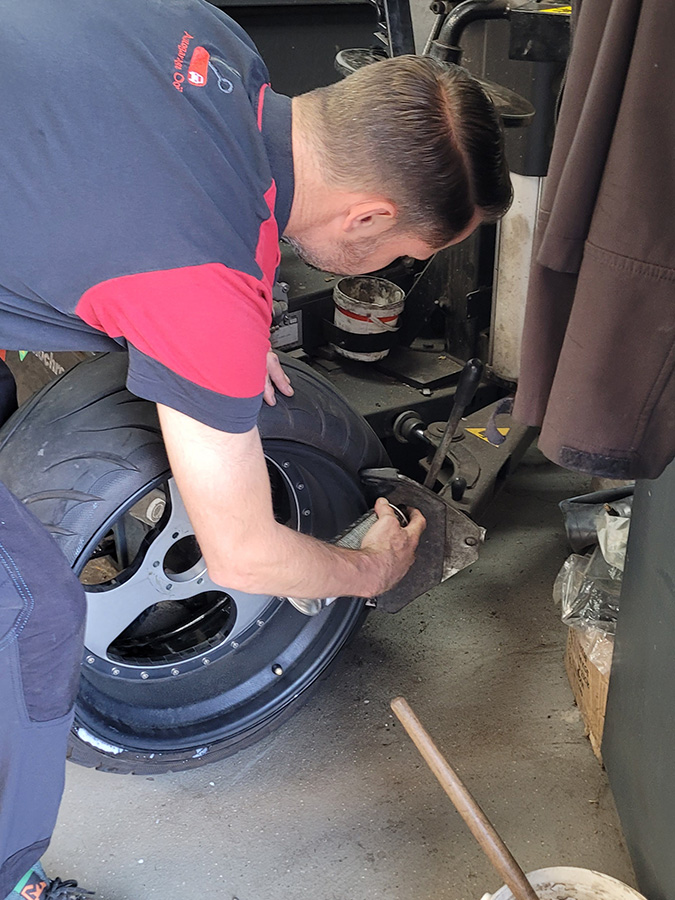 To the local car garage to try, with grease and a tire machine, to get it seated properly. Nope.
Grease, air, push, deflate, grease, air, etc. Nope.
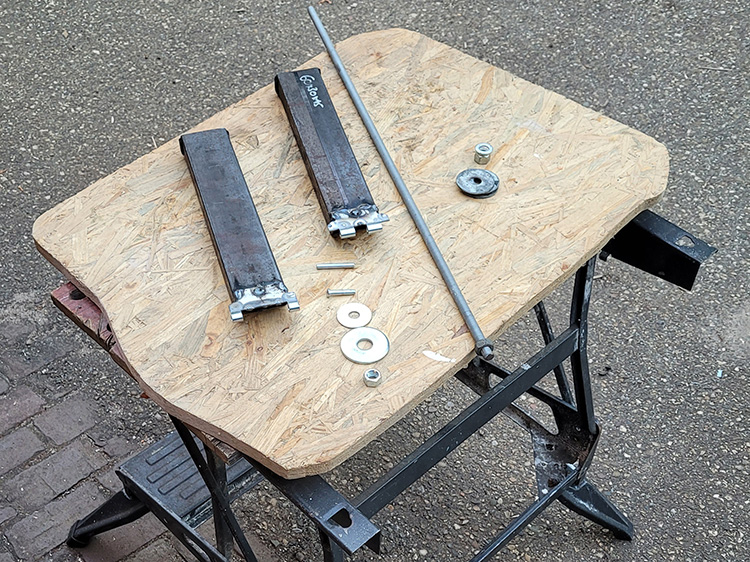
Next attempt: I constructed a ‘special tool’ …
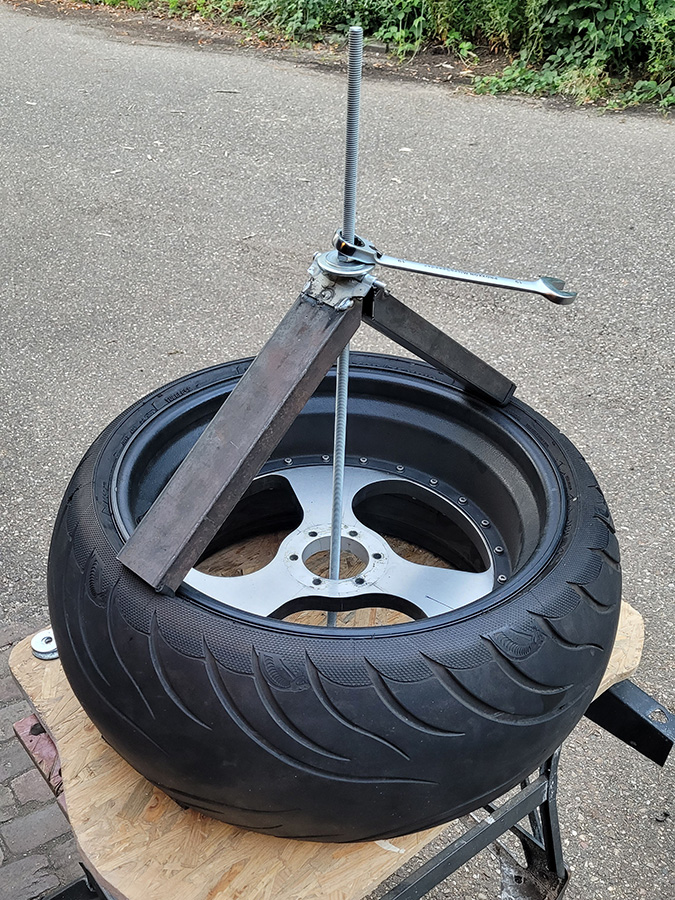 … with which I hoped to push the tire down in a controlled way at exactly the spots I wanted.
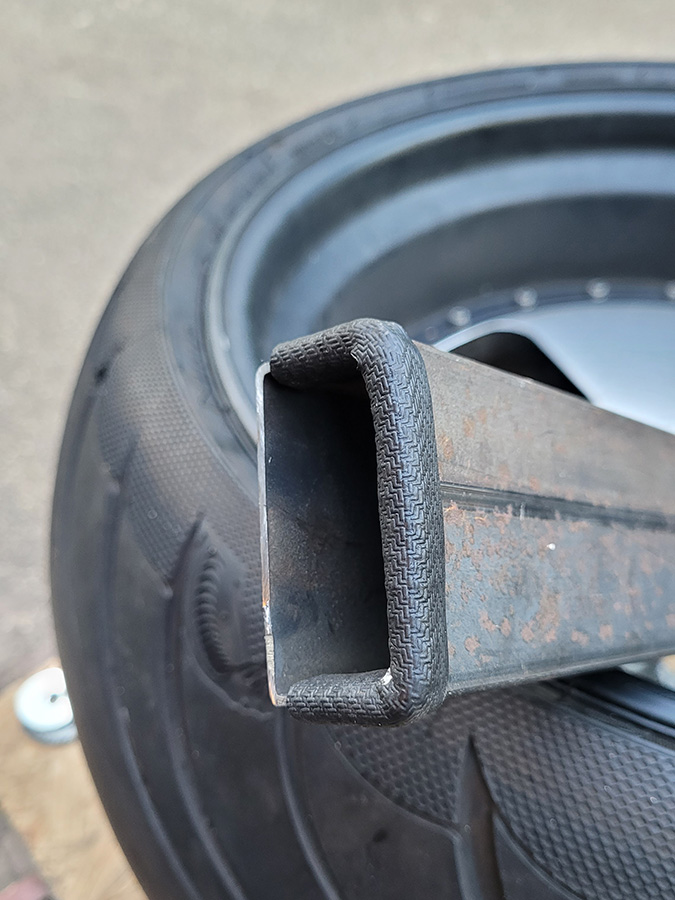 Of course with good protection for both tire and the precious rim.
 Pretty good idea, if I say so myself. Unfortunately the tire disagreed: couldn’t get any movement at all, even with it fully deflated.
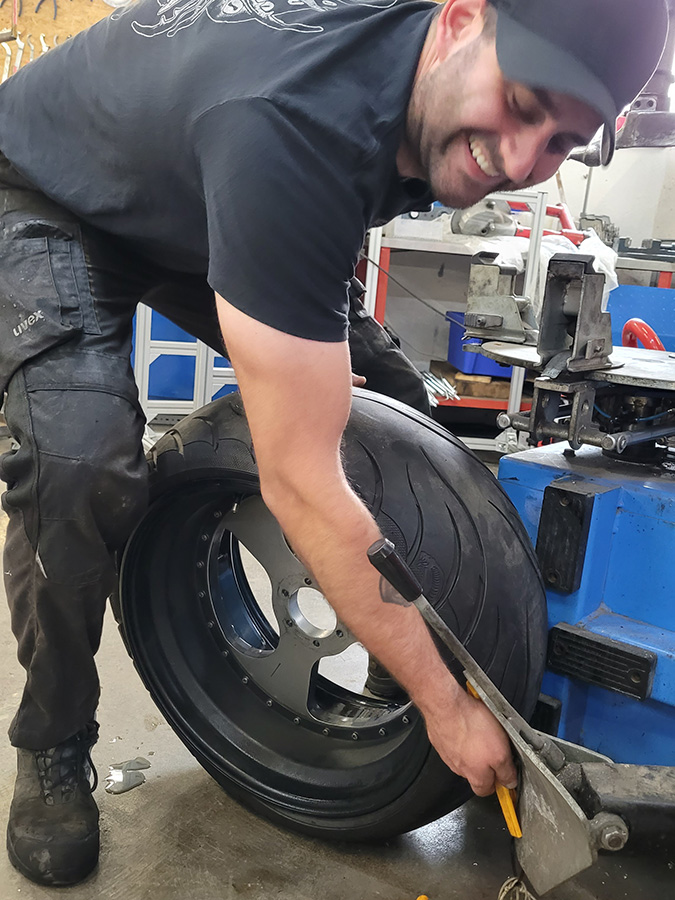 I took the stubborn wheel to Scheepers Motorsport, where Thorben took up the fight. Here he’s still smiling …
 … but this failed too.
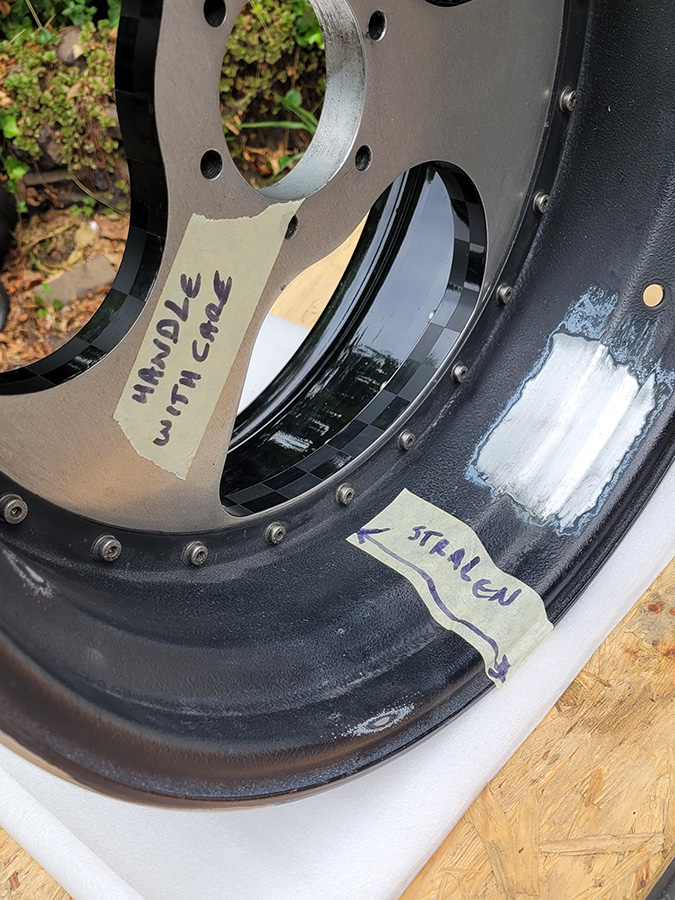
 Via via I got the tip to visit a custom builder in Utrecht who builds bikes with wide tires, wider even than mine. It turned into a rather shocking experience.
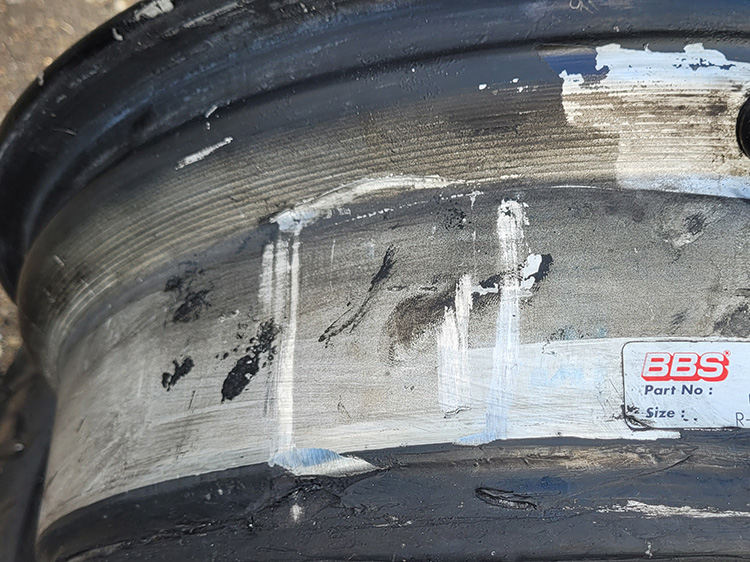
What brute force that guy used. Despite my warnings during his attempt, he pushed the tire machine thróugh the aluminum rim on no fewer than four (4!) spots!
A picture sometimes says more than a thousand words.
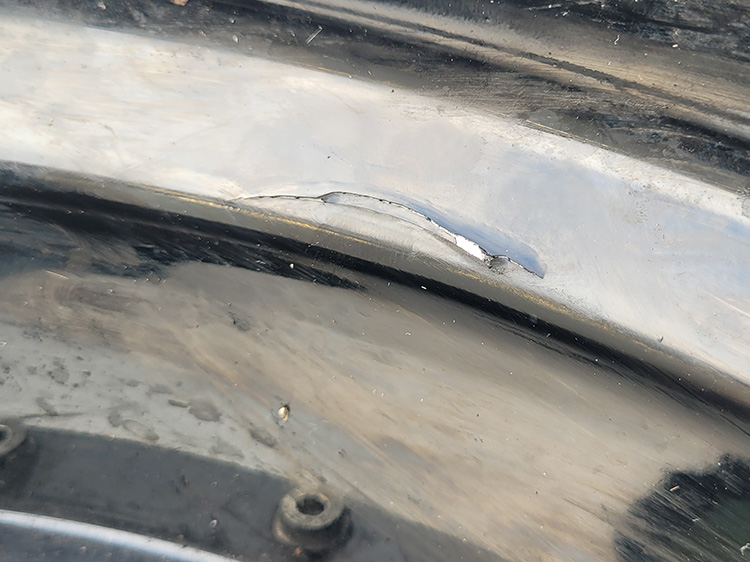
When I confronted him, he said it must be a poor-quality rim. These are BBS rims, and if you know anything about rims, you know they’re top-segment. You only crush them through sheer stupidity. Unbelievable.
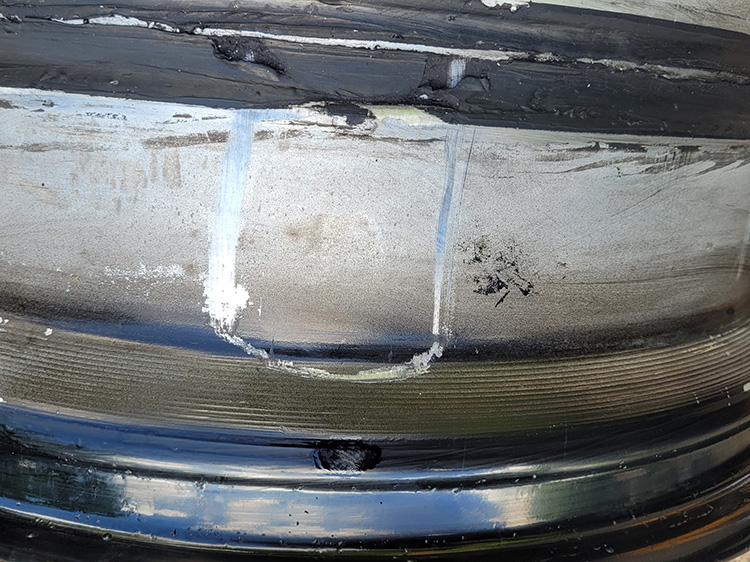
Yes, and these rims are custom made; everything, including the hub and the brake-caliper bracket, is built around them. So I sanded the damage …
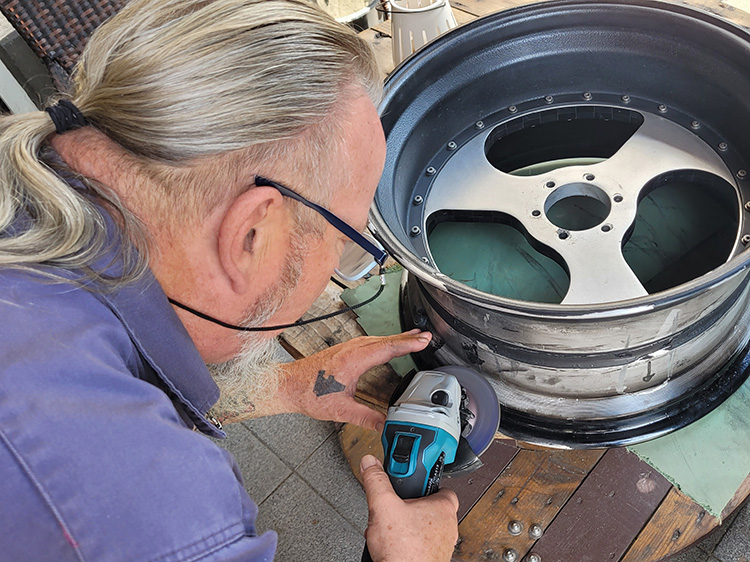
… and took it to Hans Eickeler, a friend you’ve met in earlier posts. Like a watchmaker, he cleaned the cracks …
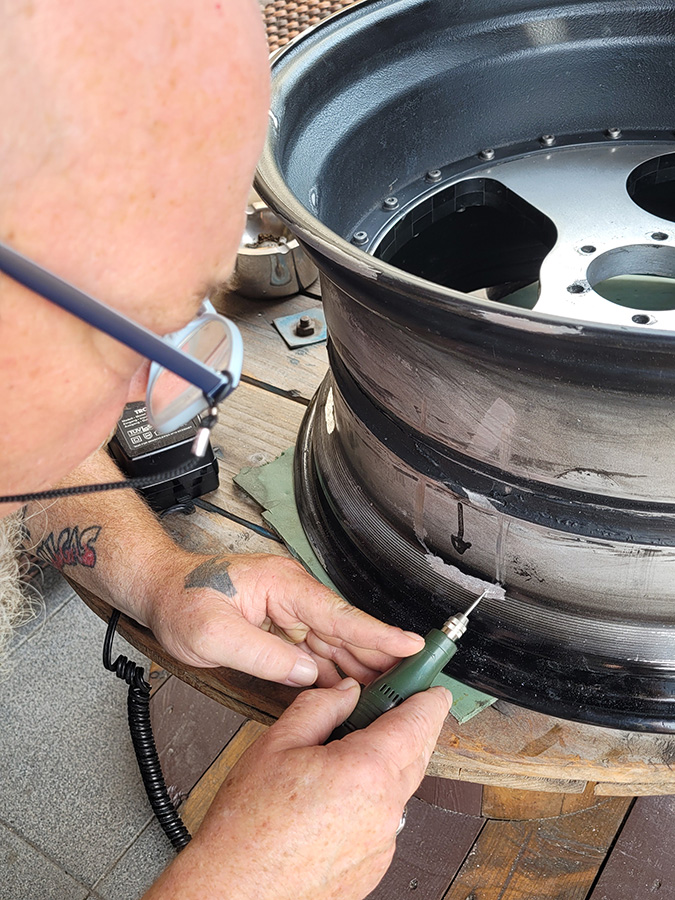 … refined them with a Dremel-like tool …
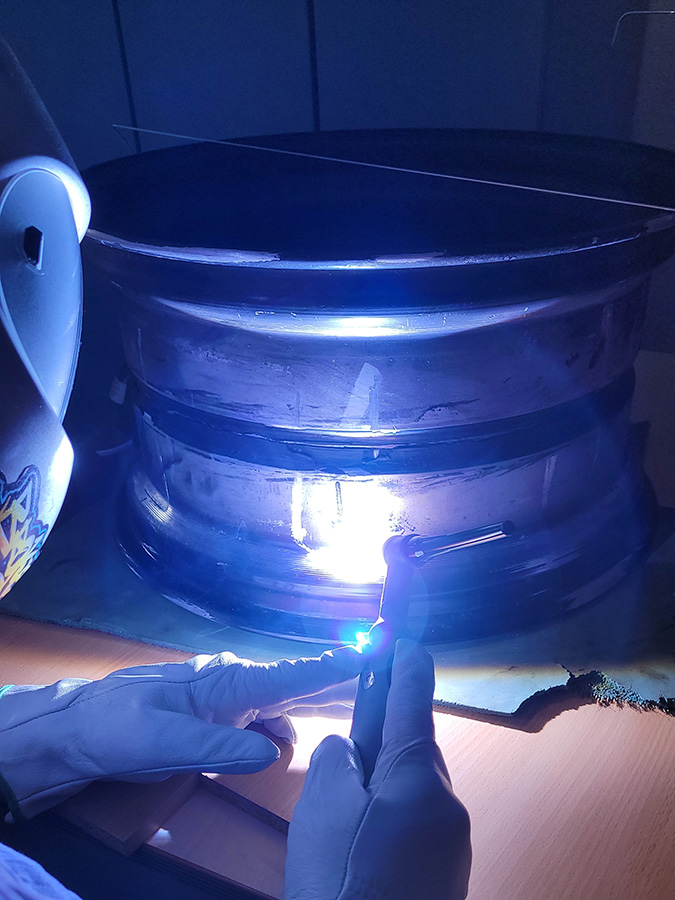 … and welded them shut.
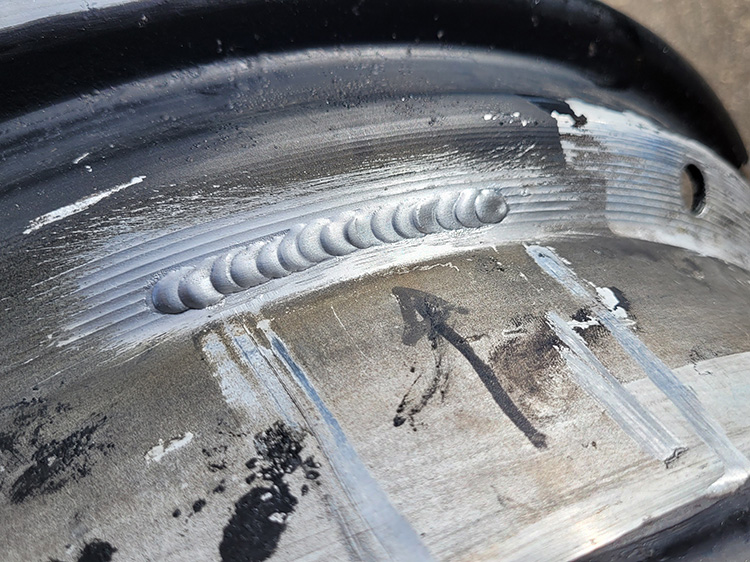
Just look at that! :)
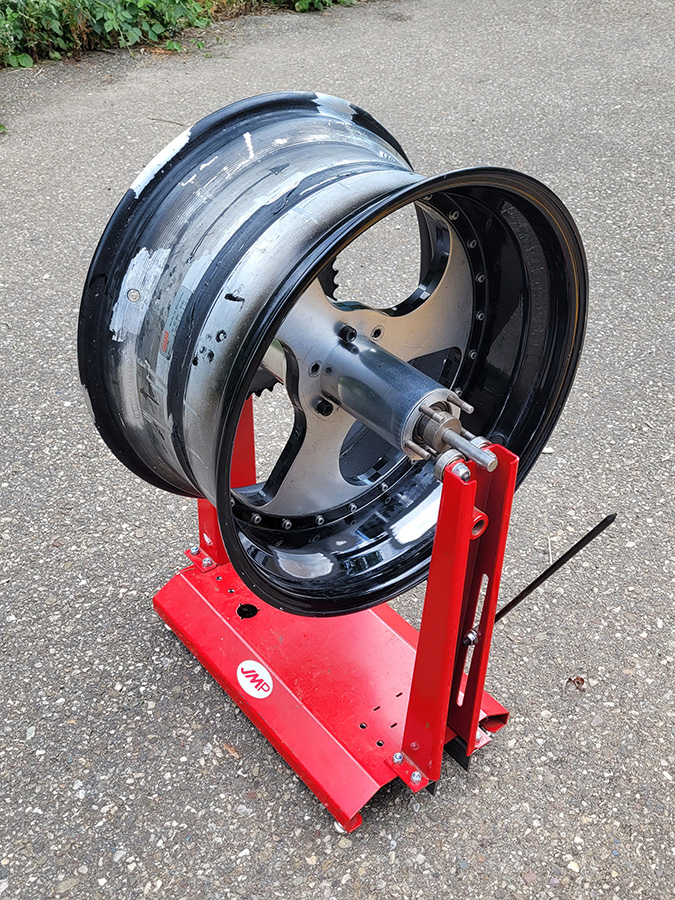 Nervous moment: is the rim still round?
 Yes, luckily it is. Perfect.
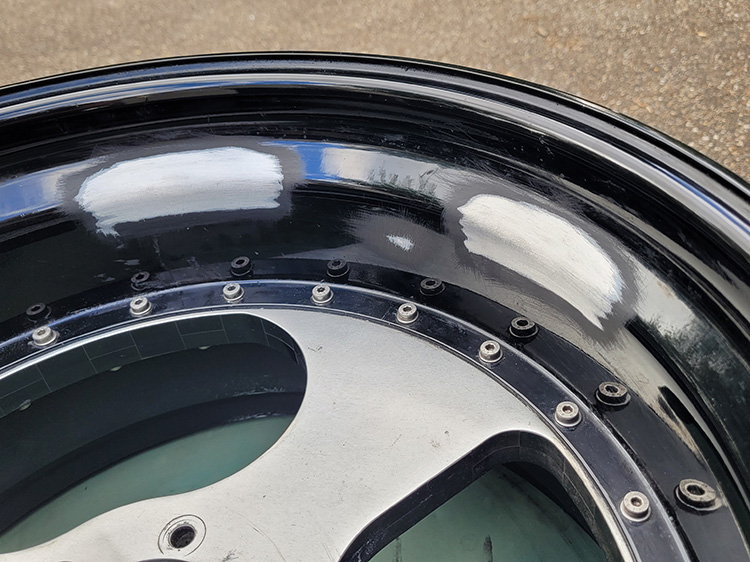
 And back again to KustomBart, for a major cosmetic treatment.
 Bart’s photos: plastic caps …
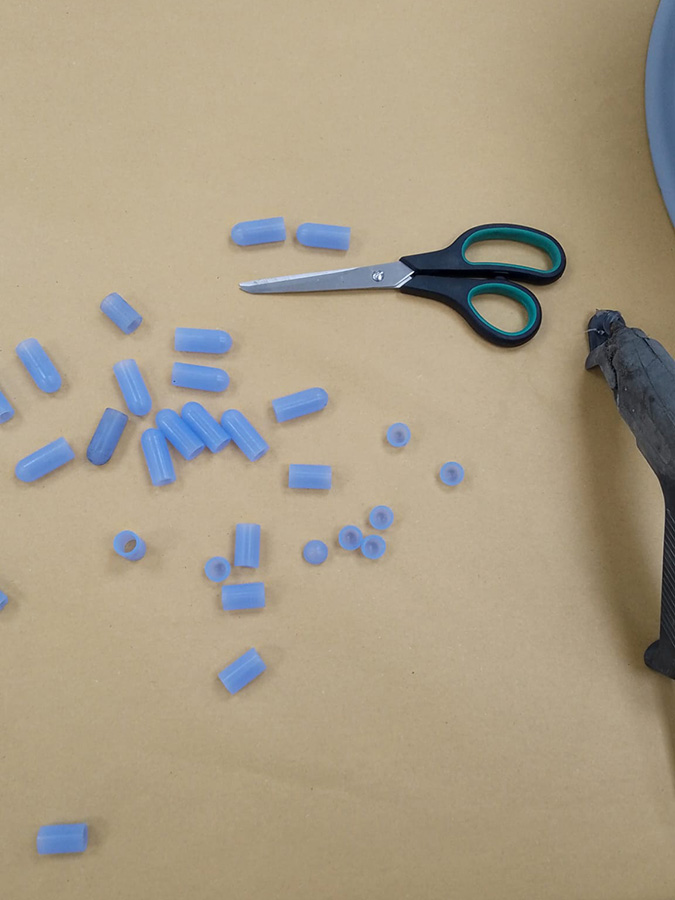
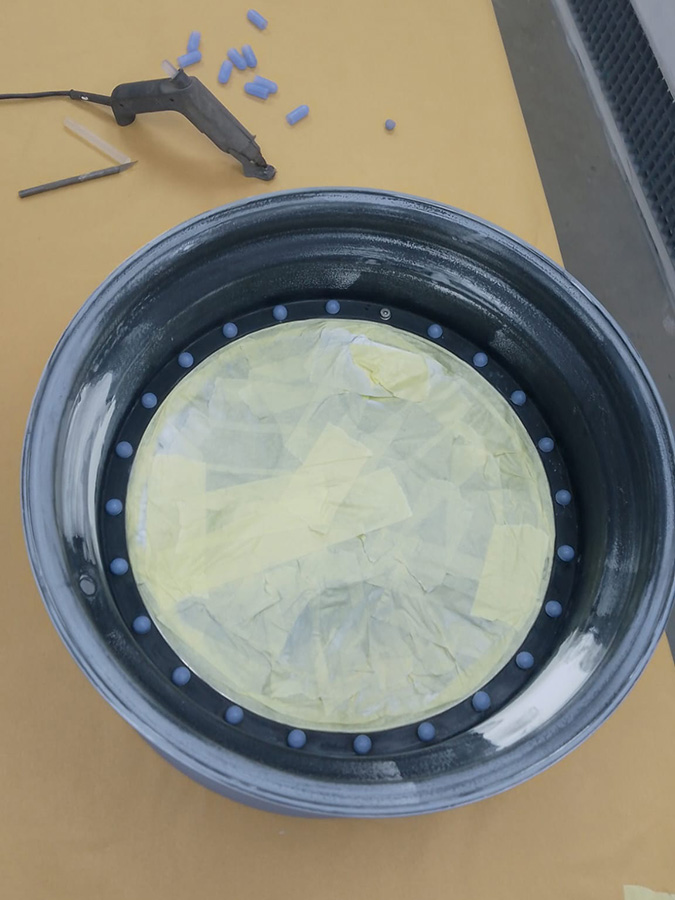 … to protect the many little bolts from paint.
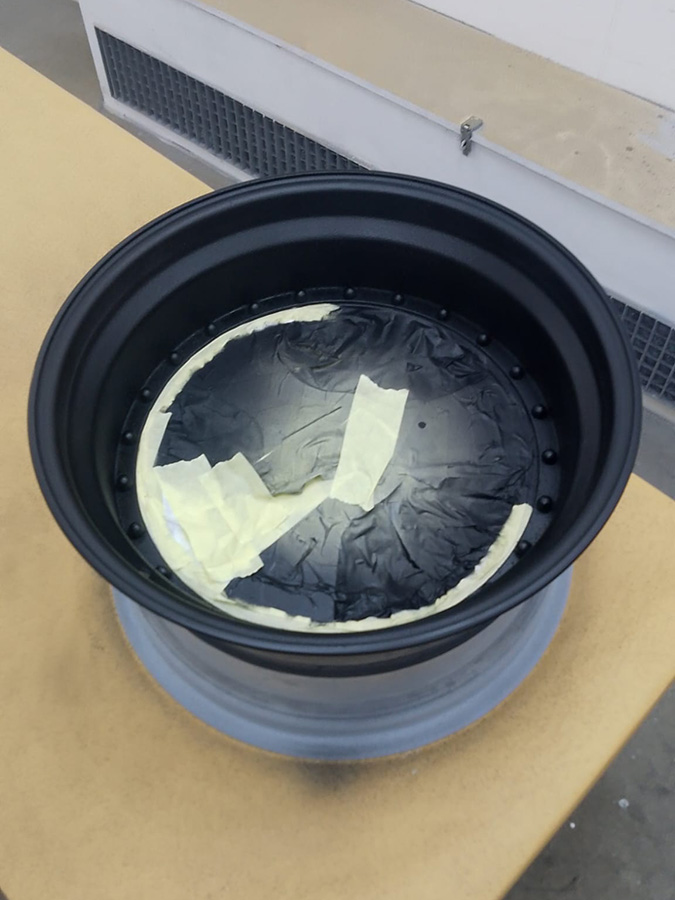 Preparation takes 95% of the time, spraying 5%.
Meanwhile summer vacation had arrived, one on which I wanted to go on my first long trip with the V8. But the bike wasn’t ready, so I took my old and trusty CBX instead; also very nice.
The weather that week was brutal at times: I’d not had that much rain in such a short time in years.
 At a dry moment I decided to give the CBX the V8’s paint job temporarily: one half glossy, the other half matte.
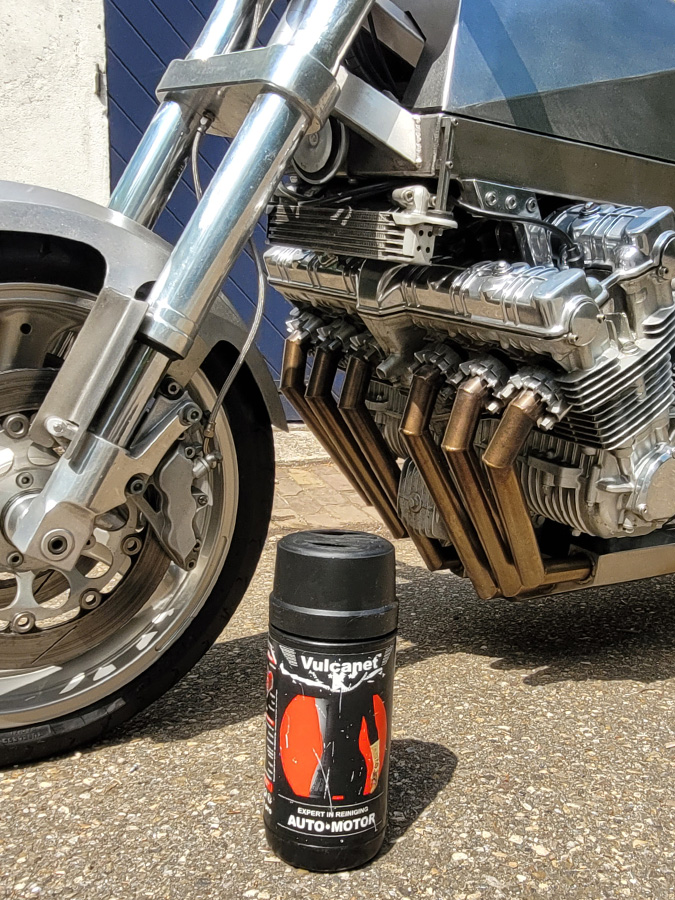 After getting home I treated the mud barge with Vulcanet, one of the prizes I’d won with the V8 in 2023. Good stuff.
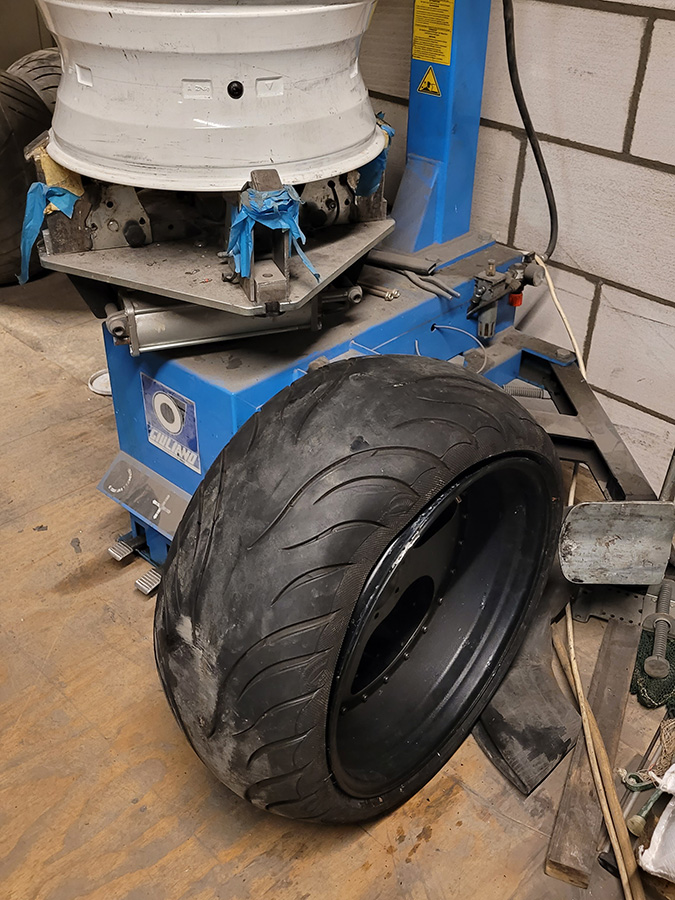
 Where were we? Oh yes, the rear tire. I decided to write off the 300 rear tire as a loss and go one size smaller: 280 mm. This should definitely fit my 10-inch (‘10J’) rim, even though the previous 300s had also fitted just fine.
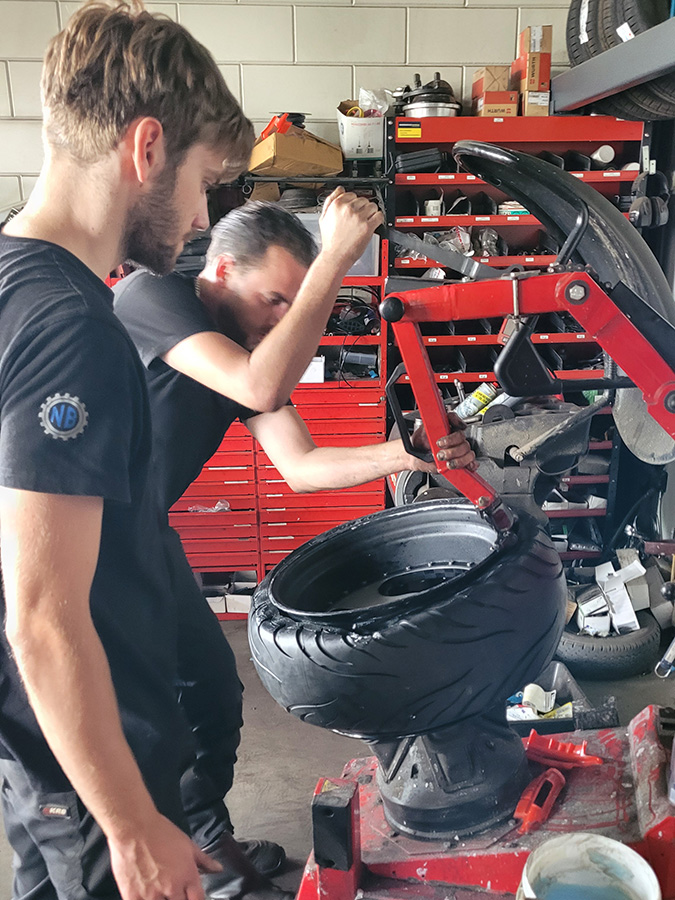
New tire, new address, new chances: this time at a tire specialist in Puiflijk.
 At first it looked like the tire would pop into place, but unfortunately: just like before not everywhere. With blood, sweat and tears, with ratchet straps and even a so-called ‘bead master’ (a compression cannon), we didn’t succeed. Nice try, but for the umpteenth time: failed …
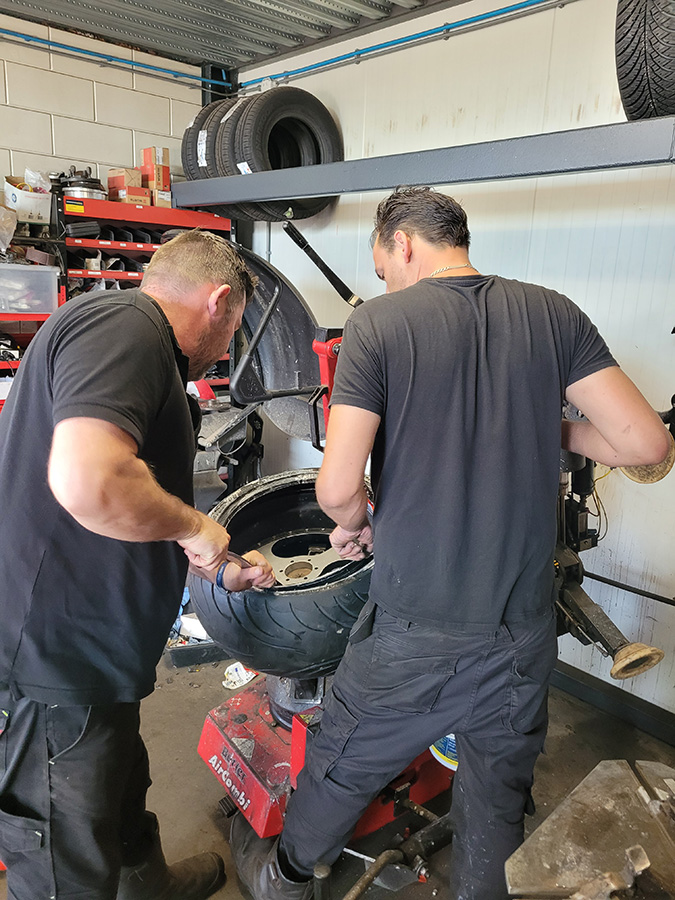
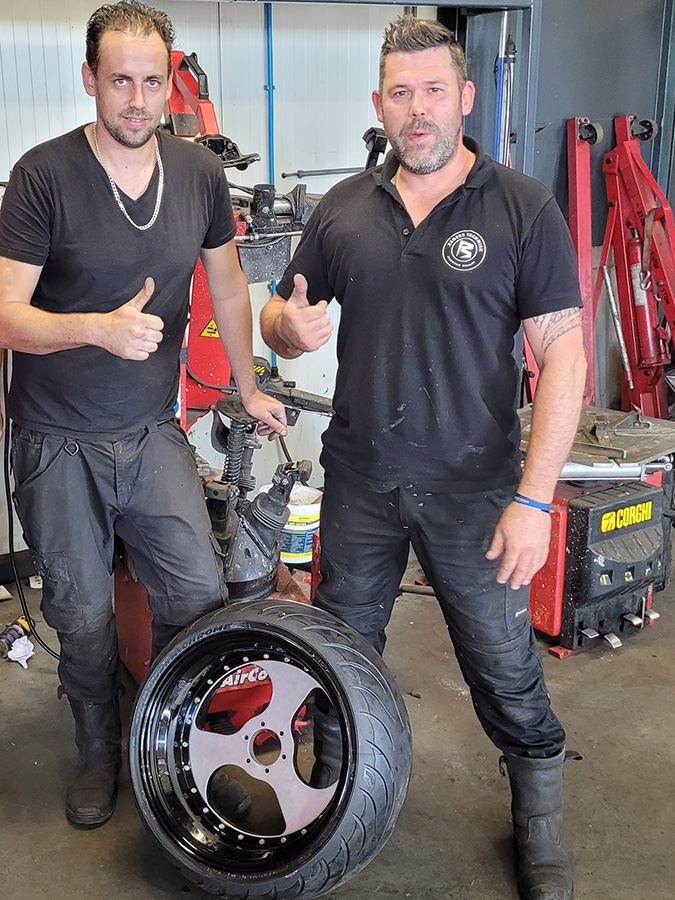
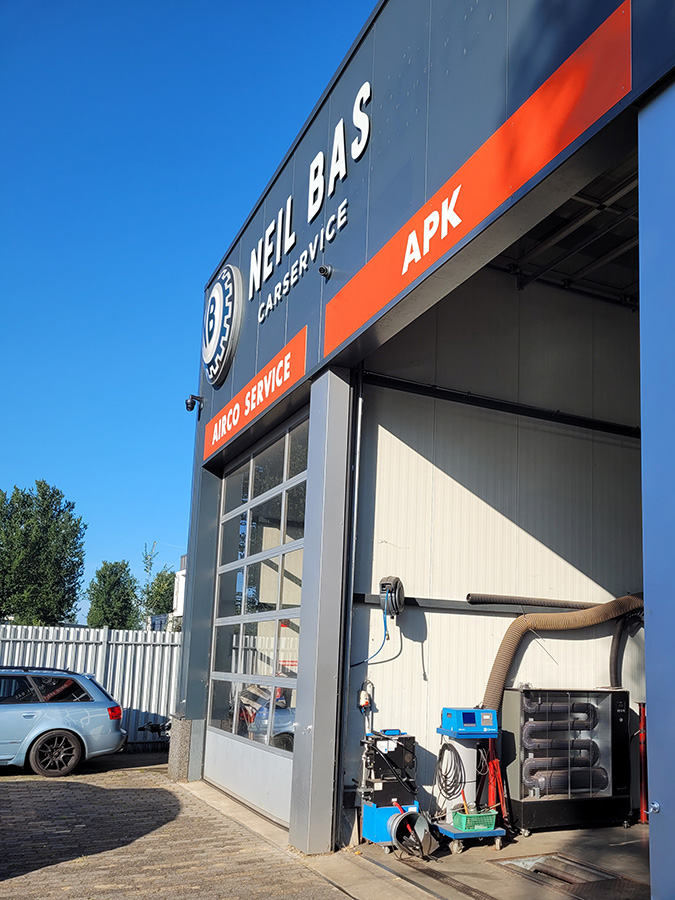 … so off to Neil Bas’ garage in Druten, where fortunately they helped without appointment. Brabant hospitality, that is.
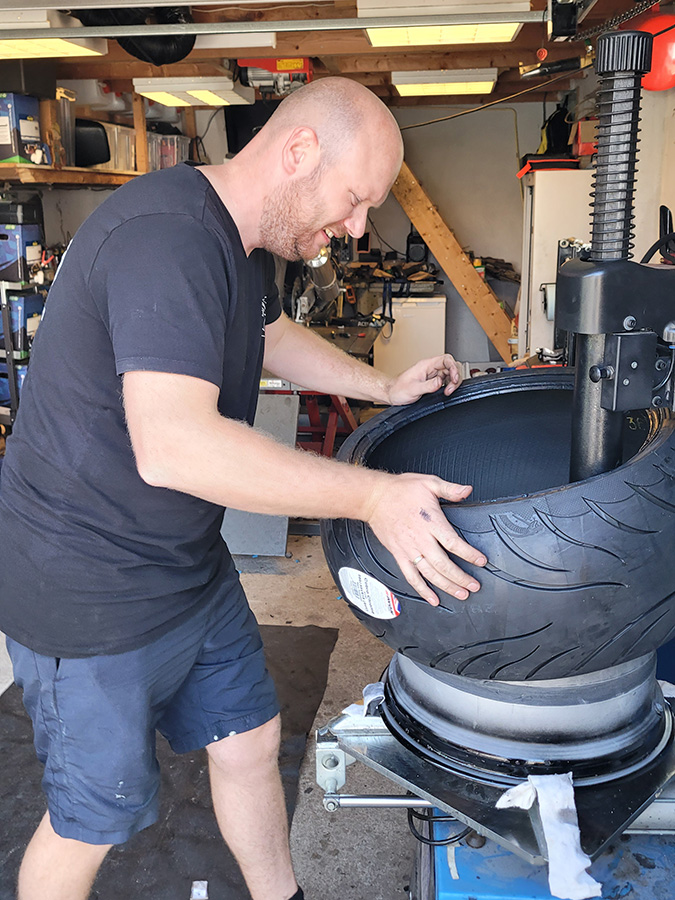
 Both guys wrestled with the new tire until it turned out …
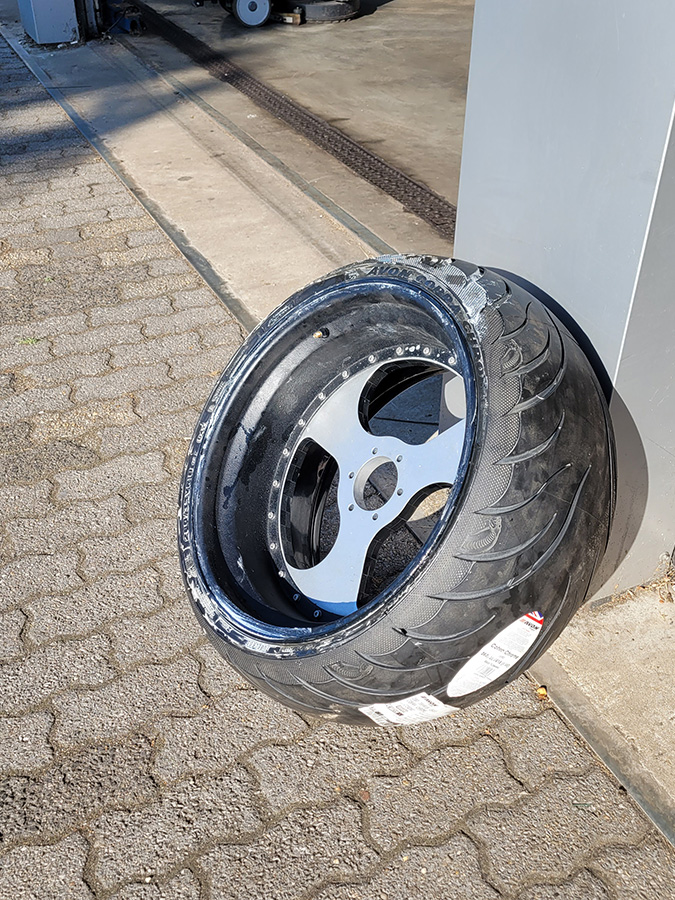
 … that the steel bead of the tire had broken, meaning the tire was a goner.
Did I mention it doesn’t always goes the way you want…?
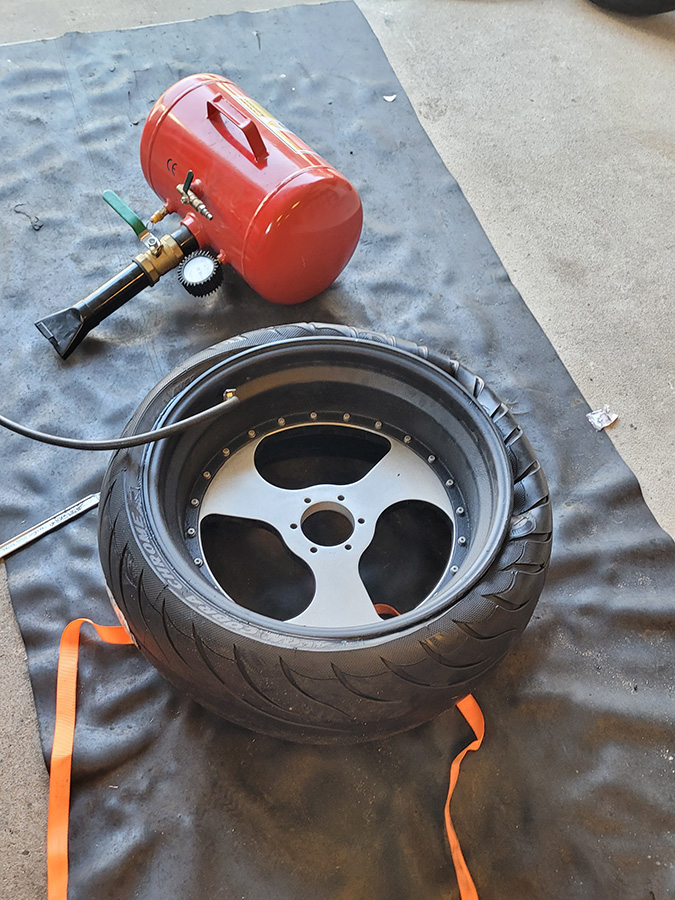
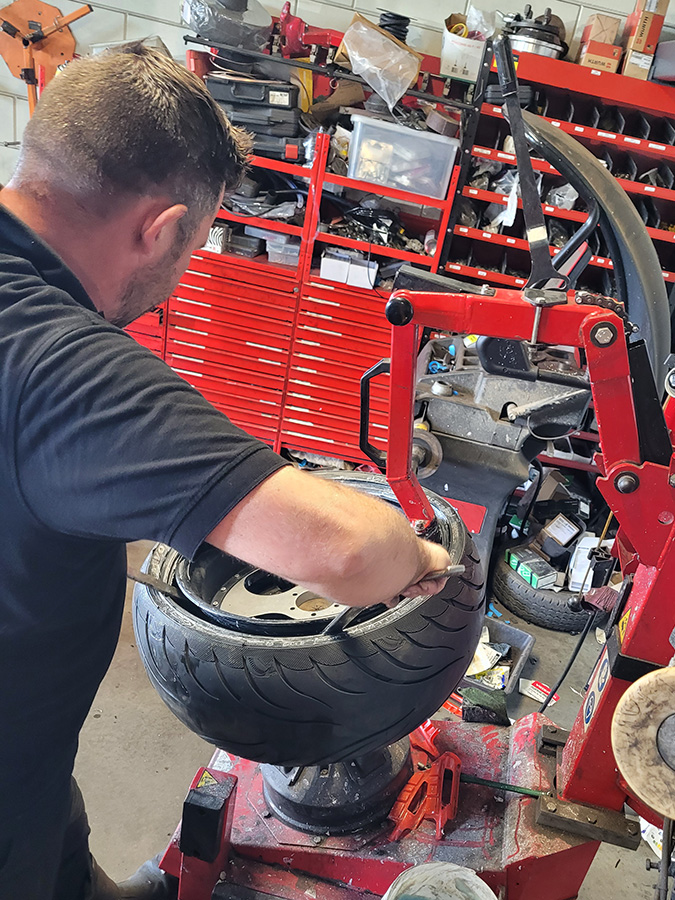
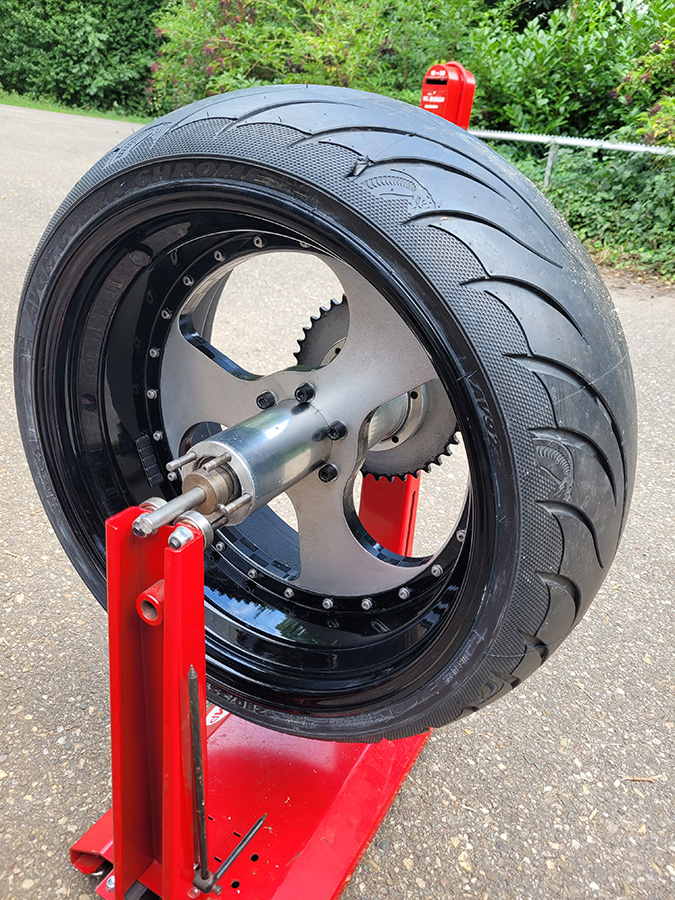
 So: ordered yet another tire, and on we gooo! At first this one didn’t want to cooperate either, even after warming up properly in the sun.
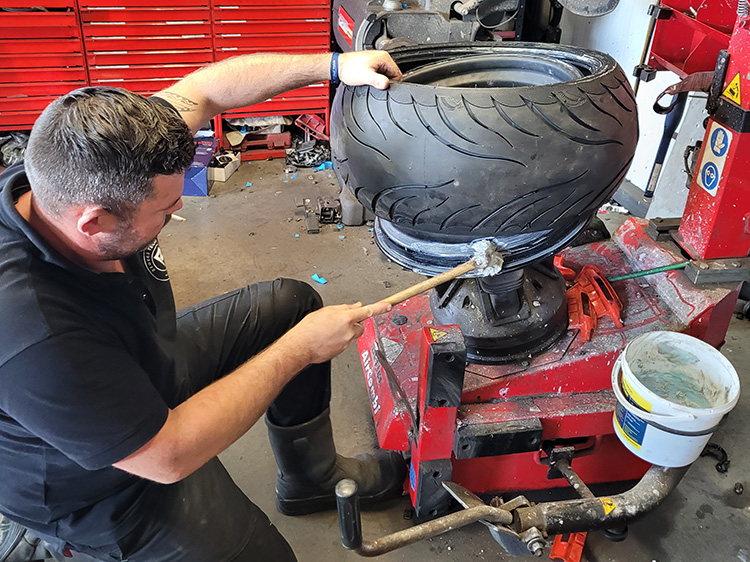
Off, on, more grease, off, on, even more grease. It just drives you crazy.
 Until …
 … yes! :)
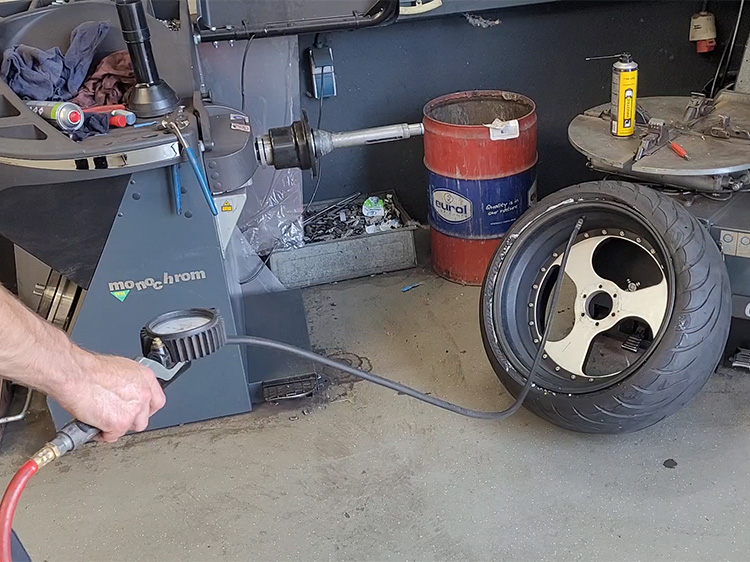
 Balanced …
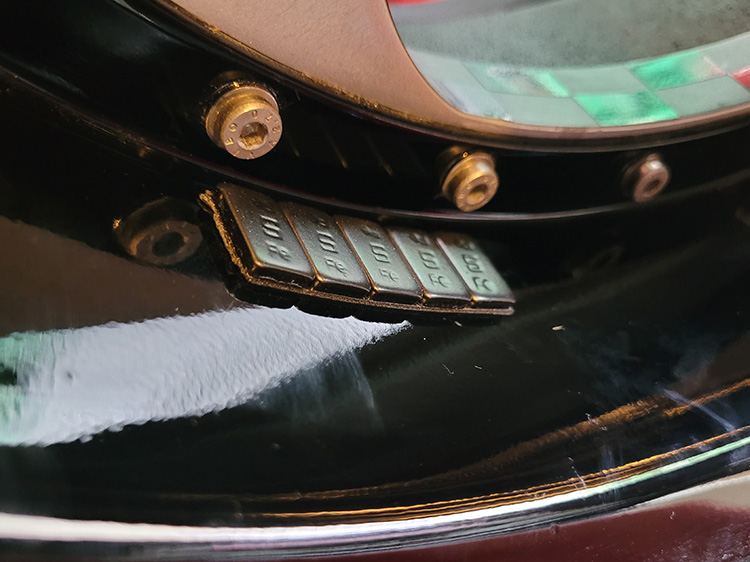
… with pleasantly few stick-on weights.
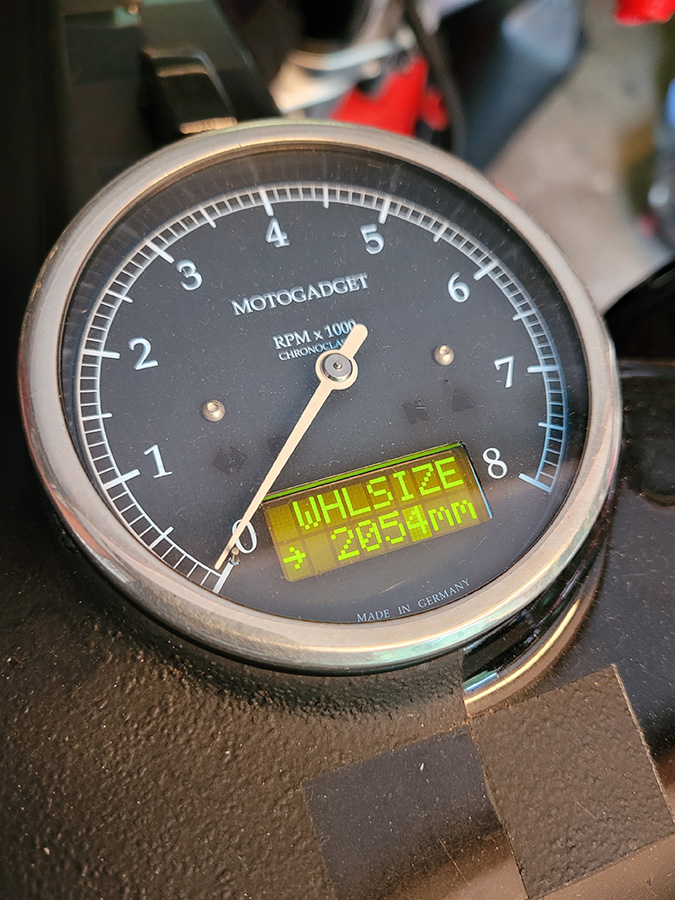 Calibrated the electronics to the new wheel circumference; it’s slightly smaller than that of the 300 tire.
Sooner or later I want to go back to a ‘normal’ 300 tire. But first the cause of this stubbornness has to be found.
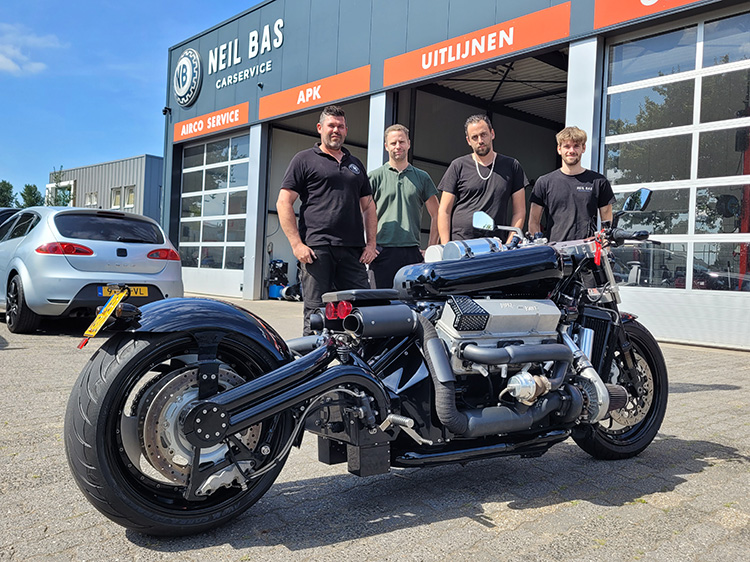
On August 20, 2025 I did a test ride, and where else to go than to Neil Bas? ;)
Continuation of this report: click here.